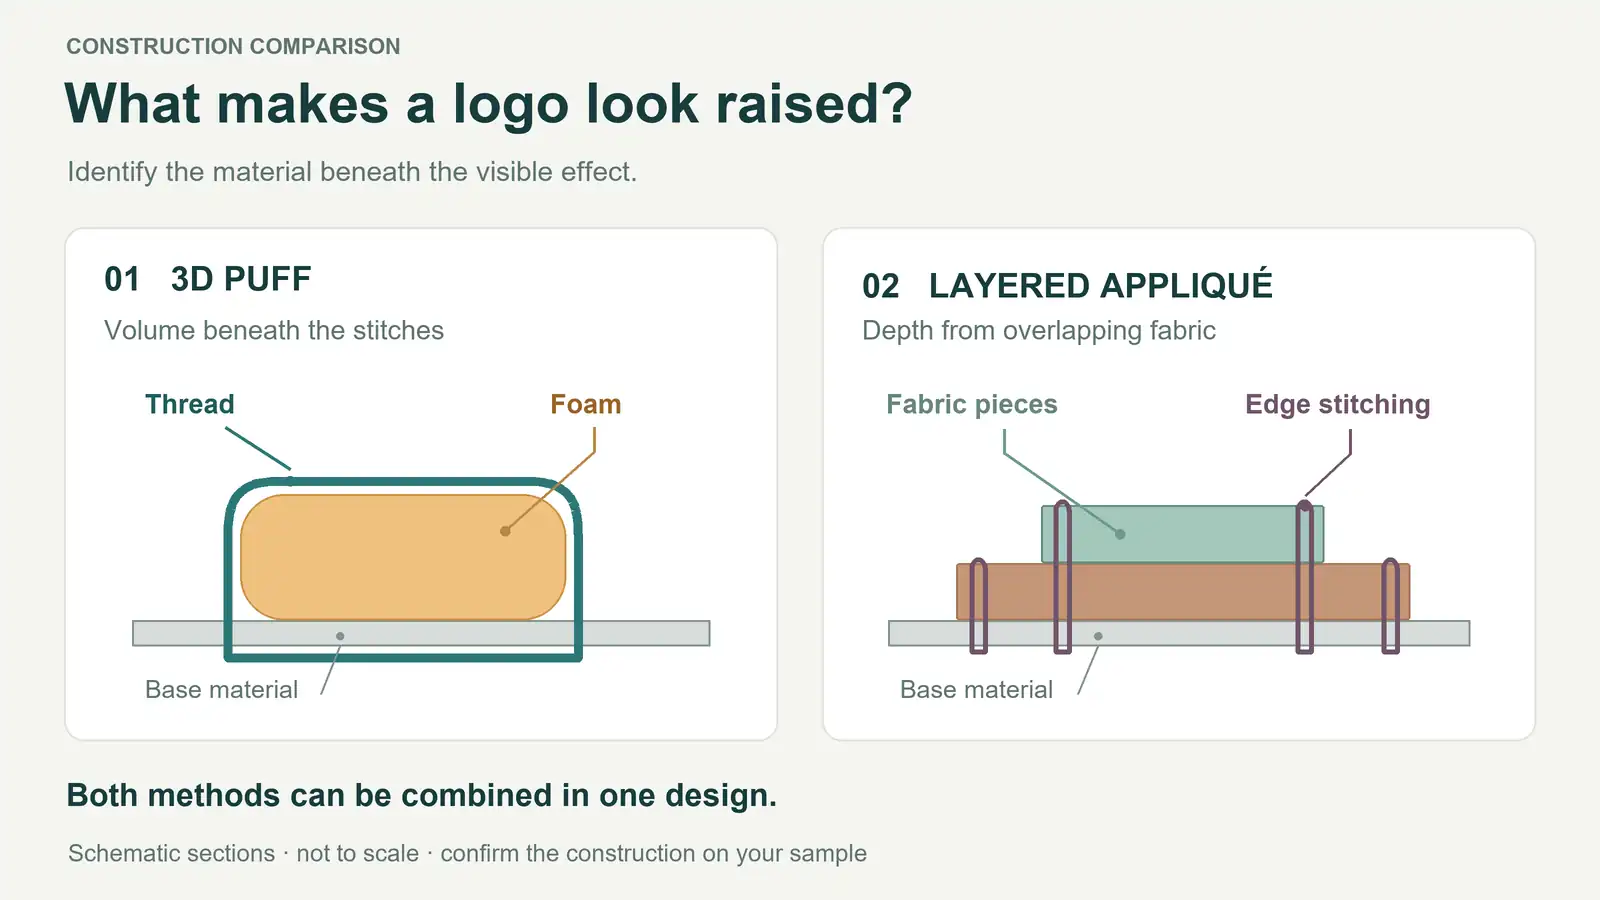
3D puff embroidery gets its raised shape from foam beneath the stitches. Layered appliqué builds a design from cut pieces of fabric, with overlapping edges and visible material faces creating depth. A logo can combine both methods: fabric layers can form the main shape while puff embroidery raises selected stitched areas. The useful question is which parts of the logo should stand up, and what should remain visible on the surface.
For a rounded, thread-covered letter, start by discussing puff embroidery. For contrasting fabric faces and stepped outlines, discuss layered appliqué. Then confirm the construction on a sample at the intended size. A photograph of a raised logo does not reveal everything underneath it.
Where the height comes from
3D puff: foam supports the stitched shape
In conventional 3D puff embroidery, foam sits on the base material and stitches cover the intended raised areas. Excess foam is removed around the design. The thread forms the visible surface; the foam supplies volume beneath it.
Satin stitches, which span a shape in closely spaced passes, are a common choice for rounded letters and bold outlines. The digitizing needs to account for foam coverage, closed ends and the transitions between raised and flat areas. Simply adding foam underneath a file prepared for flat embroidery does not establish a suitable puff design.
Wide, simple strokes are usually a more practical starting point than very small lettering, fine serifs or crowded linework. The usable stroke width depends on the design, foam, thread and digitizing approach. Wilcom’s puff digitizing Q&A also discusses advanced fill-stitch approaches, so “puff must always be satin” is too absolute. Ask which construction the supplier proposes for the actual artwork.
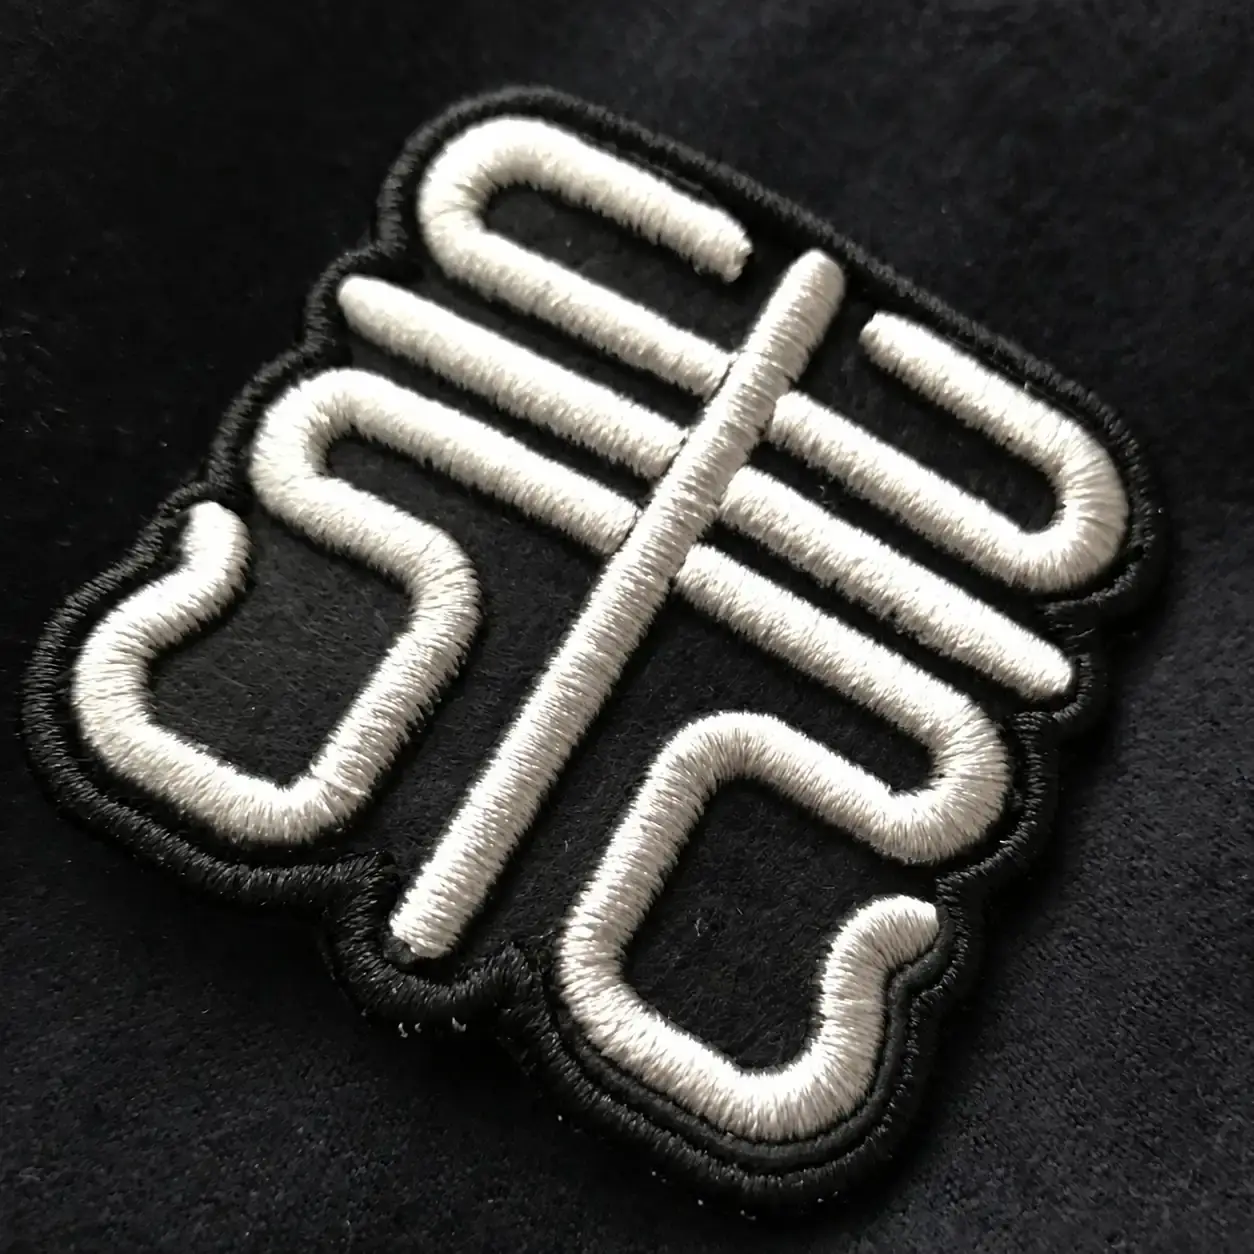
For the broader comparison with ordinary flat stitching, see our guide to 3D puff vs flat embroidery. Here, the distinction is between volume under the stitches and depth built from fabric pieces.
Layered appliqué: fabric shapes build the design
Appliqué attaches cut fabric shapes to a base using stitching. A typical machine workflow includes a placement outline, positioning the fabric, securing it and finishing the edge. Precut shapes and fabric trimmed during stitching require different handling, but both depend on accurate placement and edge control.
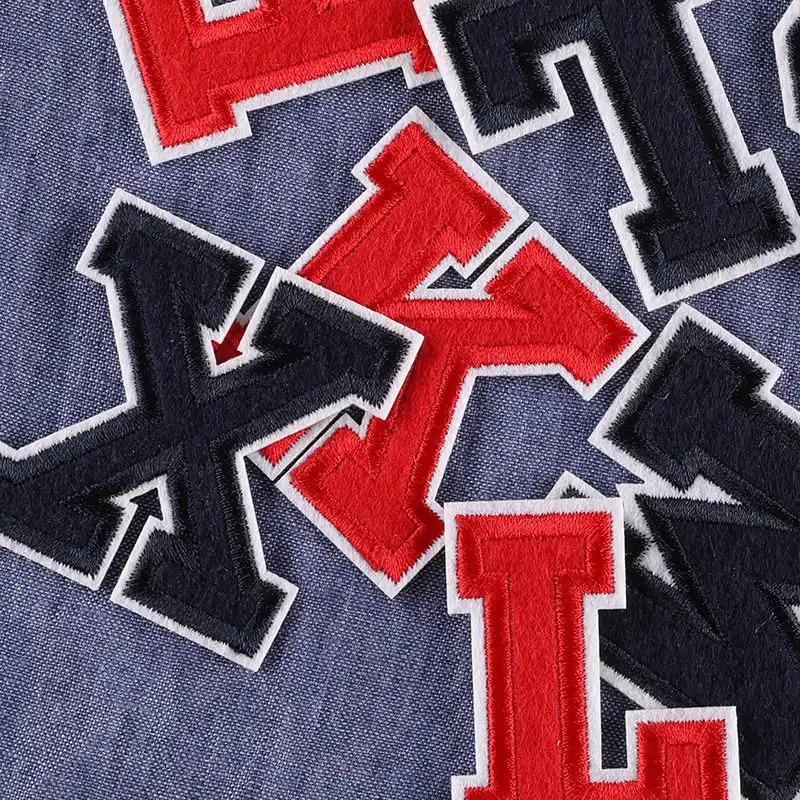
Layered appliqué uses multiple pieces arranged over one another. A smaller top shape can leave part of the lower piece visible as an outline. Exposed fabric faces, changes in material thickness and stitched borders together create the finished relief. The layers do not all need to be the same material or have the same outline.
A thick single fabric piece can also look raised. Equally, a stitched border can look like another layer in a photograph. Confirm the number and type of fabric pieces rather than counting colored outlines and assuming each one is a separate sheet.
Compare the features that change your specification
| Decision point | 3D puff embroidery | Layered appliqué |
|---|---|---|
| Main source of relief | Foam beneath selected stitched areas | Cut fabric pieces arranged in layers, plus their stitching |
| Visible face | Usually thread covering the raised shape | Fabric faces can remain visible between stitched edges |
| Artwork starting point | Bold strokes with room for coverage and clean separation | Shapes that can be cut, positioned and secured with usable borders |
| Edge checks | Foam coverage, closed ends, clean corners and clear gaps | Placement accuracy, consistent exposed outlines and secure fabric edges |
| Small details | Often better kept flat or simplified around raised areas | Can be embroidered on a larger fabric face, subject to its size and stitchability |
| Sample priority | Raised profile and transitions at the final size | Layer arrangement, material appearance and edge alignment at the final size |
Neither method guarantees a particular finished height. More layers do not automatically produce a better logo, and a visibly thick patch is not automatically puff embroidery. Base fabric, patch backing and attachment can also affect the overall profile.
For cost comparisons, request the same dimensions, quantities, delivery format and intended application. Puff requires suitable digitizing and foam handling; layered appliqué adds fabric cutting, placement and edge work. The balance depends on the actual design. There is no reliable rule that one is always cheaper or more durable.
Can puff embroidery and appliqué be combined?
Yes. They describe different parts of the construction, so they can coexist in one design. A fabric letter can carry a raised embroidered feature, or fabric shapes can sit beside puff lettering while small details remain flat.
Emblemtek’s appliqué technical sheet explicitly describes appliqué produced with 3D puff embroidery stitching. That establishes a documented combination. A supplier still needs to review the specific materials, placement and stitch sequence before confirming your version.
Mark the artwork by function: exposed fabric areas, raised stitched areas and flat detail. Ask for those zones to be identified on the sampling specification. This is clearer than requesting a “3D patch,” a phrase that can describe several different appearances.

Choose the effect your artwork actually needs
For a compact logo with bold, rounded strokes, consider puff first. Keep enough separation between raised areas and preserve the letter openings. If the artwork includes a small tagline, ask whether it should remain flat. Judge the logo at the production size rather than enlarging a screen image until every detail appears possible.
For letters with contrasting material faces and stepped borders, consider layered appliqué. Specify which material should remain visible and how much of each lower outline should show. Tight inside corners, thin projecting sections and small enclosed spaces need a cutting and stitching review. A border that looks generous on a large varsity letter may become impractical when the whole motif is reduced.
For a mixed effect, specify the zones separately. A layered letter with one raised stitched accent is a different order from a fully thread-covered puff letter. Request a proposed construction that identifies the pieces, raised zones and flat stitching. Confirm that the supplier can make that particular combination before approving the sample.
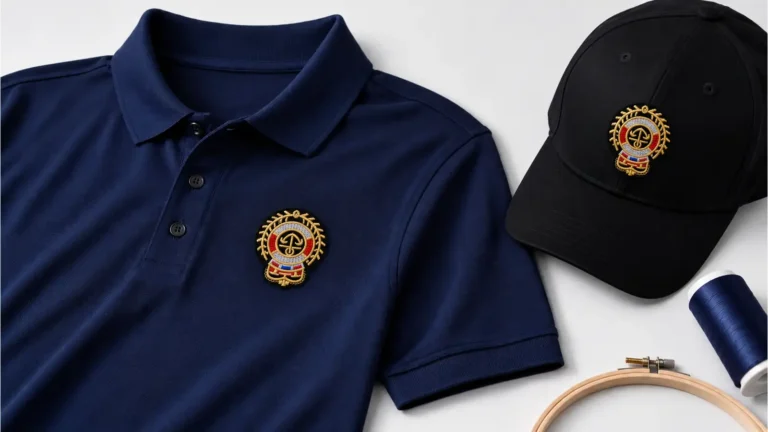
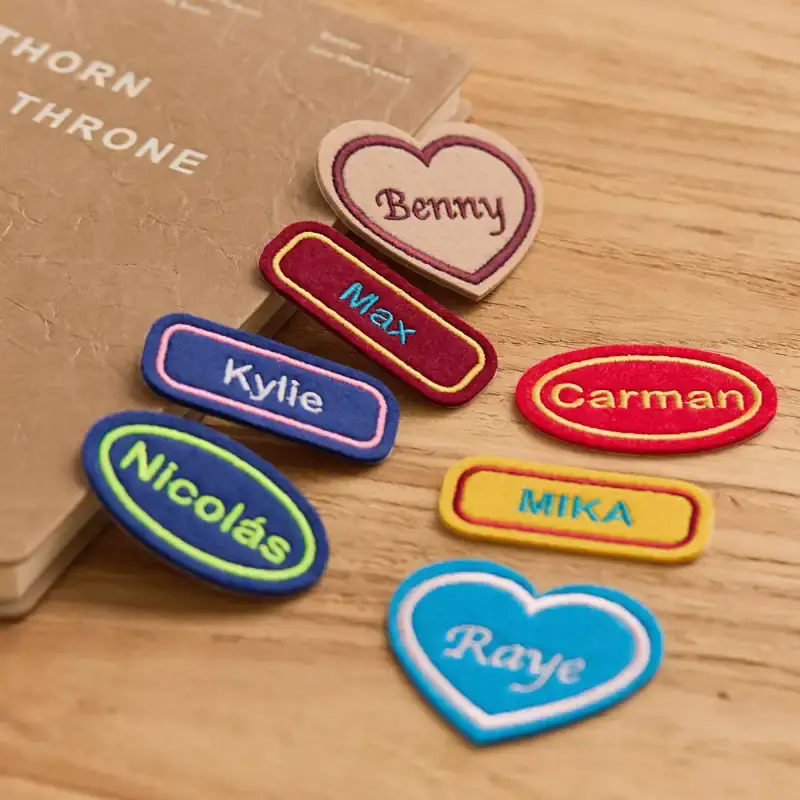
Delivery format is a separate decision. Direct embroidery or appliqué on a garment panel differs from a separate patch that will be attached later. With a finished cap, a curved surface and existing seams can affect placement; with a T-shirt, check how the decoration behaves on the actual knit. If ordering custom embroidered patches, include the backing and attachment requirements as well as the front design.
What to check before approving the sample
Use the actual artwork size and intended base material. If comparing two proposed constructions, keep the logo dimensions and color intent consistent, and request front and low-angle photographs under similar lighting. A ruler in the frame helps establish scale; it does not replace an agreed method if finished height is a controlled requirement.
- Confirm the construction. Record the fabric pieces and their order, any foam-supported zones and the areas kept flat. A layer specification or matching offcut can explain hidden structure without damaging the approval sample.
- Inspect the edges. For puff, check for exposed foam, poorly closed ends and irregular corners. For appliqué, check exposed fabric edges, alignment and the consistency of visible lower borders. Assess the agreed edge finish rather than assuming every material needs the same treatment.
- Check openings and fine detail. Letters such as A, B and R need readable internal spaces. Confirm that borders, raised areas and small stitching remain distinct at normal viewing distance.
- Review the installed result. Look for puckering, distortion, unwanted stiffness and lifting at the intended placement. Where the order is for loose patches, agree who will attach them and review a representative attached sample before relying on the loose patch alone.
- Agree on care and repeat-order requirements. Evaluate the complete material and attachment combination under the intended care conditions. Keep the approved sample, artwork version and construction record for later production comparisons.
Avoid approving from a polished rendering alone. It can communicate the desired silhouette, but it cannot demonstrate foam coverage, fabric alignment, attachment quality or behavior after care. If a particular raised profile matters, define how and where it will be checked and agree the acceptable result with the supplier.
Prepare a clear request for YQX
Send YQX the artwork, finished dimensions, quantity, garment or patch format, base material and intended placement. Include a reference image with the desired feature marked: rounded stitched volume, visible fabric faces, stepped outlines or a combination. Add any backing, attachment and care requirements.
Use the YQX contact page to request a project-specific construction review and sampling proposal. Ask which raised and layered elements can be produced for your design, and approve the resulting sample before bulk production. A clear specification turns a general request for “more dimension” into a construction that both sides can assess.
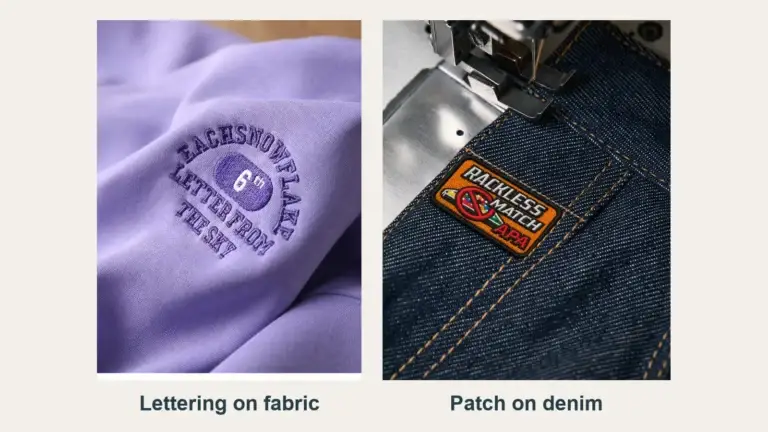
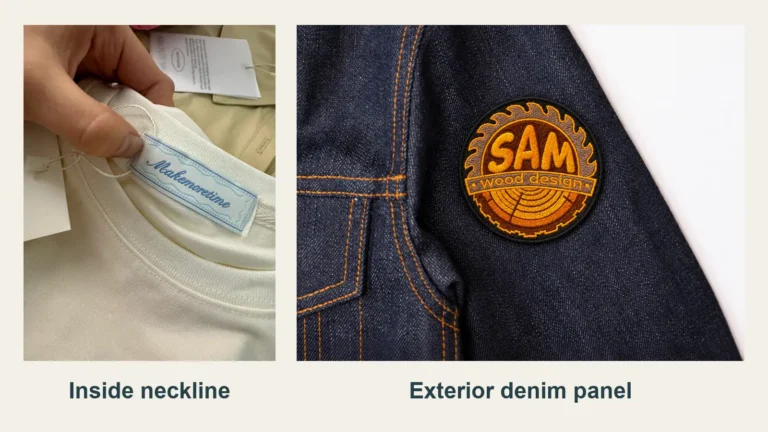
Original construction schematics; not to scale. The diagrams explain possible sources of relief and do not reproduce the hidden structure of the photographed references.