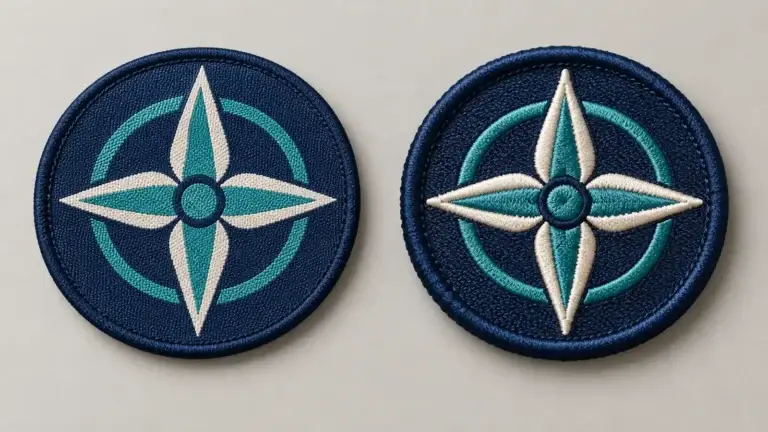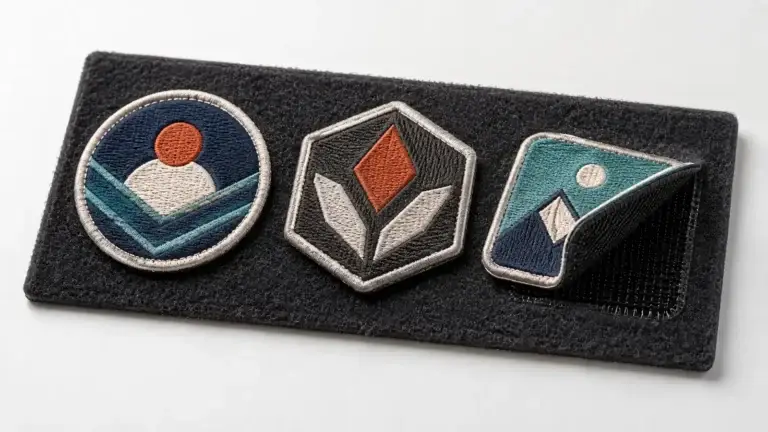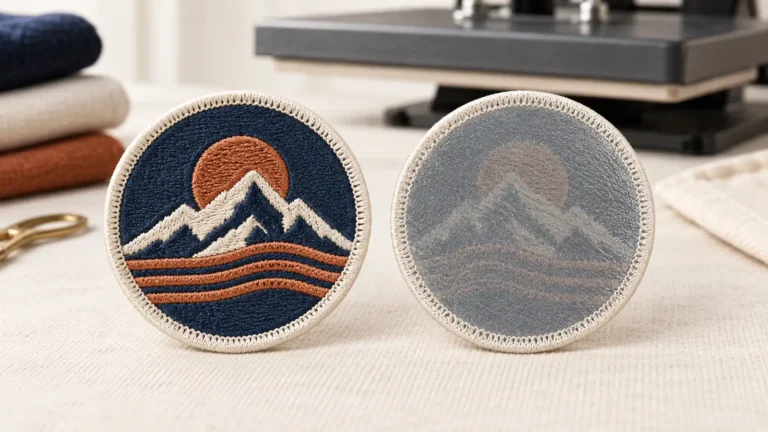
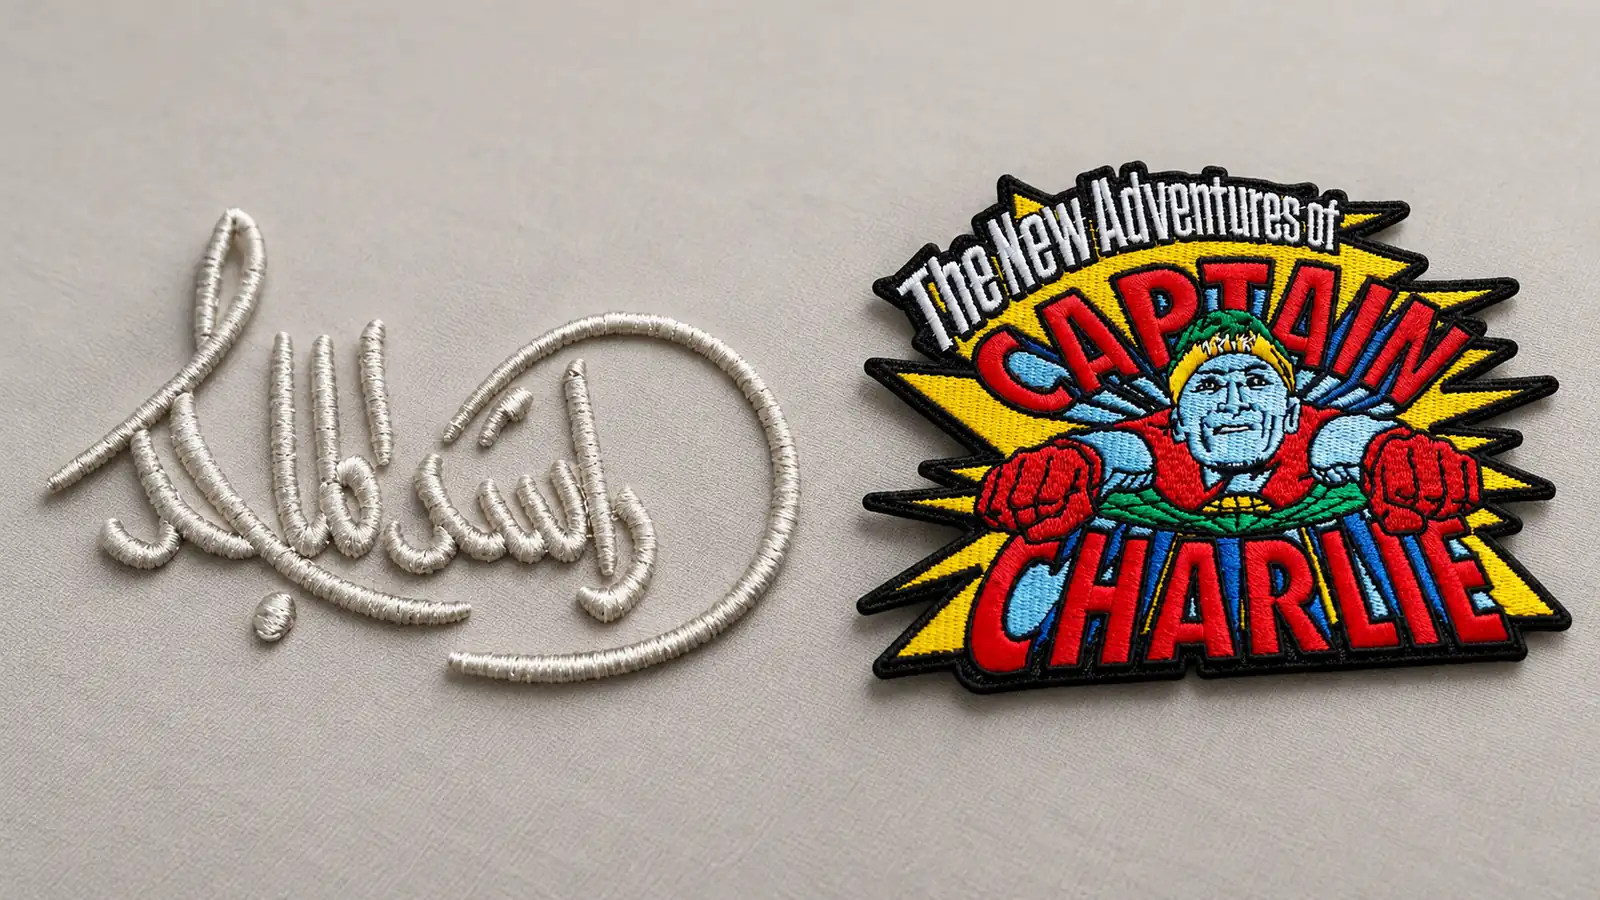
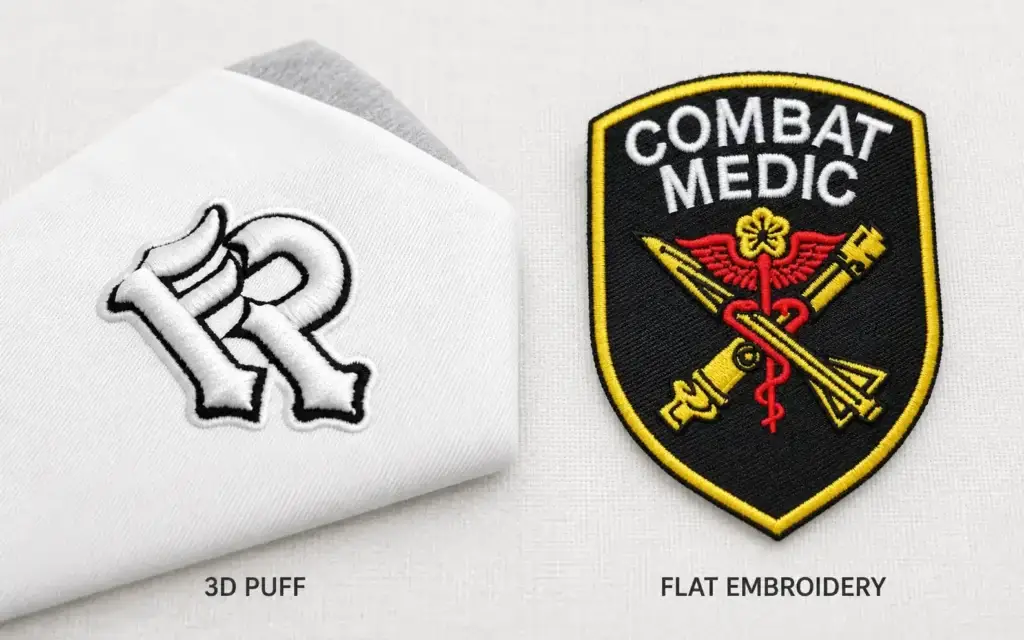
The main difference is the structure beneath the thread. Flat embroidery places stitches directly on the fabric or patch base, producing a relatively low-profile surface that can reproduce lettering, outlines and complex multicolor artwork. Foam-based 3D puff embroidery adds a layer of embroidery foam beneath selected stitches, creating a visibly raised effect. Choose puff for bold lettering and simple logo elements that need to stand out; choose flat embroidery when clarity, fine detail and broad design flexibility matter more than height. Many designs use both.
3D Puff vs Flat Embroidery at a Glance
| Comparison point | Flat embroidery | 3D puff embroidery |
|---|---|---|
| Surface | Low profile, with the natural texture of thread | Clearly raised in selected areas |
| Added material | No foam beneath the decorative stitches | Foam is placed beneath the puff sections |
| Best design fit | Fine outlines, smaller details, multicolor graphics and larger fill areas | Bold letters, monograms, numbers and simple logo elements |
| Digitizing | Planned for the base fabric, stitch type and required detail | Must be digitized specifically to cover, shape and cut the foam cleanly |
| Production | Standard machine-embroidery sequence | Typically adds a planned stop, foam placement, dense coverage and foam cleanup |
| Feel | Usually thinner and more flexible | Thicker and more structured where foam is used |
| Cost and timing | Usually the simpler starting point | May cost more or require more development because of extra material, labor and sampling |
| Typical uses | Detailed patches, uniforms, garment panels, bags and general logo embroidery | Statement logos, cap lettering, fashion details and raised patch elements |
Neither method is inherently higher quality. A clean flat design can look refined and precise, while a well-executed puff design can look bold and dimensional. The better choice is the one that suits the artwork, material, placement, intended use and target appearance.
What Is Flat Embroidery?
Flat embroidery—also called standard or conventional machine embroidery—builds a design with stitches laid directly over the base fabric and stabilizer. “Flat” describes its profile relative to foam-raised embroidery; the threads still have visible texture and thickness.
Digitizers can use running stitches for lines and small details, satin stitches for columns and lettering, and fill stitches for broader areas. That range makes flat embroidery the more flexible choice for many emblems, illustrations and logos. It is especially useful when the artwork contains several colors, narrow outlines, internal gaps or detailed shapes that would be difficult to form cleanly over foam.
Flat embroidery is often the practical choice for:
- detailed custom embroidered patches and uniform badges;
- fine linework and multicolor illustrations;
- smaller lettering, subject to the approved size and fabric;
- larger filled areas;
- direct garment panel embroidery and handbag panel embroidery;
- lightweight or flexible constructions where added bulk is undesirable;
- designs whose visual hierarchy comes from color and stitch direction rather than height.
Flat embroidery is not automatically plain or inexpensive-looking. Thread sheen, stitch angle, density, color transitions and clean digitizing can create depth without a foam layer. Detailed multicolor badges show how standard embroidery can carry small text, outlines and detailed motifs in one design.
What Is 3D Puff Embroidery?
3D puff embroidery is a specific raised-embroidery technique. A layer of foam is placed over the fabric or patch base in the areas intended to rise. Dense stitches cover and compress the foam. Outline or edge stitches help perforate the foam, while end caps cover open ends where needed. After stitching, the operator tears away the excess and cleans any remaining visible pieces.
The material is commonly called 3D puff foam, 3D embroidery foam or simply puff foam. It is a shaping layer beneath the thread—not the heat-activated adhesive that may be applied to the back of an iron-on patch.
Puff works best when the raised portion has enough width for the stitches to cover the foam. Bold block letters, monograms, numbers and simple logo shapes are common candidates. Very thin strokes, tiny counters inside letters, sharp internal corners, dense small details and broad irregular fill areas may need to stay flat or be simplified.
The result can feel more prominent and visually substantial than flat stitching, creating a sculpted appearance that some buyers perceive as more premium. That makes puff useful when a logo needs to become the focal point of a cap, garment panel, bag or patch. The impression is a design choice, however, not proof that the product is more durable or better made.
How the 3D Puff Embroidery Process Differs
Both methods begin with approved artwork, embroidery digitizing, thread selection, stabilization and machine setup. In a conventional manual-placement workflow like the one shown here, puff typically adds design rules and production steps:
- Separate the stitch plan. Flat elements and any required puff outlines or underlay are usually stitched before the foam-covered sections. The embroidery file typically includes a planned stop for foam placement; exact sequencing depends on the design and equipment.
- Place the foam. After the machine stops, the operator positions foam over the area that will be raised and secures it as required by the approved process.
- Stitch the puff element. Dense satin-style columns cover the foam. Wider columns, additional pull compensation and capping stitches may be required to keep the shape covered and the ends closed.
- Remove the excess. The perforated foam is torn away from around the finished element.
- Clean and inspect. Remaining foam is tucked or removed using an approved finishing method, then the sample is checked for exposed foam, gaps, distorted edges, loose stitches and material damage.
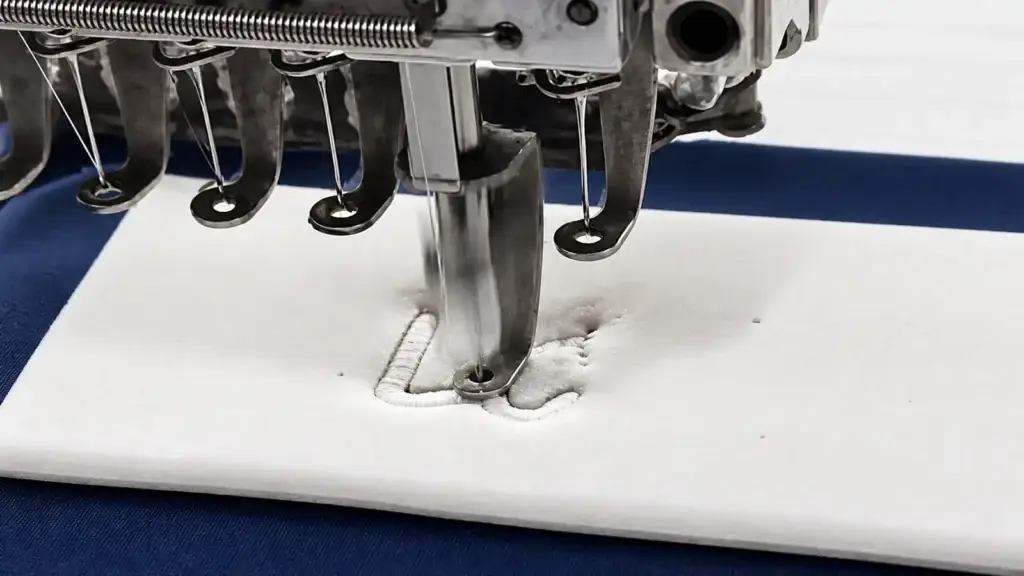
Because the file, foam, thread coverage and base material must work together, an ordinary flat embroidery file should not simply be run over foam. Madeira’s technical guidance recommends designs dominated by column elements and describes the outline, capping, foam-placement and removal steps. Wilcom’s digitizing documentation likewise notes that puff commonly needs wider satin columns, added pull compensation and, in some cases, capping stitches. A production sample is the practical way to confirm the result on the actual material.
Which Artwork Works Better With Each Technique?
The choice should be made element by element, not only logo by logo.
| Artwork feature | Usually better in flat embroidery | Possible in 3D puff when properly developed |
|---|---|---|
| Fine lines and small accents | Yes | Often too narrow to cover foam cleanly |
| Small or closely spaced text | Usually | Only if the approved size, spacing and stitch width allow it |
| Bold block lettering | Yes | Often an excellent puff candidate |
| Script lettering | Good when strokes remain embroidery-safe | Possible when every raised stroke has adequate width and open spacing |
| Detailed characters, animals or emblems | Usually | Use puff only on simplified selected elements |
| Large background fills | Common | Often less effective than raised satin-style columns |
| Strong focal element | Can be created with color, sheen or stitch direction | Height can make the focal element more pronounced |
Do not enlarge the entire logo or increase stitch density indiscriminately to force a puff effect. That can change the artwork, close small gaps and place unnecessary stress on the fabric. A better approach is to identify one or two bold elements for height and retain the detailed information in flat stitching.
Can Flat and 3D Puff Embroidery Be Combined?
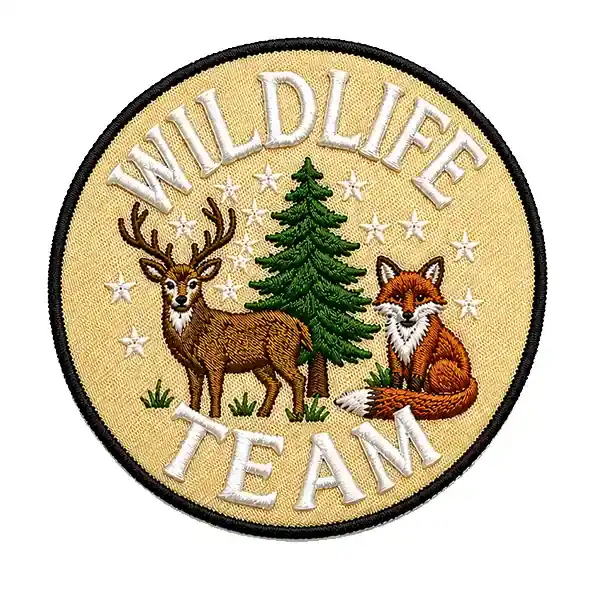
Yes. Selective puff is often more effective than raising every part of a design. For example, the main name or initials can be raised while illustrations, outlines, dates and small supporting text remain flat. This preserves detail while establishing a clear visual hierarchy.
The round wildlife patch shown here demonstrates this approach: the large white words are presented as raised puff, while the deer, fox, tree, stars and other fine details appear to use lower-profile flat stitching. Subject to confirmation from the embroidery file or physical sample, the two techniques are not mutually exclusive; they can be planned as separate stitch areas within the same approved design.
Does 3D Puff Embroidery Cost More or Take Longer?
Often, but not always. In a conventional manual-placement workflow, puff adds foam, specialized digitizing, a planned production stop, foam placement, removal and cleanup. It may also need additional sample rounds when the original artwork was not designed for raised embroidery, but there is no reliable universal price percentage.
The real quotation depends on variables such as:
- finished embroidery size and quantity;
- number and area of puff elements;
- stitch count, colors and color changes;
- base fabric, stabilizer and product shape;
- direct-to-panel embroidery versus a separate patch;
- cleanup, edge and backing requirements;
- sampling, quality-control, packaging and delivery requirements.
Flat embroidery is normally the simpler construction, but a highly detailed, stitch-intensive flat design may still cost more than a simple puff monogram. Compare quotations using the same artwork size, material, quantity and finishing requirements rather than assuming that one technique always has a fixed price premium.
What About Durability, Washing and Material Compatibility?
Technique alone does not determine durability. Thread, foam, base fabric, stabilizer, stitch construction, placement, attachment method and care conditions all affect the finished result. Poorly covered puff edges can expose foam; poorly stabilized flat embroidery can pucker or distort.
Stable fabrics and structured products are common starting points for puff because they support the added thickness. A lightweight, stretchy, coated, curved or heat-sensitive material may require a different stabilizer, placement, construction or technique. The finished sample should be checked on the actual patch base, garment panel, cap or bag component and validated under the intended care and use conditions before bulk production.
How to Choose Between Flat and 3D Puff Embroidery
Choose flat embroidery when the design depends on fine detail, small supporting text, complex imagery, broad fill areas or a lower-profile finish. It is also the safer starting point when the material is light or flexible and the effect of extra thickness has not been tested.
Choose 3D puff embroidery when one or more bold elements need visible height, the strokes are wide enough to cover foam, and the base material can support the construction. It is particularly effective for statement lettering, initials and simplified logo shapes.
Choose a mixed construction when the logo needs both emphasis and detail. Keep large focal lettering in puff and use flat stitches for outlines, illustrations and smaller information.
Before requesting a sample or quotation, provide:
- the clearest available artwork, preferably vector artwork;
- the exact finished width and height;
- the elements you want raised, if any;
- thread or brand color references;
- the patch base, garment, cap, handbag panel or other application material;
- expected quantity and delivery destination;
- placement, backing, edge and attachment requirements;
- intended use and care conditions;
- reference photos showing the target level of dimension.
YQX can review these details and recommend a practical flat, puff or mixed construction for sampling. The approved physical sample—not a screen mockup alone—should be the reference for color, height, edge coverage, detail and bulk production.
Frequently Asked Questions
Is 3D puff embroidery the same as chenille embroidery?
No. Puff uses foam beneath dense machine-embroidery stitches to create height. Chenille uses looped yarn to create a soft, fuzzy varsity-style surface. Both are dimensional, but their materials, texture and production methods are different.
Why can foam show through a 3D puff design?
Visible foam can result from insufficient stitch coverage, unsuitable foam color, open ends, overly narrow or complex elements, or a file that was not digitized for the selected foam and design. The correction should be tested in the digitizing and sampling process rather than hidden in a product photograph.
Is 3D puff embroidery only for caps?
No. Caps are a familiar application, but puff can also be developed for suitable patches, garment panels, bags, jackets and other stable textile products. Material, curvature, placement and the full construction still need to be sampled.
Compare the Techniques on a Real Sample
Send YQX your artwork, finished size, intended material, application, quantity and the elements you want to emphasize. The team can review whether flat embroidery, 3D puff or a mixed construction best fits the design, then prepare a sample and quotation before bulk production. Request an embroidery review and quote.