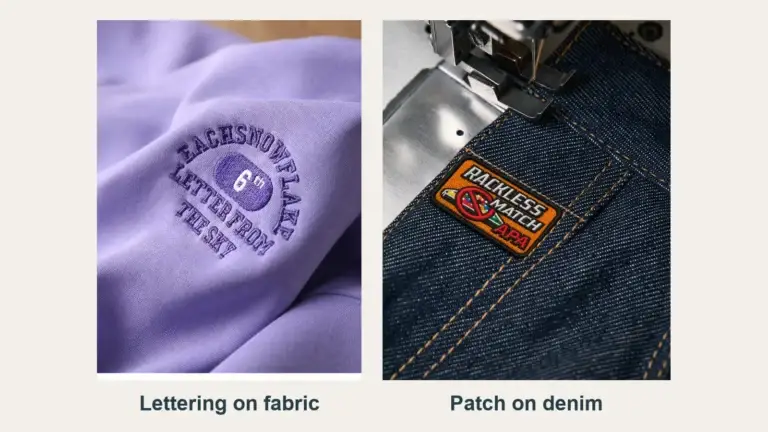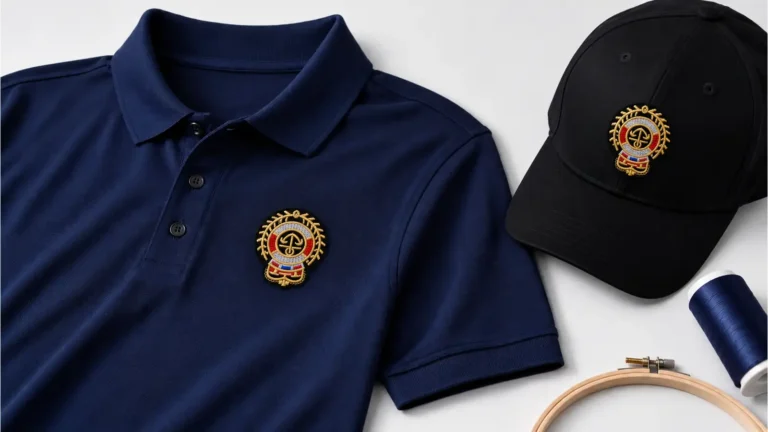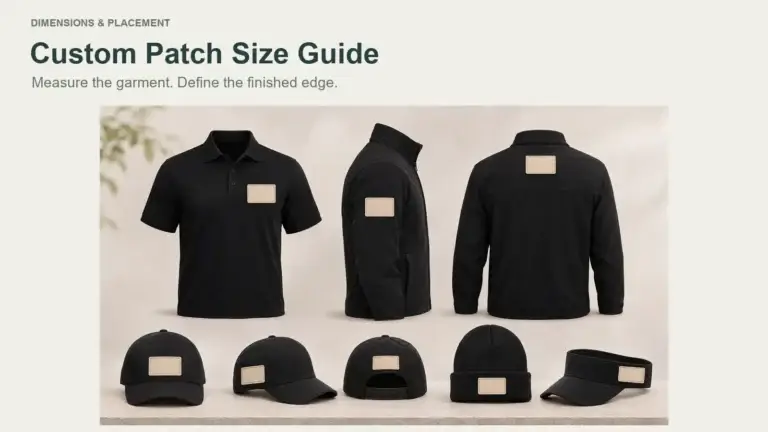
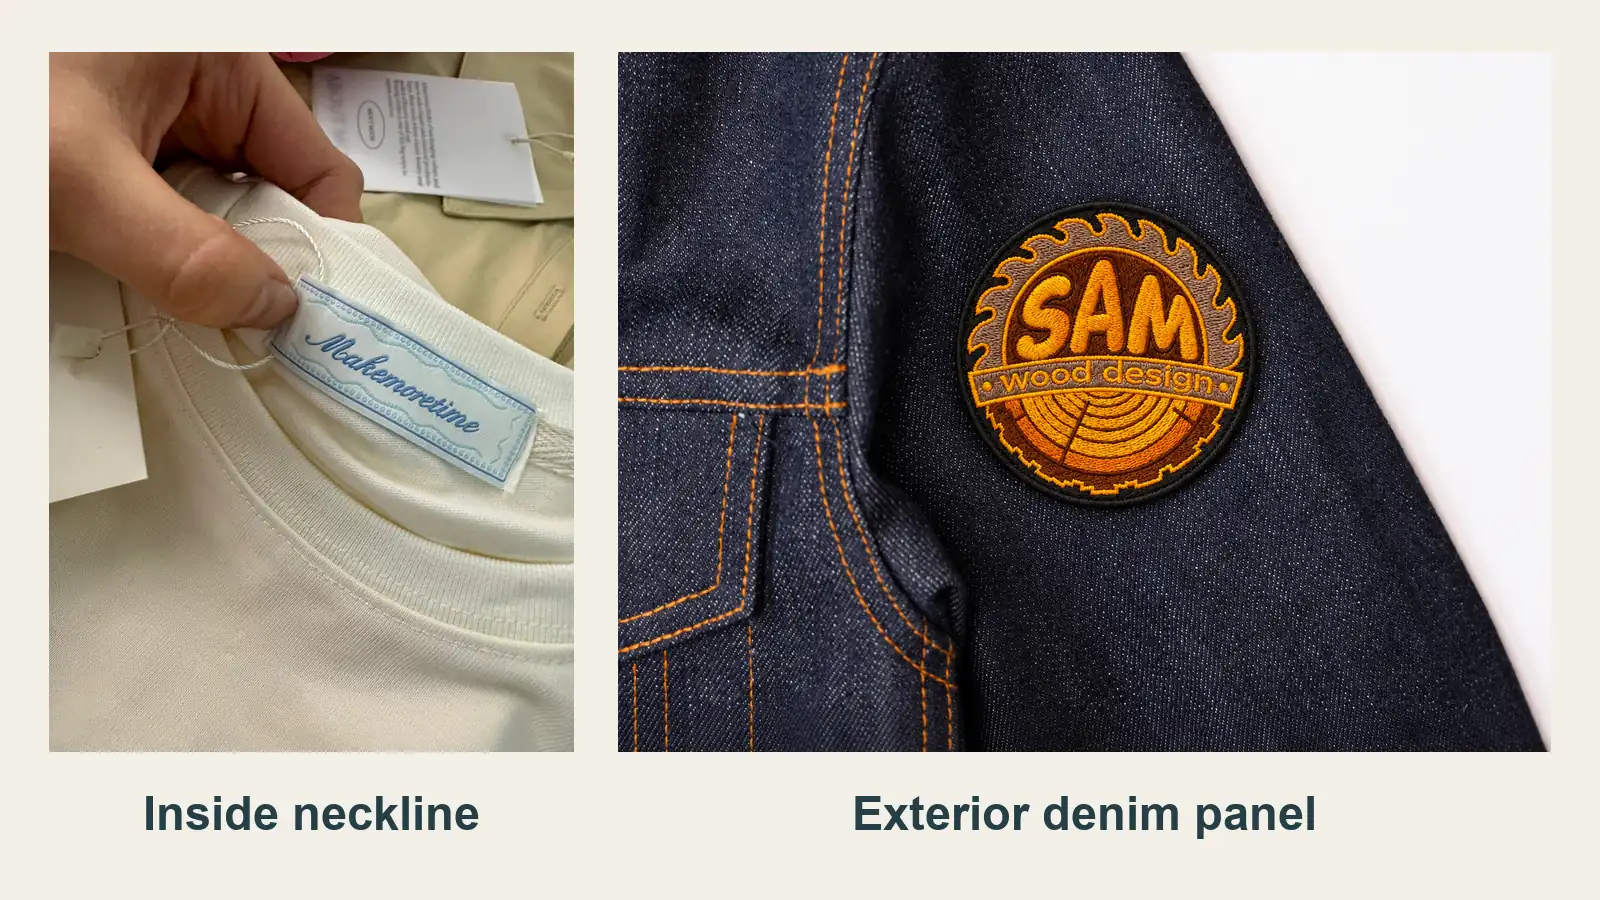
Choose a woven clothing label when customers should read the brand or a short identifier up close, such as at the inside neck or hem. Choose an embroidered patch when the logo should be seen while the garment is worn, such as on the chest or sleeve. A jacket can use both. The neck label identifies the garment when someone handles it, and the sleeve patch makes the brand visible in wear.
Decide where each piece goes before laying out the artwork. A fold changes how much of a label remains visible after sewing. A patch border and its attachment stitching also take up space that the logo may need.
Choose the placement and reading distance
A woven label carries its design in the weave. For a neck label, check whether the wearer can read the name at a glance while holding the garment. For a hem tab, check which side faces outward and whether the mark is visible when the garment hangs or is worn. Some labels are deliberately visible from the outside.
An embroidered patch carries stitched artwork on a separate base. For a chest or sleeve emblem, start with the mark the viewer should recognize at the intended distance. A simpler version of the logo may work better there. Check the patch on the actual panel, especially near seams, pocket openings and points where the fabric bends.
| Decision | Woven clothing label | Embroidered patch |
|---|---|---|
| Viewing position | Close-up at the neck, inside seam or hem. Mark the face the reader should see. | Visible on the garment surface. Check the logo from the intended distance and angle. |
| Attachment | Specify the fold, the ends or edges to secure and the garment seam or surface. | Specify the finished outer shape, border and attachment method for the garment. |
| Room for artwork | Work inside the exposed face, leaving room for folds and stitching. | Work inside the usable area within the border and attachment line. |
| Contact during wear | Feel the edges, folded layers and stitch line at the intended contact point. | Check the inside of the garment for stitch or backing contact and check how the panel moves. |
For an exterior badge, a woven patch is another option with its own finished shape and attachment specification. If you are choosing how to render fine lines or lettering on a badge, compare embroidered and woven patches for fine logo detail.
Mark the fold, sewing position and visible face
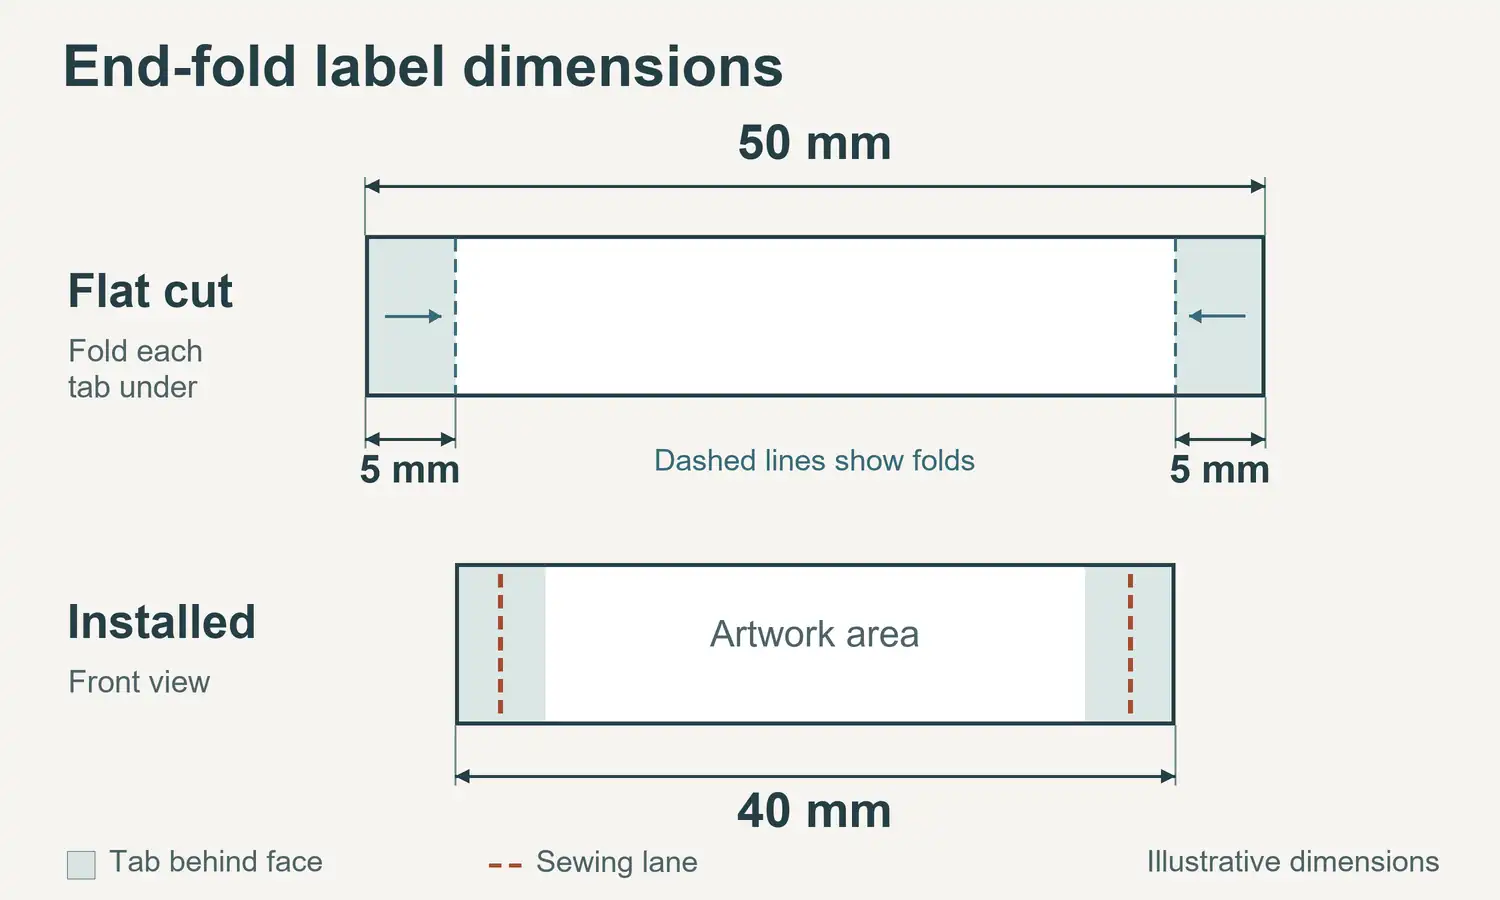
For a flat label, identify the edges the sewing team will stitch. For an end-fold label, show which end tabs turn under and where to sew through them. For a center-fold label inserted into a seam, the two open ends are caught in the seam and the folded edge stays visible. Supply the artwork orientation for each face if both carry information. Fold names can vary, so send the drawing with the name. Dutch Label Shop’s label fold guide
Give the label maker the flat cut size, the visible face after folding and installation, and the area reserved for artwork. The artwork area sits inside the visible face, with room for the stitch line and clear space around the text. Show how much of a tab goes into a seam on the assembly drawing and agree that amount with the sewing team.
In an illustrative end-fold layout, a 50 mm cut width with 5 mm turned under at each end leaves a 40 mm visible face before allowing for the stitch lines. Set the final lettering inside that face and agree the actual fold dimensions with the supplier.
For a patch, measure the complete finished outer edge, including the border. Put the patch shape and the logo on the same placement drawing so the supplier and sewing team can check how much room remains inside. Mark the garment landmarks used to position it, such as a chest seam or pocket edge.
Put each line of text where it can be read
List the text the customer needs to read and rank it in order of importance. A label might carry the brand name and a size or collection identifier. A patch can carry a short wordmark or symbol that someone can recognize at a glance. When space is tight, compare a shorter line, a larger visible face or an additional label with the garment team. Ask the brand’s labeling team to approve the final information for the garment and its market.
Review the smallest characters on the installed sample. Look for closed letter openings, similar characters that are hard to distinguish, weak contrast and text caught in the stitching. On a two-sided label, turn the garment as a customer would and check both orientations. For a patch, check whether the same characters remain distinct at the intended viewing distance.
Approve both components on the garment
For a neck or side-seam label, use a sewn sample to check the edges and folded layers where they touch the wearer. Move the garment as it would move in wear and see whether the label lies flat, twists or rubs. A loose label can feel different once folded and stitched into a seam.
For an exterior patch, bend the sample panel and inspect the perimeter, drape and reverse side. Check how the patch sits near seams and closures and whether its inside stitching or backing is felt through the garment. Use the planned fabric, patch border and attachment for the review. If cleaning performance is part of approval, agree how the assembled sample will be checked under the intended care conditions.
Prepare a separate brief for each component, even when both use the same logo. Send the artwork, dimensions, garment material, placement drawing, quantity and sample approval criteria. Add the fold and sewing line for the label. Add the finished edge, backing and attachment for the patch. For the exterior badge, compare YQX’s embroidered patch options and send the placement and artwork for a quote.
Cover references show a fabric label at an inside neckline and a round embroidered emblem on an exterior denim panel.