Glow-in-the-dark embroidery gives clothing, caps and patches an additional appearance after the lights go down. Specialty luminous thread absorbs light and later releases it as a visible glow. A pale embroidered letter, moon or small emblem can therefore become the feature that stands out in darkness.
For a custom project, choose which elements should glow, then judge the design in both normal light and darkness. The supplied images illustrate possible applications and appearances; they are design references rather than measured glow-performance tests.
How does glow-in-the-dark embroidery work?
The effect comes from phosphorescent material in the thread. It stores energy during exposure to light and releases that energy gradually afterward. Madeira's guide to luminous embroidery thread explains this charging and afterglow behavior, including how the effect can be refreshed by exposing the thread to light again.
Brightness changes as the stored energy is released. The selected thread and the charging conditions matter, so a photograph taken immediately after charging does not establish how the design will look later. Agree on the effect you want to see and evaluate the actual stitched sample under recorded conditions.
Glow and reflection are different effects. Coats describes its reflective embroidery threads as responding when illuminated by an external light source. If your concept is an afterglow that remains visible after that source is removed, specify glow-in-the-dark thread in the brief.
Plan the normal-light and dark appearances together
Start with two views of the same artwork. The first should show every normal thread color. The second should identify only the areas assigned luminous thread. This helps you see whether the glowing elements form a recognizable design when the surrounding details become less visible.
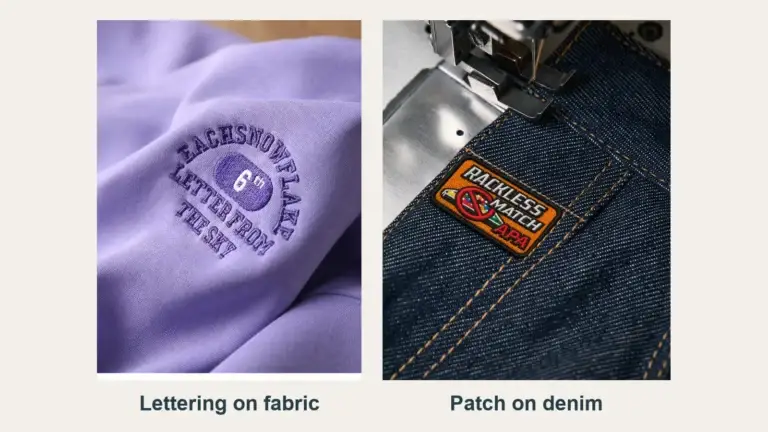
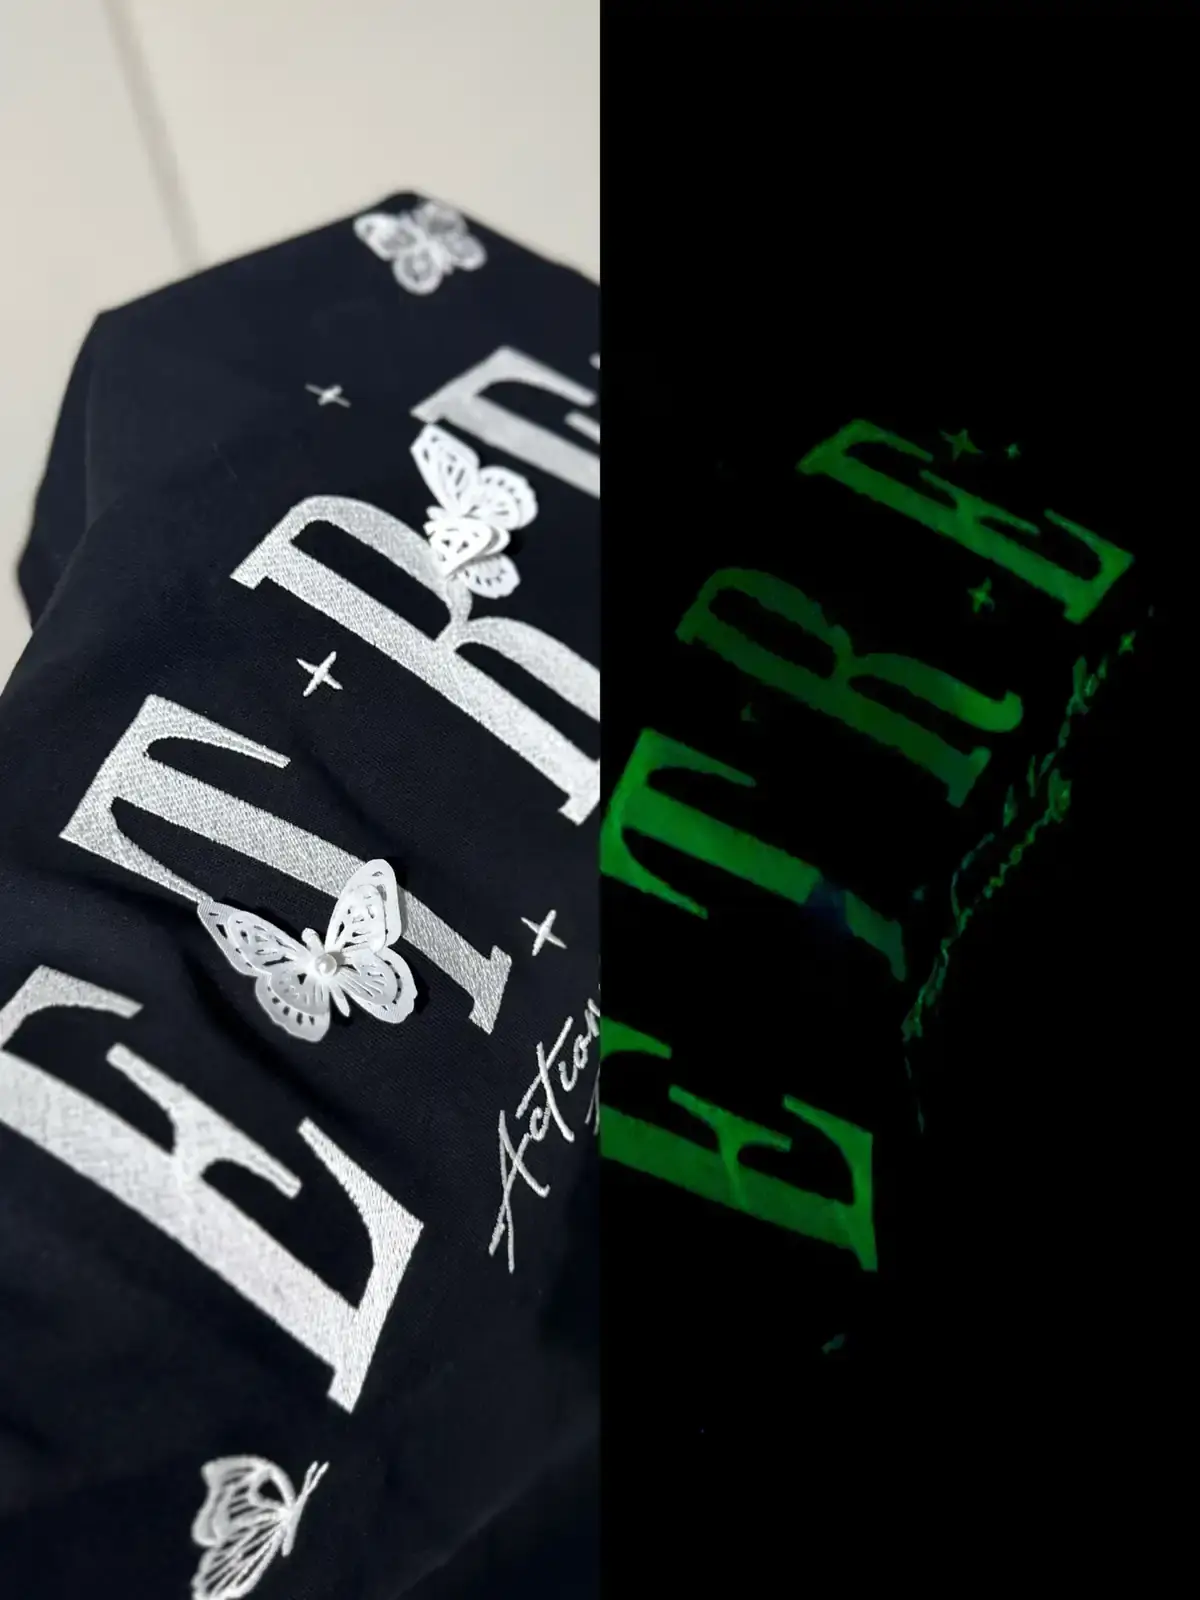
The large-letter garment reference is a useful example: pale lettering and small star details provide a clear daytime contrast against dark fabric, while the dark view emphasizes luminous areas. For your own design, a short word, initials or a simple symbol can provide a clear focal point. Check that the chosen glowing elements make sense together at the finished size.
Glow thread can also be used selectively within ordinary embroidery. A moon and a few stars might carry the effect while other colors provide the daytime scene. Mark these areas explicitly in the artwork rather than relying on a general instruction to “make the design glow.”
Design ideas for caps and clothing
Choose the product and placement before finalizing the motif. A compact cap emblem has a different viewing area from a hoodie chest design or larger lettering on a garment panel.
| Application | Possible glowing feature | What to review on the sample |
|---|---|---|
| Cap | A compact emblem, initials or a simple outline | Shape and readability at finished size on the curved cap front |
| Hoodie or sweatshirt | A moon, stars, landscape highlights or chest motif | Whether the luminous elements remain recognizable when other colors are less visible |
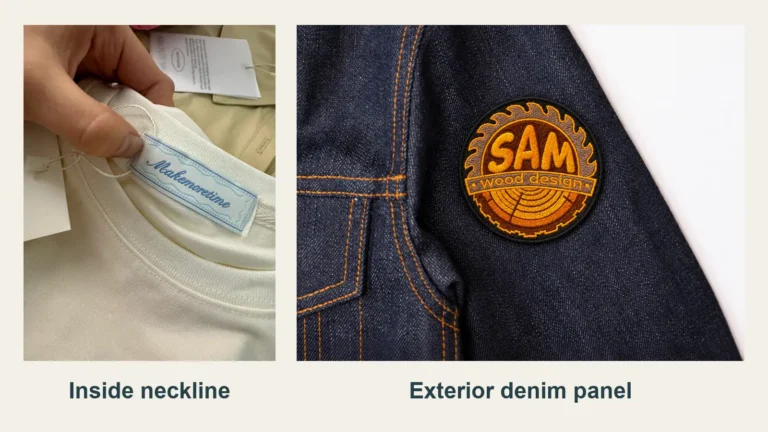
| Larger garment decoration | Short lettering or selected graphic details | Placement, stitch finish and the intended normal-light/dark relationship |
| Separate patch | A seasonal icon, simple character or short message | Both appearances, the finished border and the chosen attachment |
Keep a cap emblem simple
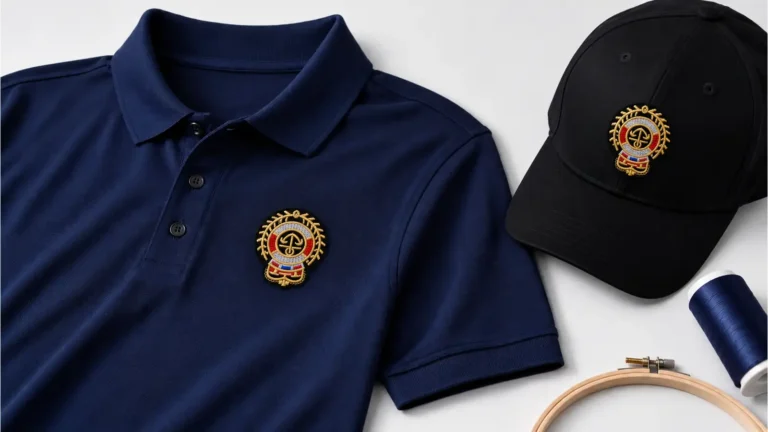
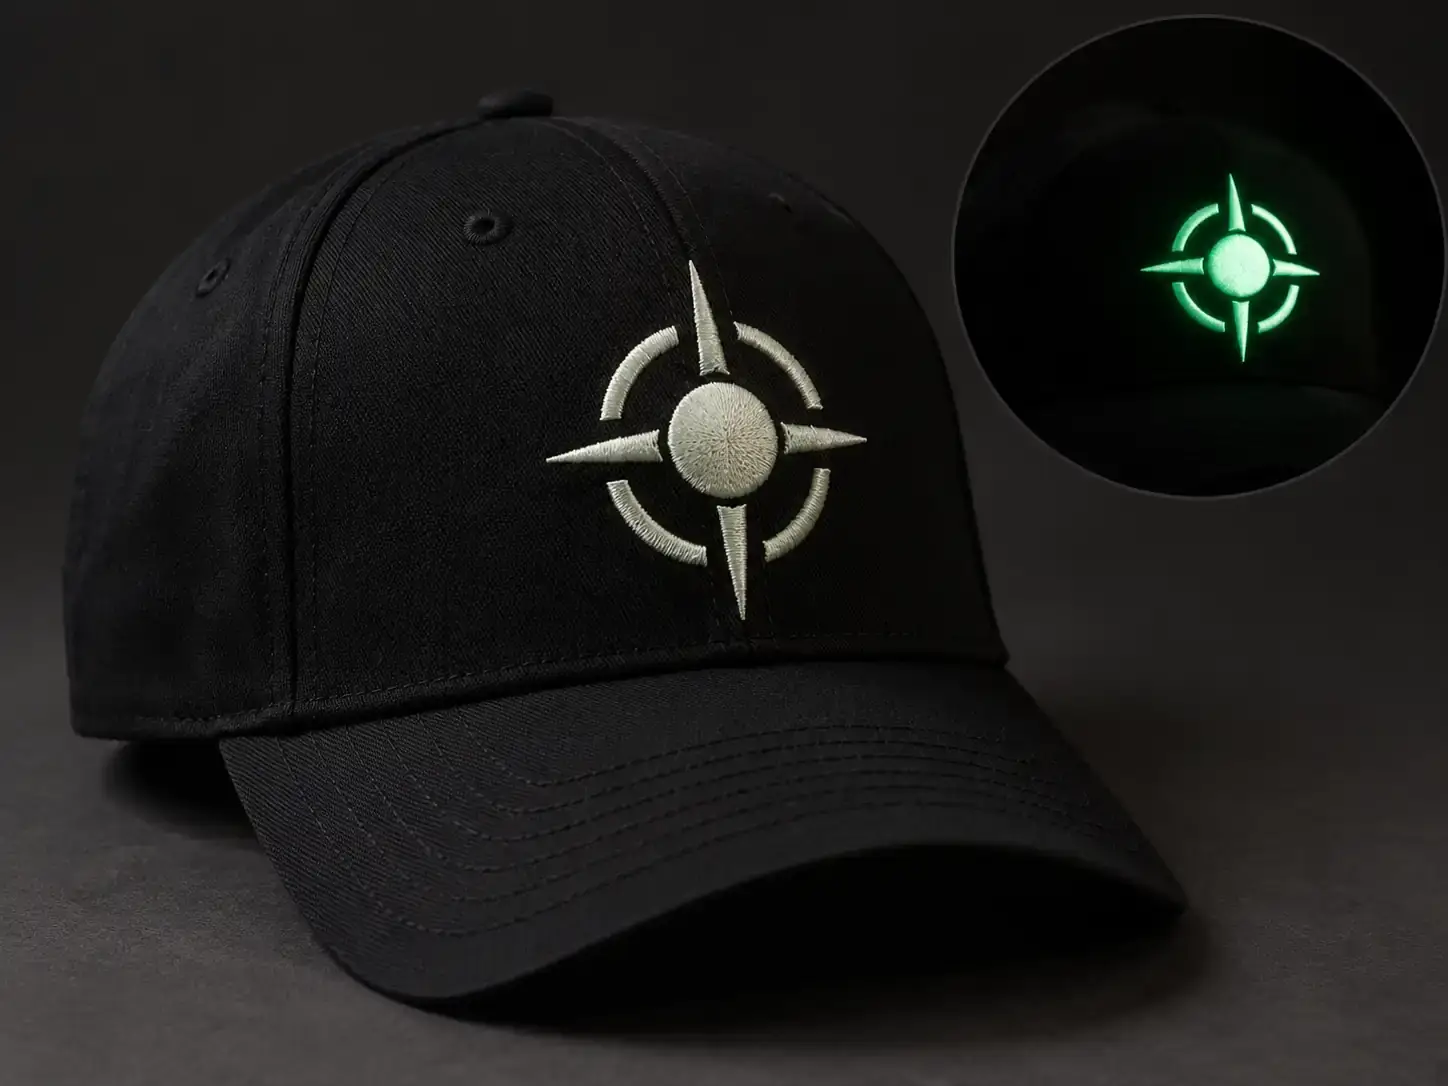
The cap reference uses a prominent central motif, with an inset presenting its dark appearance. An outline or a few well-separated shapes can communicate the concept without adding many tiny features. Ask for a stitched sample on the intended cap style: the curved surface, seams and actual placement still need to be considered alongside the glow effect.
Use a hoodie design to reveal selected details
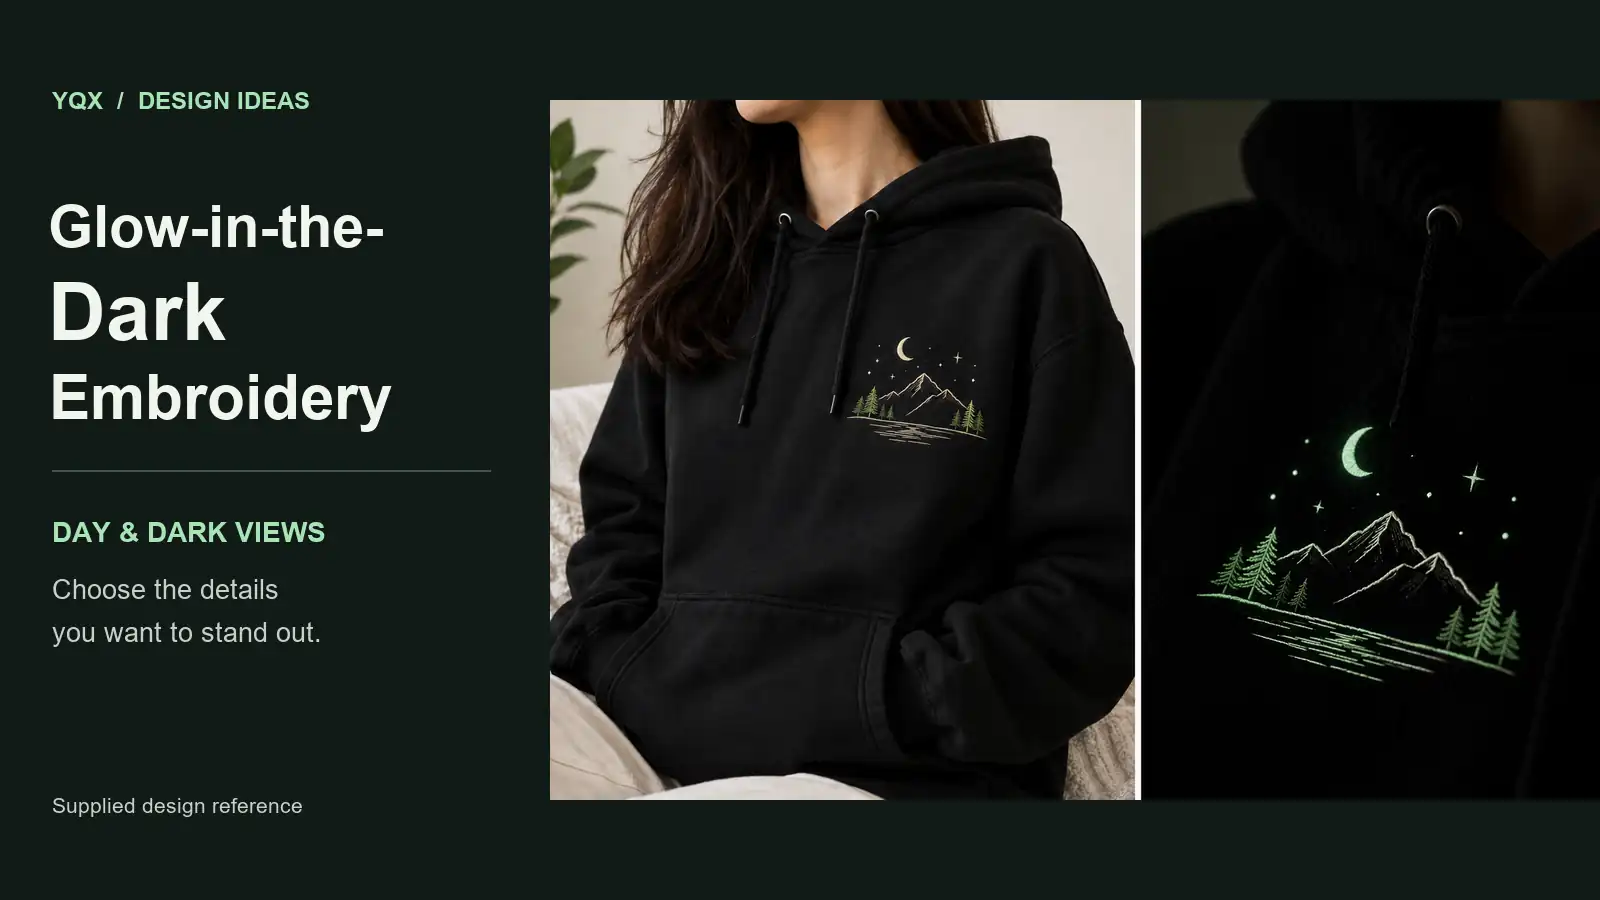
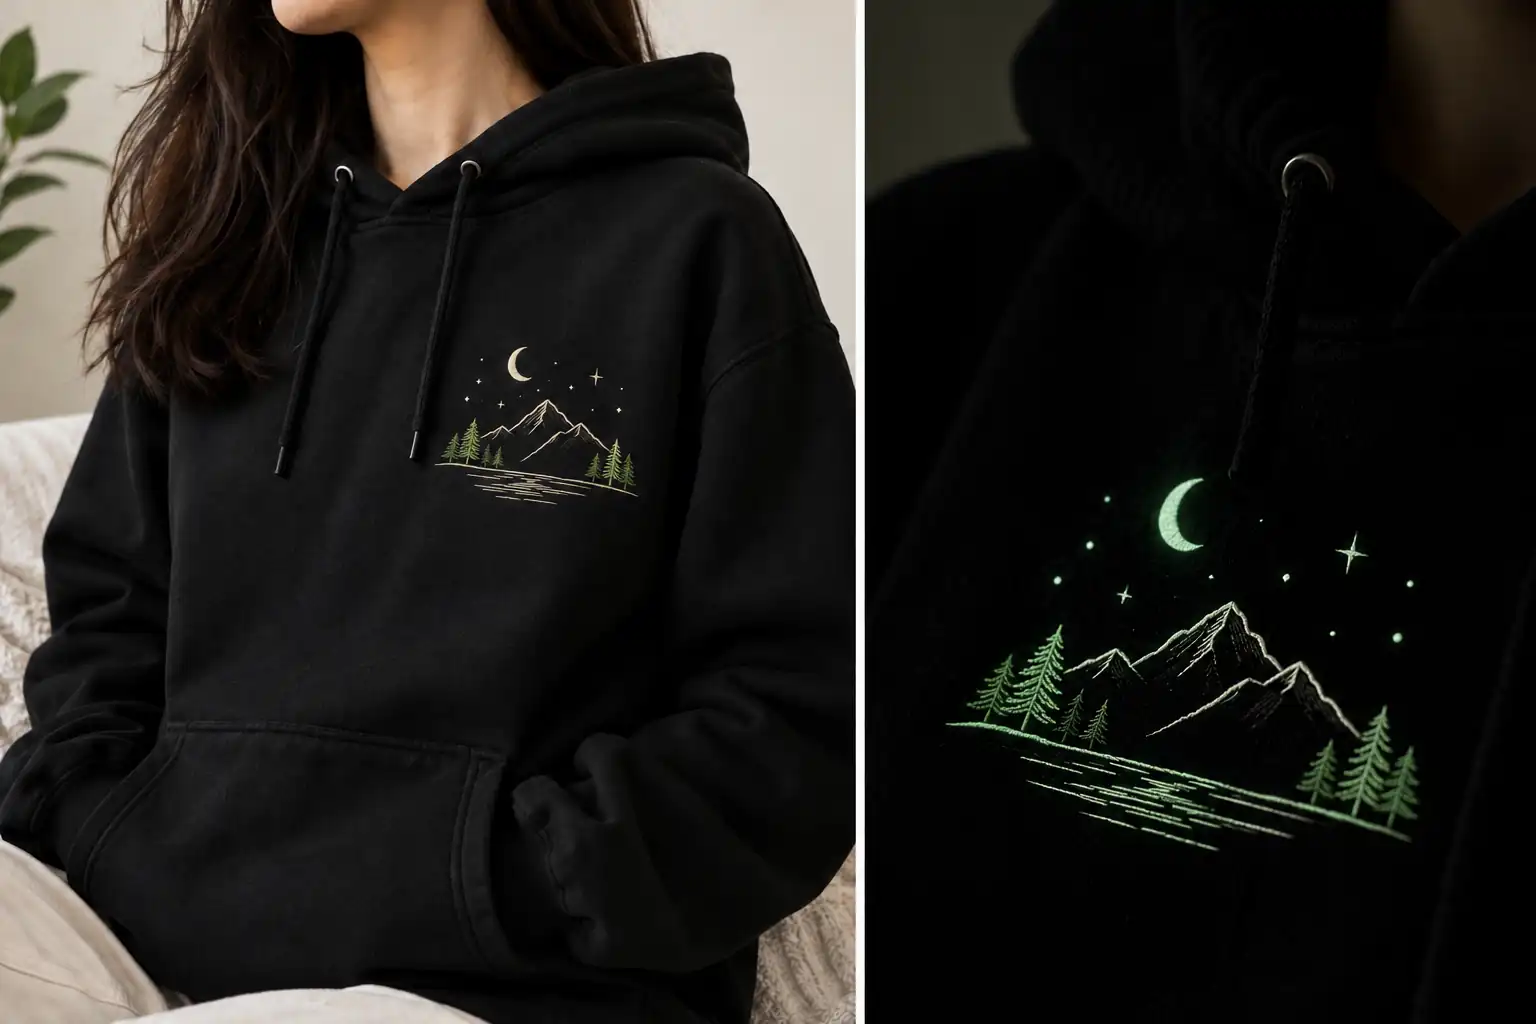
The hoodie reference combines a moon, stars, mountains and trees. It suggests a way to build a daytime composition that has a second emphasis in darkness. You can highlight selected details or make a larger part of the scene luminous; compare both options on the real stitched design before deciding.
Keep the placement visible when the garment is worn. Review the motif with the hood and drawcords in their normal positions, and check the fabric around the embroidery for distortion. The final sample should represent the intended garment or panel material, not only a convenient test swatch.
Use the same idea for an embroidered patch
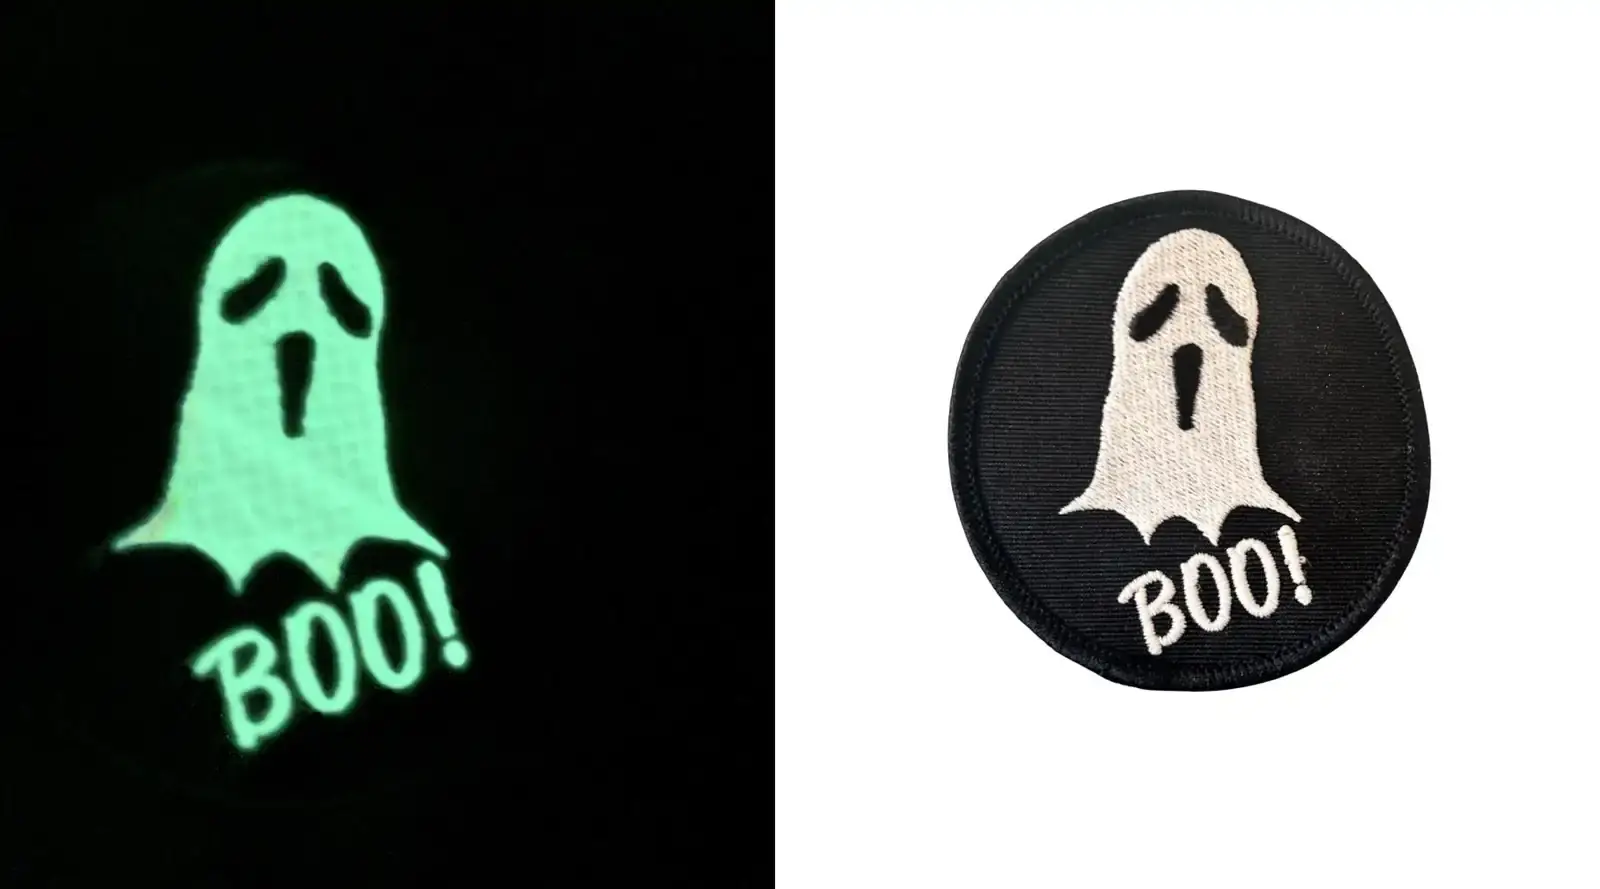
A separate patch provides another format for a glow design. A simple icon or short phrase can become a themed accessory for clothing, bags or a seasonal collection. The ghost-and-“BOO!” reference shows how the light-colored motif can provide a normal-light appearance while the dark view emphasizes the same central design.
Plan the finished size, border and attachment as well as the glowing area. If the patch will be sewn on, used with hook-and-loop or applied by another method, include that intended construction in the sample request. The luminous thread does not settle the attachment choice. YQX's custom embroidered patch options provide a starting point for discussing the complete patch.
Select the actual thread before approving the colors
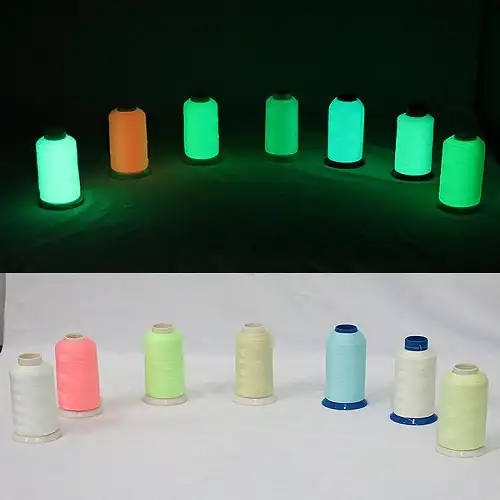
The color you see in ordinary light and the color of the glow are separate decisions. For example, Madeira's LUNA thread has a pale normal-light appearance and a greenish glow. That is a specific product example, not a universal palette for all luminous threads.
Ask for the proposed thread reference and a stitched color sample. A screen image of thread cones cannot confirm the color, brightness or duration that your finished embroidery will achieve. The supplied cone image is useful as a visual reminder to compare both appearances, but it does not identify a manufacturer or thread specification.
Machine settings and care instructions should follow the selected thread, fabric and construction. Confirm them during sampling rather than transferring a needle size, stitch density or washing claim from a different product. Review the actual embroidery again after the agreed garment or patch care routine.
Check a glow sample under repeatable conditions
A useful sample review records how the thread was charged and when it was viewed. It does not rely only on the brightest photograph. For comparing candidates:
- Confirm the sample identity. Record the artwork version, finished size, fabric and luminous thread reference.
- Review it in normal light. Check color, lettering, placement, stitch finish and how luminous areas blend with ordinary embroidery.
- Use the same charging setup. Record the light source, distance and exposure time, following the selected thread's guidance.
- Compare in the same dark viewing conditions. Check which elements remain recognizable at the same viewing distance, both initially and at later intervals relevant to the project.
- Keep photography consistent. If using photos to compare samples, keep the camera position and exposure settings consistent. A camera image alone is not a measurement of brightness.
- Repeat after the agreed care routine. Keep the approved sample and its thread, care and viewing records together for the production order.
There is no single glow-duration promise that can be inferred from the reference images. If a project needs a particular afterglow result, define the charging and viewing conditions before asking the supplier to assess the sample against it.
Develop your glow-in-the-dark design with YQX
Prepare the artwork with luminous areas clearly marked, the intended normal-light colors, product type, placement and finished dimensions. Include quantity, fabric or patch base, attachment requirements and intended care. If the dark appearance is central to the concept, explain what needs to remain recognizable and when you expect to view it after charging.
YQX also makes custom glow-in-the-dark embroidered patches. Alongside clothing and cap ideas, you can develop a separate luminous patch around your own logo, lettering or themed motif. Contact YQX with the design and application details to discuss thread selection, patch construction and sampling.
Featured image note
Editorial layout using a supplied hoodie reference in light and darkness; brightness and glow duration were not measured.