For otherwise comparable patches at the same finished size, higher embroidery coverage costs more and gives the face a fuller, richer stitched texture. That is YQX's production experience and a useful starting point when choosing a patch for clothing. A fully stitched background can make a design feel more substantial; exposed base fabric can also be an intentional part of a well-made patch.
Choose the surface you want, then approve its feel on the actual garment. Coverage alone does not specify stitch density, finished weight, flexibility or workmanship. This guide explains the common 50%, 75% and 100% options and how to compare them before requesting a quotation.
What Does Embroidery Coverage Mean?
Embroidery coverage describes how much of the patch face is covered by decorative stitching. In a partial-coverage design, some base fabric remains visible and supplies part of the background color. In a full-coverage design, stitches form the intended background as well as the main motif. Stadri's embroidered-patch guide explains this use of exposed twill as a design choice.
The percentage is a description of covered area. It does not tell you how tightly the stitches are packed into that area. Wilcom's stitch-spacing explanation treats spacing as a separate digitizing setting: closer stitch lines produce a different density. A small stitched logo on a large exposed background can have dense stitching within the logo while retaining low overall coverage.
Keep three terms separate when approving a specification:
| Term | What it describes | What to ask the supplier |
|---|---|---|
| Coverage | How much face area is stitched rather than intentionally exposed base fabric | Which areas stay unstitched, and which coverage category applies? |
| Stitch density | How closely stitches are placed within a stitched area | Is the stitch construction appropriate for this thread, base and design? |
| Stitch count | The number of stitches in the production file | What is the estimated count for each proposed version? |
A coverage percentage is not a quality score. Intentional exposed fabric is different from unwanted gaps within an area that should be filled. The approved artwork and sewn sample should make that distinction clear.
Comparing 50%, 75% and 100% Embroidery
Suppliers commonly use these percentages as quotation and design categories. Patches4Less, for example, presents minimal, moderate and full embroidery examples with 50%, 75% and 100% labels. Use the labels to start a discussion, then mark the actual filled and exposed areas on the proof.
| Common option | Intended face appearance | Useful design direction | Approval priority |
|---|---|---|---|
| 50% or partial coverage | A substantial part of the base remains visible | Lettering, an emblem or a simple motif using the base color as background | Base shade, visible fabric texture and contrast around the stitched elements |
| 75% or higher partial coverage | More filled areas, with some base still deliberately exposed | A fuller motif that retains selected open spaces | The exact exposed regions and whether the expected stitched texture is achieved |
| 100% or full coverage | The intended face background is stitched as well as the motif | An all-thread surface with a strong, continuous embroidered appearance | Even intended fill, clean detail, surface character and suitability for the garment |
These descriptions are starting points, not a shared measurement standard. THE/STUDIO's coverage descriptions say its 75% option can appear fully embroidered, while its 100% option covers nearly the entire face. An appearance described as "full" is therefore not enough to identify a specification. Ask how the supplier estimates coverage, treats the border and assigns the price category.
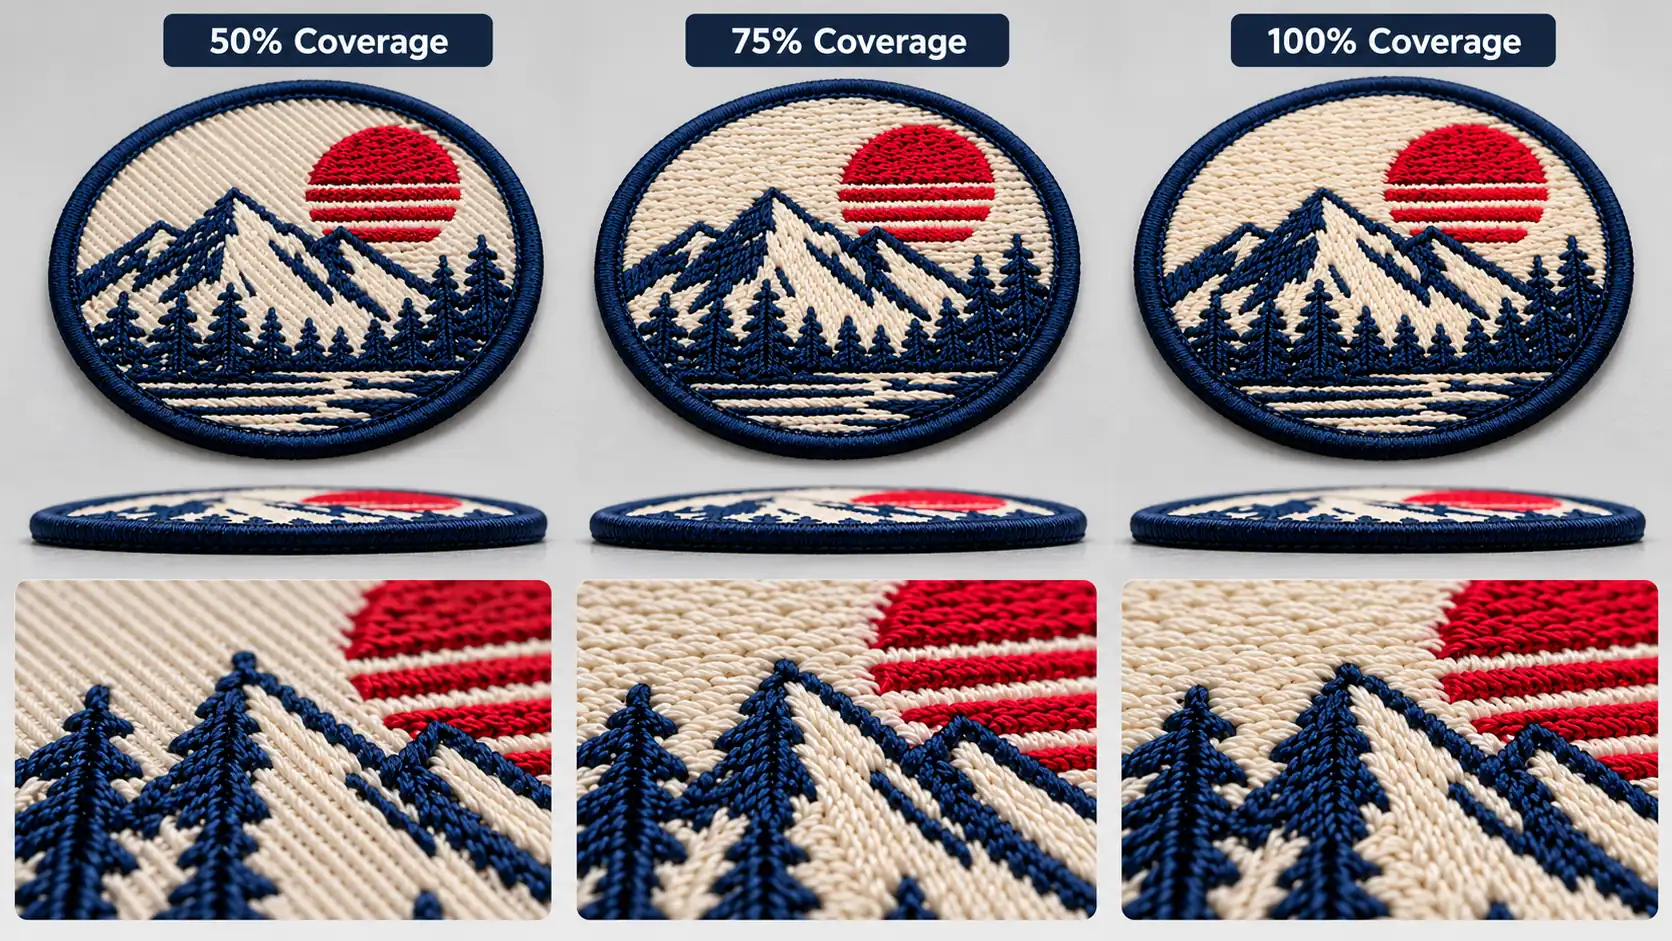
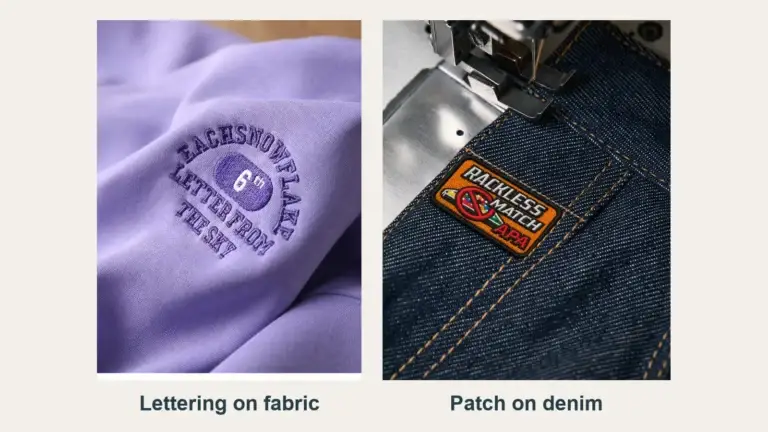
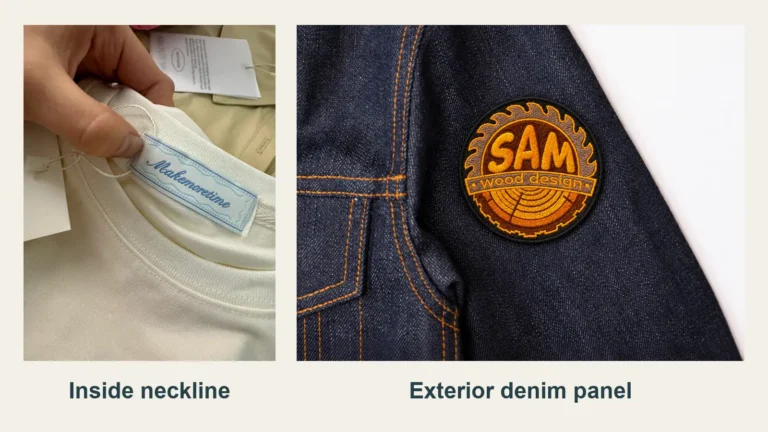
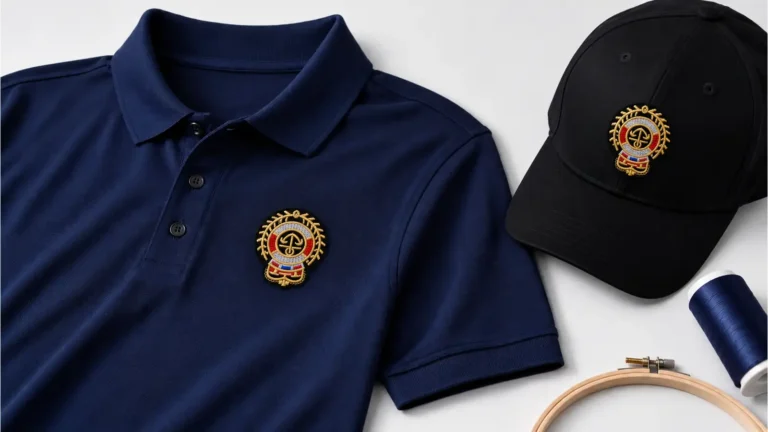
The reference illustrates how a buyer might discuss coverage options. Its percentage labels do not establish measured stitched areas, equal sample weights or a price difference. For an order, approve the fill map and physical result rather than matching a label in a picture.
Why Higher Coverage Costs More at the Same Size
In YQX's experience, filling more of the face raises the cost of an otherwise comparable same-size patch and creates a more substantial embroidered texture. The additional filled regions usually add stitching work. Wilcom's density-adjustment documentation also connects reducing total stitch count with reducing production cost; it does not provide a cost formula based on coverage percentage.
Do not interpret the trend as a fixed surcharge per percentage point. A change from 50% to 100% coverage does not mean that the finished patch price doubles. Digitizing, stitching sequence, thread changes, finishing and the order specification still matter. Suppliers may also group several coverage levels into one commercial category: Stadri's current product page separates a partial-coverage pricing category from full embroidery rather than using the same three price bands as every other seller.
For a meaningful comparison, request two versions of one design at identical finished width and height. Keep the shape, base fabric, thread specification, border, backing, quantity and packing the same. Ask the supplier to identify any unavoidable changes and explain which work creates the difference in the quotation. A lower price that also changes the backing or thread is a different comparison.
What "Better Texture" Means on Clothing
Higher coverage gives the eye more stitched surface to read: thread direction, reflected light and filled color areas become more prominent. For a substantial badge on a denim jacket, that can be exactly the richer finish a brand wants. For a minimal logo, the contrast between smooth base fabric and raised stitching may be the intended look. Agree on a reference and describe the desired surface instead of requesting "better quality" without defining it.

Surface fullness and softness are separate preferences. Madeira's technical FAQ identifies backing, excessive stitch density and thread choice among factors that can make embroidery feel stiff. Its guidance concerns embroidery construction generally; the feel of a finished patch also needs to be assessed with its own base, edge and attachment backing in place.
Full coverage does not prescribe a particular thickness or weight. Stitch type, underlay, thread and the complete backing construction can change the result. Two patches with the same nominal coverage can therefore feel different. Avoid specifying a universal weight increase or assuming that the fully stitched version must always be the most flexible.
Check the patch on the intended garment and placement. A finish that works on a firm jacket panel may feel too structured on a light shirt. Look for local sagging, an overly rigid area, rubbing at an edge or movement that differs from the intended fit. These are checks to make on the sample, not results that can be inferred from the coverage picture.
Compare Matched Samples Before Bulk Production
Use a controlled comparison when coverage is the decision still open. The following is a practical buyer review, not a laboratory test standard.
- Mark the artwork. Label Version A with the base areas that may remain visible and Version B with the additional areas to be filled. Keep the same finished dimensions and motif placement. Identify any border areas the supplier includes in its coverage estimate.
- Lock the other components. Use the same base, thread specification, border and backing where practical. Record differences that cannot be held constant. Ask for the production-file reference and estimated stitch count for each version.
- Review the sewn faces together. Use the same lighting, viewing distance and orientation. Compare color, line clarity, intended exposed base, filled areas and the direction of the stitched surface. Distinguish intentional open areas from missing fill, loose loops or distorted outlines.
- Check feel and optional measurements. Bend and handle both complete patches in the same way. If weight matters, record the actual readings, number of pieces weighed and balance resolution; use the same backing and moisture condition. If measuring thickness, record the instrument and contact method because compressible embroidery responds to how it is measured.
- Approve an attached garment sample. Use the intended fabric, location and attachment method. Assess appearance, local drape, edge comfort and movement. Follow the agreed care process where care performance is part of the order, then document observations and acceptability.
The finished size, coverage map and approved sample should travel together into the production specification. A digital image can confirm layout, but a photograph cannot confirm softness or weight. Retain the selected sample and record which changes need fresh approval before the bulk run.
Do not try to improve the surface by requesting the tightest possible density. Melco's density troubleshooting guidance warns that overly tight stitching can perforate the material and contribute to thread breaks. Filling additional design areas and forcing more stitches into an already filled area are different changes; each needs appropriate digitizing.
What to Send YQX for a Coverage Comparison
Send the artwork, finished width and height, quantity per design and colorway, target garment fabric and placement, and preferred border and backing. Add a reference showing the stitched surface you want and identify where exposed base fabric is acceptable. The artwork preparation guide covers the file preparation; the quotation checklist covers the wider enquiry.
A useful request is: "Please compare a partial-background version and a full-background version of this design at the same finished size. Keep the base, thread, border, backing and quantity the same, identify the filled areas and coverage category, and quote both options with sample approval."
YQX can review the custom embroidered patch construction and explain the cost and surface tradeoff. If the priority is fine detail rather than a fuller stitched face, the embroidered-versus-woven comparison addresses that separate choice. Request a coverage review and quotation with the same-size alternatives you would like to compare.
Questions Buyers Often Ask
Does 100% coverage mean more thread colors?
No. A background can be filled using a color already in the design. Coverage describes stitched area; the color specification is a separate field. Confirm both on the proof.
Is visible twill a defect?
Not when it is part of the approved partial-coverage design. It becomes an issue when fabric shows through an area that was supposed to be filled or when the base shade differs from the approved sample.
Can I calculate the finished price from the coverage percentage?
No. Use it to define the intended face, then request a quotation for the complete specification. Coverage categories and pricing structures differ between suppliers, and two files with the same percentage can require different production work.
Is full coverage always the best choice for apparel?
It is a strong choice when the aim is the fuller embroidered texture described above. Select the version that also works with the garment's structure, placement and intended movement, and approve the complete physical sample before production.
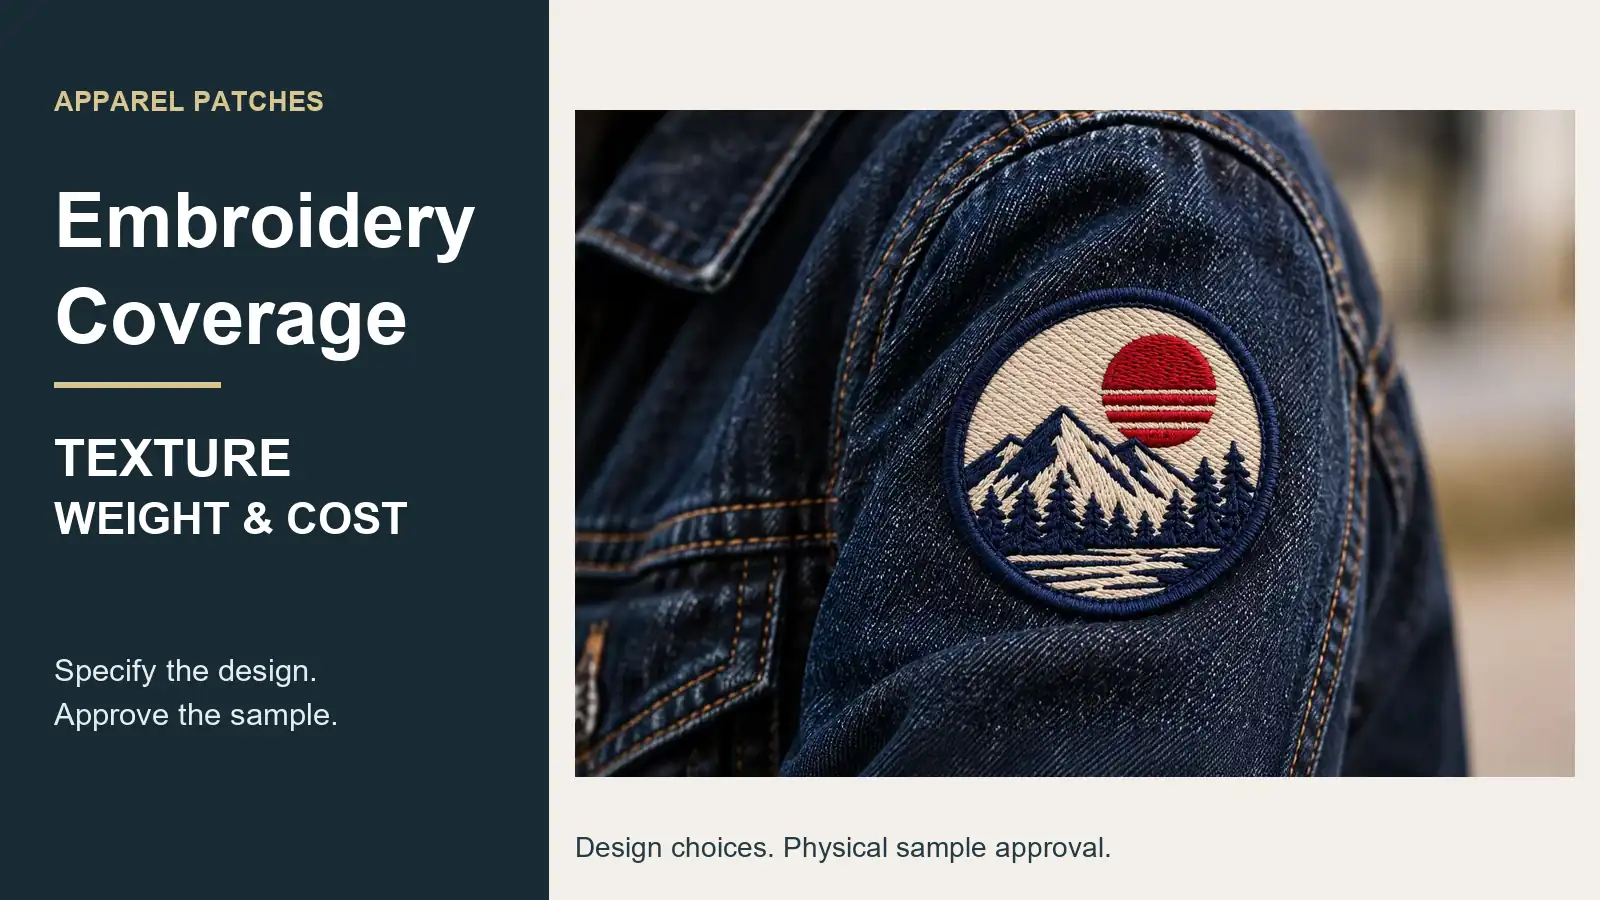
Editorial cover using a supplied patch-on-garment reference. The image is illustrative and does not provide measured coverage, weight or cost data.