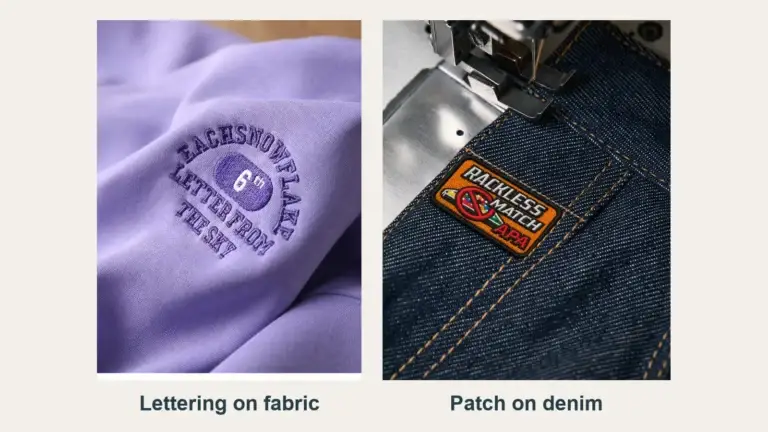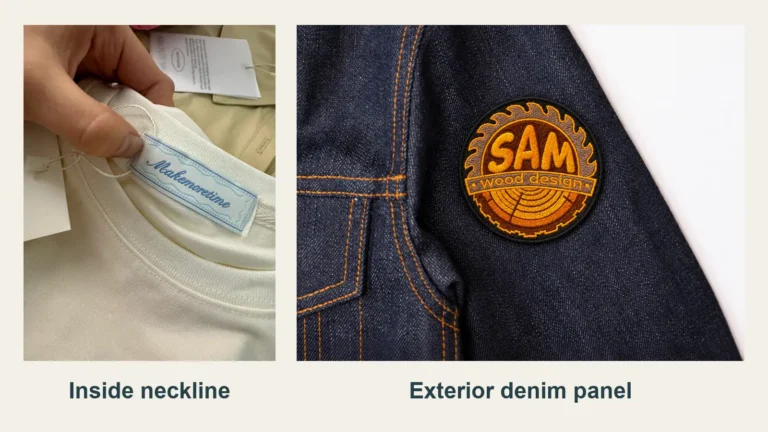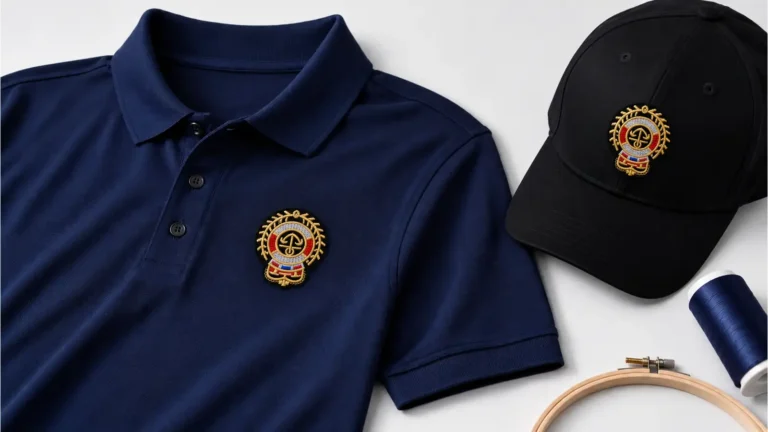
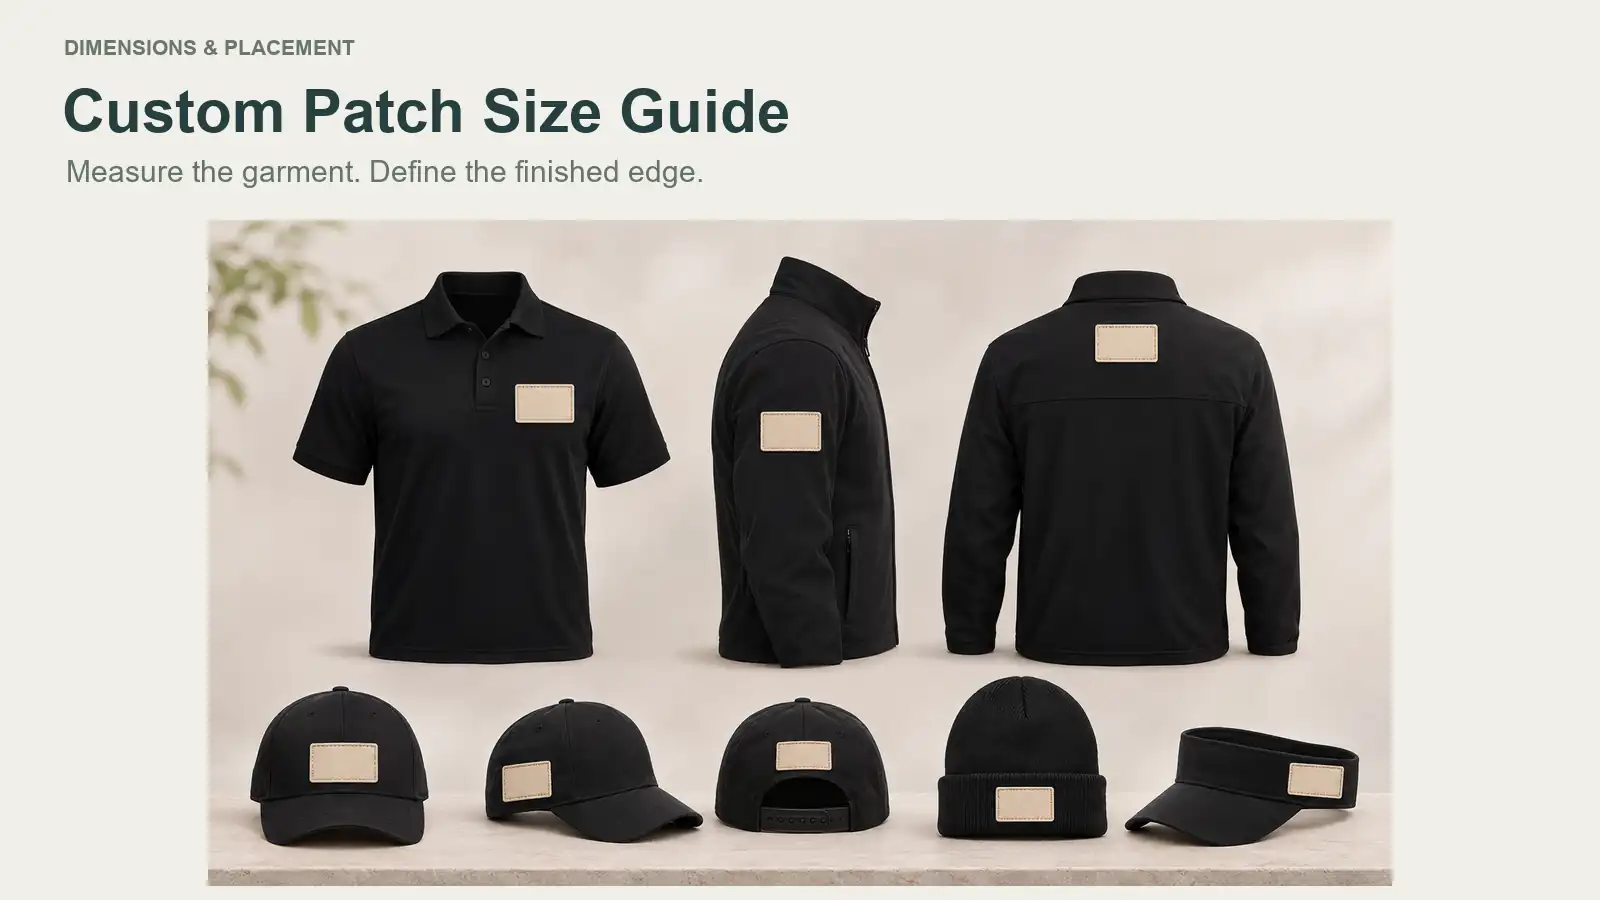
Choose a custom patch size by measuring the usable area on the actual garment or accessory, defining the patch’s complete finished outline, and checking the design at that size. A logo that looks balanced on a screen may cover a pocket, crowd a seam or lose important lettering when made smaller.
There is no single best width for every chest, sleeve or cap. Treat the garment space, the finished patch dimensions and the detail inside the patch as three separate checks. The size you approve needs to work for all three.
Start with the area the patch can actually occupy
Use the garment model and size intended for the project. Lay it naturally without stretching it and identify the target location. Mark the nearby features that affect the available shape: seams, pockets, zips, plackets, folds and curved sections. A convenient rectangle measured across the front is not necessarily usable at every point inside it.
Record the available width and height together with a placement photograph. Show the surrounding features, the intended top of the design and a ruler in the same plane as the measured area where practical. For repeatable placement, agree which garment landmarks the position is measured from and whether the measurement locates the patch centre or an edge.
Keep the attachment process in view. A patch may fit visually over a pocket but obstruct its use, or fit a panel while leaving poor access for sewing. Do not assume that a seam crossing or a tight space can be handled by every attachment method. Agree the clearances and installation requirements for the particular item instead of applying a universal margin.
Check each product context
A chest panel, sleeve and cap front offer different shapes. On a cap, consider the curvature and panel seams; on a sleeve, check the surface as it bends and is worn. Describe whether a measurement follows the surface or represents a straight span, and use a placement template to resolve the fit. A single flat width number does not describe all of a curved location.
If the range includes several garment sizes, check representative items and the most restricted locations. A patch approved on the largest shirt should not automatically be carried across the whole size range. Likewise, an acceptable front placement says little about the space available on a cap or bag.
Specify the finished outer dimensions
Make the approved drawing explicit about what its dimensions include. For the method used in this guide, finished width and height refer to the complete outer outline, including the final border or edge treatment. They do not refer only to the colored embroidery inside it.
A logo’s artwork box, the stitched design extents and the finished patch outline can be different. Show the final outer boundary on the drawing so that a supplier can review the space available for the internal design and its edge. Avoid subtracting a standard border width from every patch; the actual border and shape need to be agreed for the design.
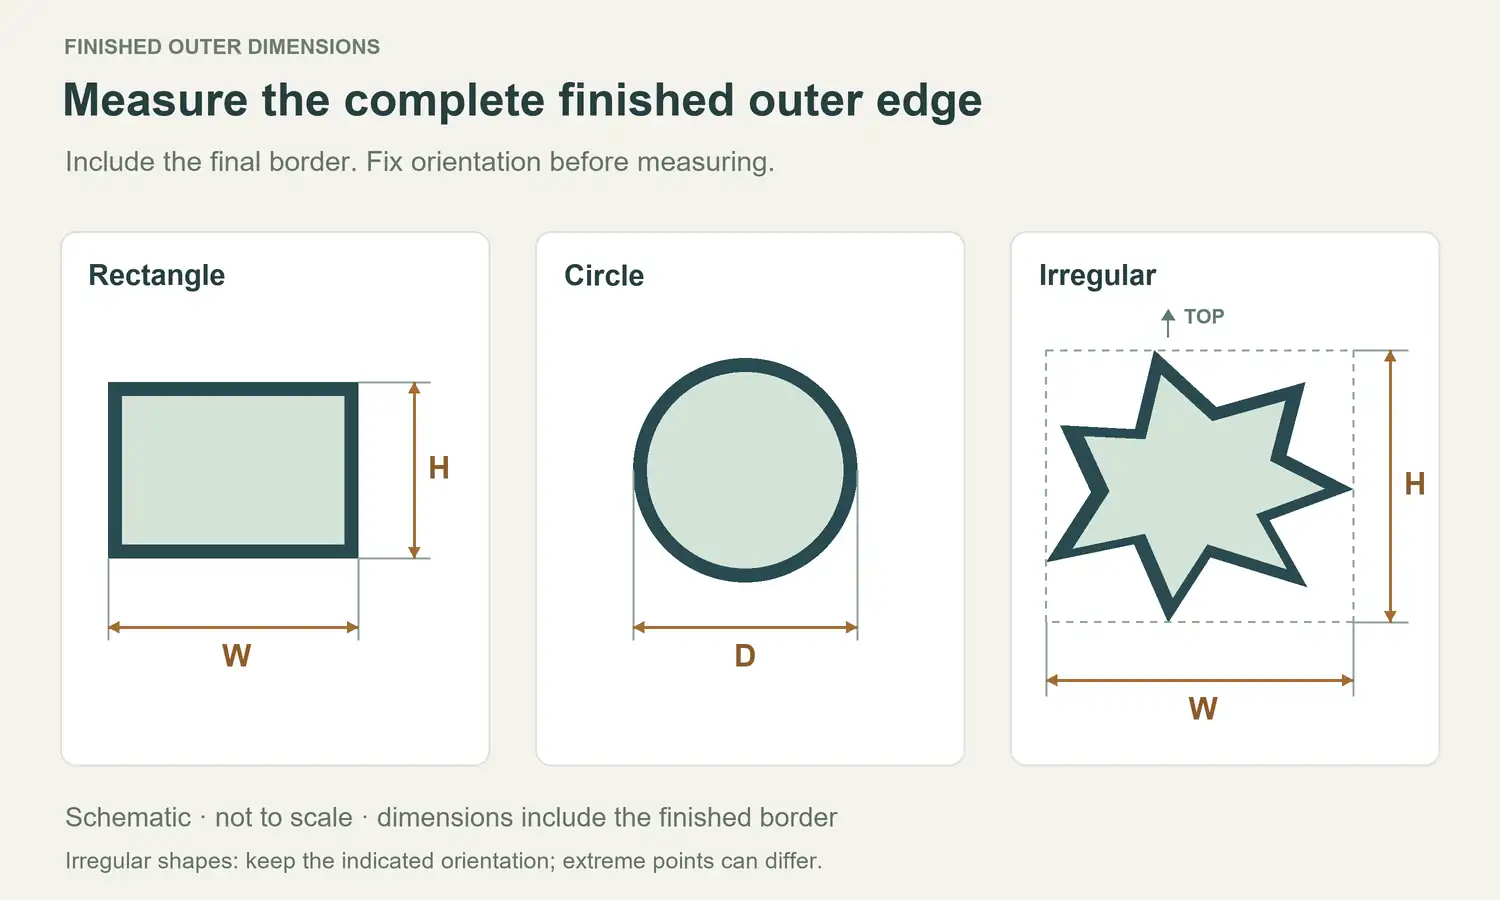
Measuring an irregular shape
First fix the intended orientation: mark the top or use the normal reading direction of the artwork. Then imagine a horizontal-and-vertical box just enclosing the complete finished outline.
- Width, W: the horizontal distance from the leftmost outer point to the rightmost outer point.
- Height, H: the vertical distance from the topmost outer point to the bottommost outer point.
- Circle: specify the outer diameter, and show the orientation of the design inside it when that matters.
For a star, script wordmark or winged shape, the width and height limits may occur at different points. Measure the horizontal and vertical spans separately. A diagonal tip-to-tip measurement or a tape following the perimeter does not communicate the same dimensions.
W × H describes the outline’s overall envelope. It does not mean that the patch fills the rectangle, or that the rectangle equals the embroidered area. Fit the actual contour against the garment, especially where a projecting tip approaches a seam or an edge. If you rotate the intended placement, update the drawing and its dimensions in that orientation.
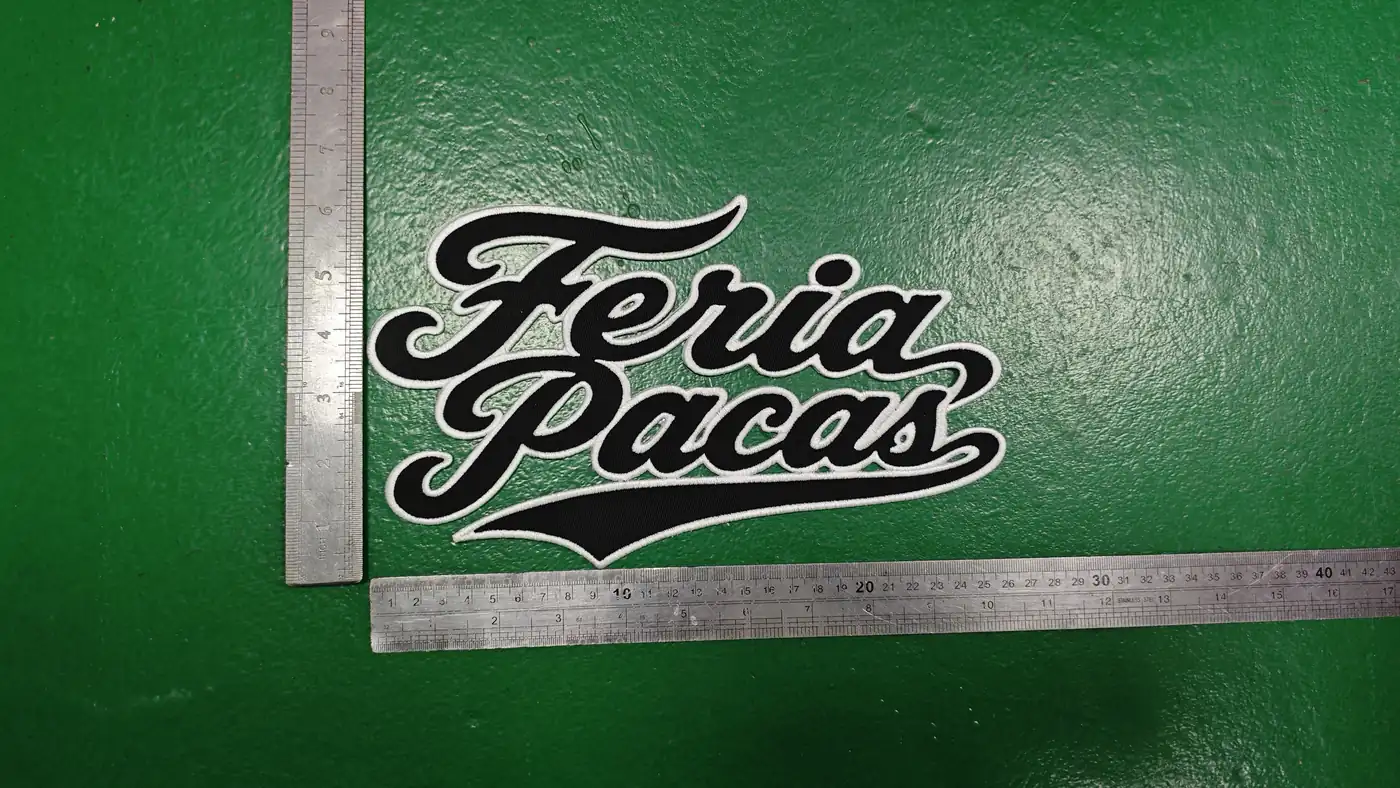
Use one controlling unit in the specification. One inch equals exactly 25.4 mm, so 3 inches is 76.2 mm. A nominal 75 mm size is approximately 2.95 inches; do not label 75 mm and 3 inches as two equally exact requirements. If both units are shown, identify the controlling value and mark the conversion as a reference.
Also distinguish physical dimensions from a supplier’s quotation convention. If a quote uses an average dimension or another size category, ask how it is calculated and keep the approved finished width and height alongside it. A quotation label cannot replace the physical outline specification.
Compare the same artwork at candidate sizes
Prepare a small number of candidates that retain the intended proportions. For example, a fictional 3:2 design could be compared at 60 × 40 mm, 75 × 50 mm and 90 × 60 mm. Those are layout examples, not recommended chest, sleeve or cap sizes.

Compare the candidates in their intended location. Look at the relationship to the garment, the empty space around the patch and the distance from nearby features. The largest candidate may offer more room for a graphic while fitting the garment poorly. A smaller one may look balanced but need simpler lettering or fewer fine details.
Check the smallest letters, narrow gaps and thin lines at the proposed finished size. Wilcom’s explanation of embroidery fonts and printing fonts describes why embroidery lettering has size-dependent limits: a shape that displays or prints clearly is not automatically suitable for stitches in fabric. There is no single minimum letter height that makes every font and material work.
Ask the supplier to review the artwork and digitizing for the chosen size. If the design becomes too crowded, discuss simplifying detail, changing lettering or using a different construction. Merely changing the dimensions of an existing file is not approval of the resulting embroidery. Our artwork preparation guide explains the information needed for that review.
Make a paper template and check the printed scale
Create a file with the complete finished outline at the intended physical dimensions. Include the top direction, candidate identifier and a labelled control square or horizontal and vertical control lines. Print on paper large enough to contain the entire outline.
If printing a PDF in Acrobat, select Actual size rather than Fit. Adobe’s page-size guidance explains that Fit changes the scale and that Actual size can crop content that extends beyond the printable area. A correct setting still needs a physical output check.
Use a ruler to check both directions of the printed control mark and the outline’s stated width and height. Reprint if the output is scaled or clipped. A screenshot, an image copied into a document or a screen zoom of 100% does not establish the size of the paper output.
Cut around the full outer outline and position it on the actual item using a suitable temporary method that will not mark the material. Check it flat and worn, where applicable. Confirm that the orientation looks right, nearby features remain usable and the patch does not crowd the location as the item moves.
Paper helps answer a geometry and placement question. It does not reproduce a patch’s thickness, stiffness, stitch quality or attachment behaviour. Size and embroidery coverage should be considered together when reviewing how the finished decoration will sit on the material.
Send a dimensioned brief, then approve the finished result
Keep the measurement and artwork records connected so that the chosen candidate can be reproduced and reviewed.
| Record | What to include | Why it matters |
|---|---|---|
| Target item | Garment or accessory model, material, size range and location | Identifies the actual space and installation context |
| Available area | Measurements, surrounding seams or other restrictions, placement photo | Shows the usable region rather than an unqualified panel width |
| Finished outline | Approved width × height or diameter, controlling unit and top direction | Defines the complete patch footprint |
| Artwork | Current revision, colors, border and details to preserve | Connects the size choice to the design being reviewed |
| Placement | Agreed reference points and whether offsets locate centre or edge | Makes the intended position understandable |
| Approval | Candidate ID, reviewed sample and agreed dimensional checks | Keeps later production tied to the accepted version |
For physical size checks, agree the measurement condition, the outer points to use and any acceptable variation with the supplier. Flat, relaxed measurements may need clarification for raised, flexible or distorted pieces. This guide does not set a universal manufacturing tolerance.
Review a representative sewn sample at the selected finished dimensions and intended application. Look for readable letters, open gaps, an appropriate outline and the way the patch sits on the product. Use the sample-before-bulk guide for the broader approval process. If the design, size or target item changes, confirm what needs to be reviewed again.
For custom embroidered patches, send YQX the dimensioned outline, artwork, garment measurements, placement reference, backing requirement and quantity. The contact page is the starting point for a project-specific review. Choose the size through the relationship between the item, the complete patch and the design details, then record that choice clearly.
Cover: supplied garment and headwear placement illustration, used for context only. Product proportions, patch dimensions and application suitability are not validated measurements.