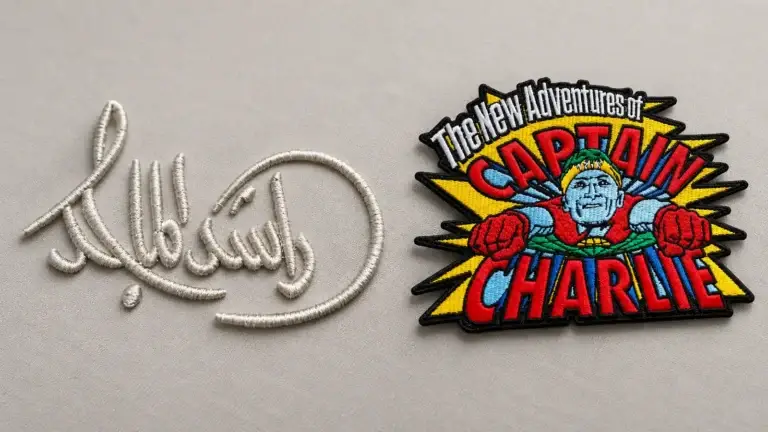
For a logo with small text, thin outlines, or tightly spaced details, a woven patch is usually the safer starting point at the same finished size. Its finer interlaced yarns form a flatter image and can preserve smaller elements. An embroidered patch uses visible stitches on a base fabric, so it creates stronger depth and a traditional badge texture but needs more room for fine features. Neither process is automatically better—or cheaper—for every project. Lock the artwork, size, border, backing, quantity, and delivery terms, then compare physical samples side by side.
The Quick Comparison
| Decision factor | Embroidered patch | Woven patch | Usual advantage |
|---|---|---|---|
| Fine lines and small text | Standard thread and stitch spacing need more room | Finer yarn and a dense weave can hold smaller elements | Woven |
| Surface appearance | Raised, directional stitches with visible depth | Flat, smooth, graphic-like surface | Depends on the desired look |
| Hand feel | Usually thicker and more structured | Usually thinner and more flexible | Woven for lightweight garments |
| Bold, traditional badge character | Strong | More understated and modern | Embroidered |
| Gradients or photographic detail | Limited | Limited; fine detail is not the same as continuous tone | Consider a printed process |
| Attachment strength | Determined mainly by backing, garment, and application | Determined mainly by backing, garment, and application | Neither by process alone |
| Price | Changes with size, coverage, stitch count, quantity, and options | Changes with size, weave specification, quantity, and options | Compare matched quotes |
Why the Construction Changes the Result
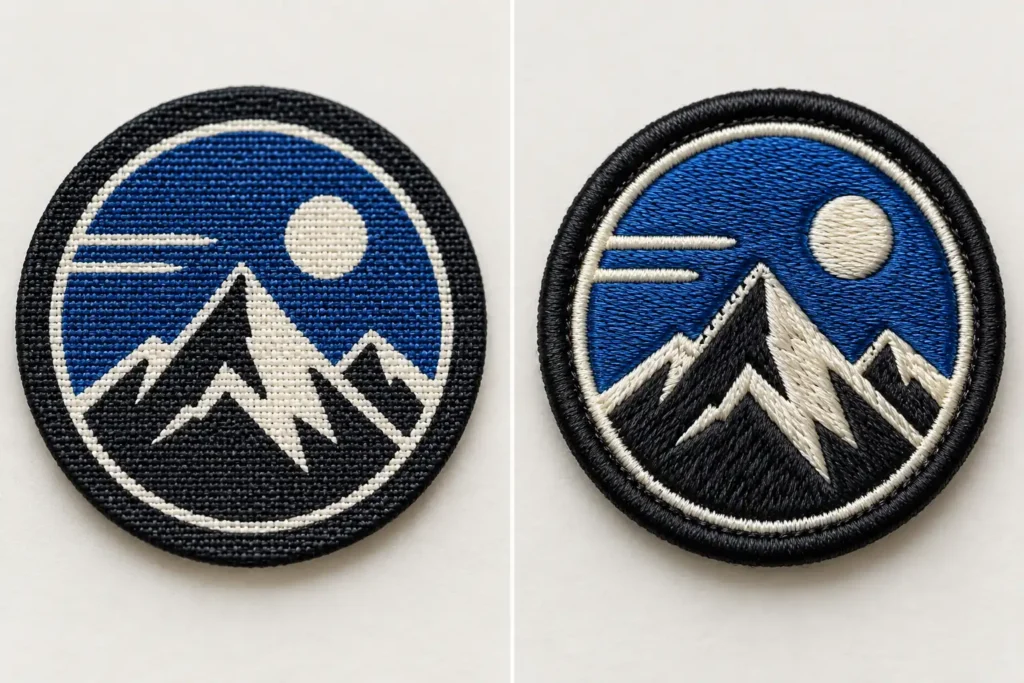
An embroidered patch normally starts with a base fabric, often twill. The design is digitized into needle movements, and embroidery thread is stitched over that base. Some background fabric may remain visible, or stitches may cover nearly the entire face. The thread sits above the substrate, so light catches the stitch direction and gives the patch a dimensional surface. That texture is part of embroidery’s appeal, but every line, gap, and letter must be translated into a practical stitch path.
A woven patch forms the face by interlacing finer yarns. The image and the ground are built into the weave rather than added as thick decorative stitching over a twill face. The result is generally flatter, smoother, and able to resolve closely spaced elements. Patch manufacturers describe woven patches as suited to fine lines, small lettering, and detailed artwork, while embroidery is commonly recommended for simpler forms and larger lettering (American Patch; World Emblem).
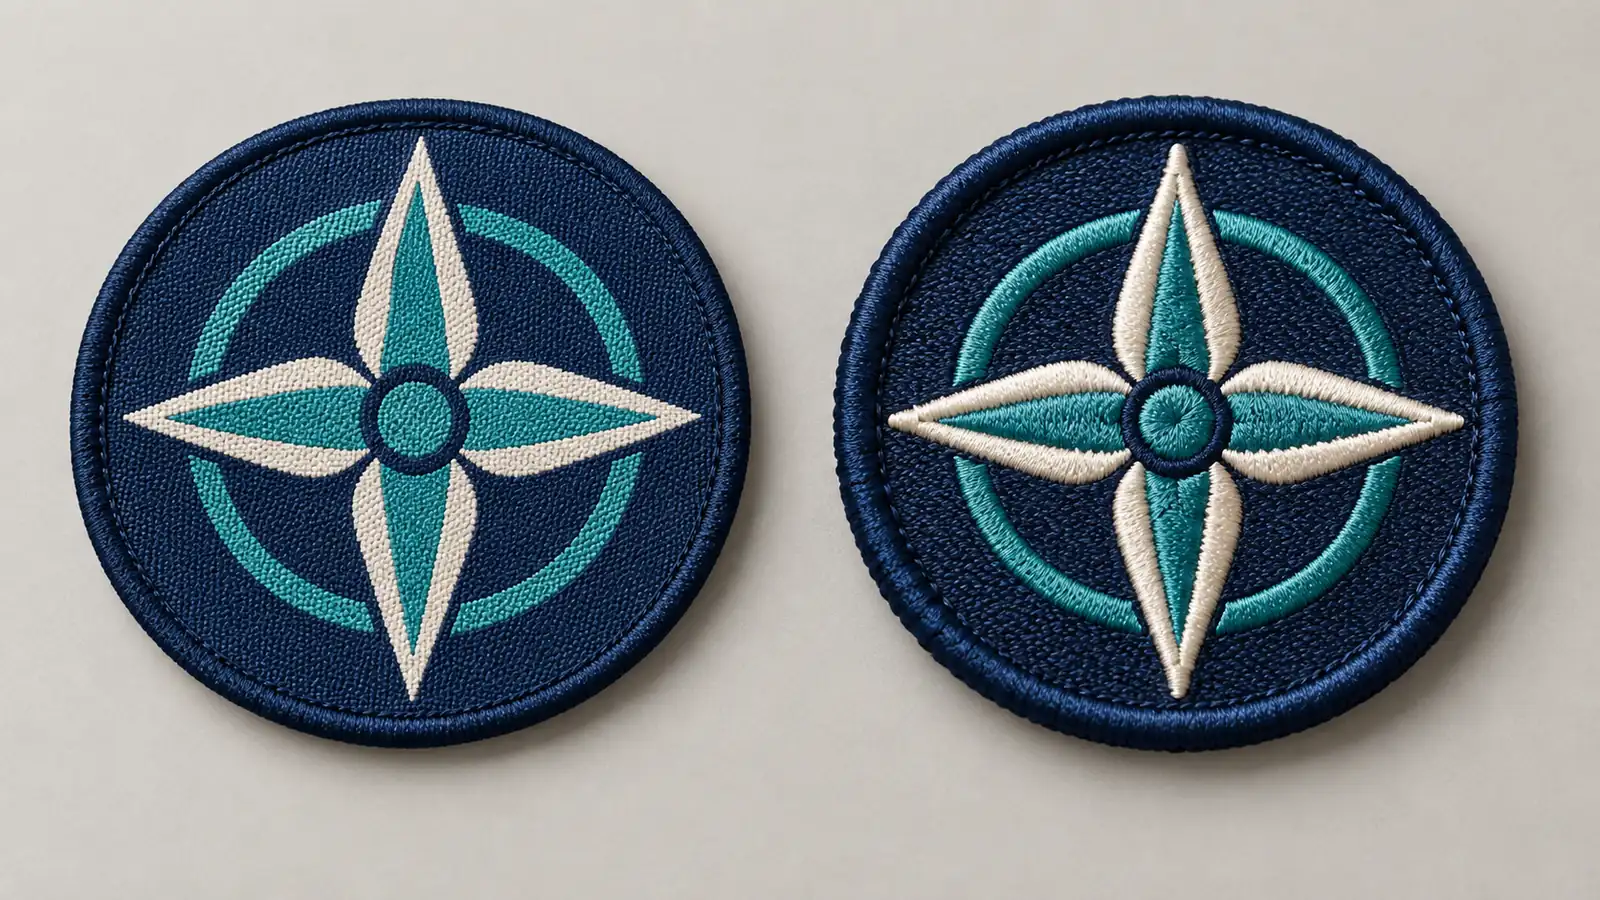
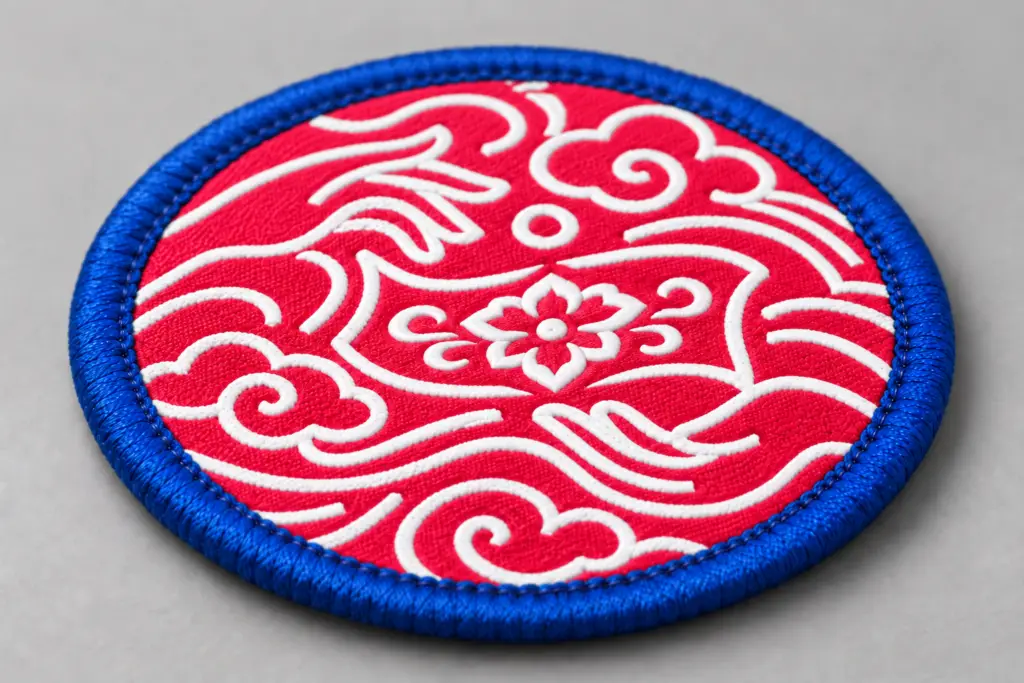
The edge is a separate decision. A rolled merrow or overlock border can give either process a heavier, traditional outline. A cut edge is usually better for an intricate outer shape. The pink woven example in the accompanying detail image demonstrates this distinction: the face is woven and relatively flat, while the blue border is visibly raised. Do not identify a patch as embroidered solely because its border is thick.
What Happens to the Same Logo at the Same Size?
Finished width and height do not tell the whole story. The real constraint is the smallest feature inside the logo: letter height, stroke width, gap width, enclosed spaces such as the centre of an “A” or “O,” and the distance between adjacent colors. Reducing the patch scales all of those elements down at once.
Small text and thin lines
Woven construction normally has more detail headroom at a fixed size. Small counters are less likely to close, narrow gaps can remain separate, and fine outlines can look more continuous. This is especially useful for compact brand marks, curved perimeter text, ingredient-like lines of copy, or detailed crests that cannot be enlarged.
Embroidery can still reproduce small text, but the artwork, digitizing, thread, needle, density, and base fabric all affect the result. A block sans-serif with open spacing is more forgiving than a thin serif, compressed typeface, or delicate script. Very fine embroidery thread can extend the practical range: Madeira, for example, lists its 60-weight polyester thread for lettering down to 3 mm and its 75-weight thread for lettering down to 2.5 mm under the manufacturer’s recommended setup (Madeira USA). This is thread-manufacturer application guidance under specific production conditions—not a universal finished-patch limit or a promise that every font, fabric, digitizer, and patch supplier can achieve it.
Supplier specifications also vary widely. American Patch recommends lettering of at least 1/4 inch (6.35 mm) for its standard embroidered patches, while World Emblem publishes a 2 mm minimum text height for its woven product. These figures illustrate different production windows; because they come from different suppliers and processes, they are not a controlled head-to-head benchmark. Ask each producer to state its minimum letter height, minimum positive line, minimum negative gap, and applicable font conditions for the exact job.
Detail is not the same as photographic reproduction
A woven patch can hold intricate line art, but it still builds an image from a finite set of yarn colors. Smooth gradients, soft shadows, and photographs may require simplification or a printed or dye-sublimated patch. Likewise, an embroidered patch can carry impressive complexity when the patch is large enough, yet enlarging the patch is what gives each stitched element room to resolve.
Before sampling, request a separate sew-out or test coupon containing the smallest intended word, the thinnest positive line, the narrowest reversed line, and the smallest enclosed space. Do not add the coupon to the final patch design. A digital proof shows layout; only a physical sample shows whether those features remain readable in thread.
Hand Feel, Edge Finish, and Attachment
Woven patches are generally lower-profile and more pliable. They tend to sit more naturally on shirts, lightweight bags, and garments where stiffness would be distracting. Embroidered patches are usually thicker and more tactile, which can suit jackets, workwear, uniforms, caps, and collectible badges. A dense backing film, heavy border, or hook-and-loop layer can make either patch noticeably stiffer, so assess the complete construction rather than the face alone.
Patch type does not determine bond strength by itself. Attachment depends on the backing system, the garment surface, correct application, and use conditions.
| Attachment method | Useful when | Main check before approval |
|---|---|---|
| Sew-on | A permanent-looking, inspectable attachment is needed | Check perimeter access, stitch appearance, puckering, and whether removal must remain possible |
| Heat-applied backing | Production needs a clean application without visible perimeter stitching | Test the exact fabric, coating, temperature, pressure, dwell time, and laundering conditions |
| Pressure-sensitive adhesive | Short-term positioning or compatible hardgoods are intended | Confirm the supplier’s substrate and wash-use limitations; do not assume garment permanence |
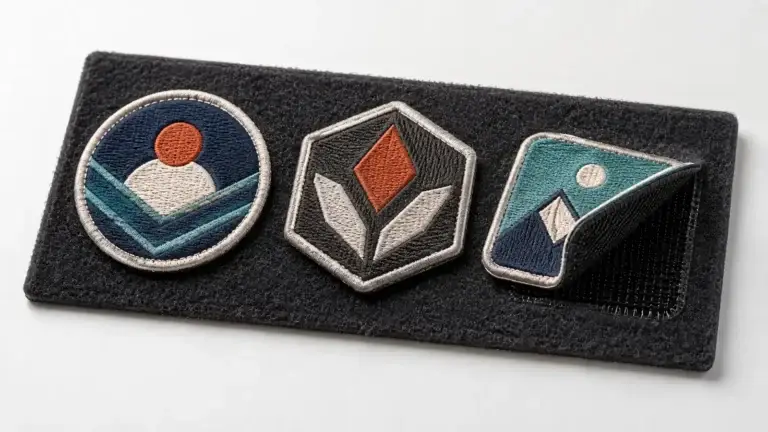
| Hook-and-loop | The patch must be removable or interchangeable | Include both hook and loop components in the quote and check added thickness |
Heat-sensitive coatings, stretch fabrics, water-repellent finishes, and textured materials can change adhesive performance. Follow the backing supplier’s application window rather than a generic iron setting. The backing-specific instructions on World Emblem’s current woven-patch page, for example, give different heat-press conditions by equipment and explicitly recommend testing the exact material before production (World Emblem).
How to Compare Like-for-Like Quotes
Do not ask one supplier for “an embroidered patch” and another for “a woven patch” without a locked specification. Each producer may assume a different size formula, border, backing, packaging method, or sample service. Make the following fields identical wherever the processes allow:
| RFQ field | What to lock | Why it matters |
|---|---|---|
| Finished dimensions | Exact width and height in millimetres, plus shape | Different size formulas can yield non-equivalent quoted dimensions |
| Order scope | Quantity per design, size, and colorway | Unit cost and minimums depend on how the run is split |
| Artwork | Same vector master, color references, and permitted simplifications | Prevents one quote from silently using easier artwork |
| Face specification | Embroidery coverage and expected stitch/thread approach; woven density and yarn/color specification | Defines the construction being priced |
| Border | Same visible border style and color, or equivalent options stated separately | Border choice changes appearance, shape capability, and cost |
| Backing | Same sew-on, heat-applied, adhesive, or hook-and-loop requirement | Backings can change both unit cost and stiffness |
| Proof and sample | Digital proof, physical pre-production sample, revision allowance, and approval terms | Separates a low initial quote from the real approval cost |
| Packing and quality | Unit packing, labeling, tolerances, allowed short shipment, inspection, acceptance, and remake/replenishment terms | Defines the contract quantity and what counts as an acceptable delivered piece |
| Commercial terms | Quote currency, payment terms, Incoterm, named delivery point, included/excluded duties and taxes, and quote validity | Prevents exchange-rate and responsibility differences from distorting the comparison |
| Delivery | Production lead time, freight method, dispatch point, and required arrival date | Separates manufacturing time from transit and enables a landed-cost comparison |
At the RFQ stage, compare total landed cost against the contract quantity that must pass the agreed acceptance criteria:
Quoted landed cost per contract-acceptable patch = quoted total landed project cost ÷ contracted acceptable-delivery quantity
After receipt and inspection, calculate the realized figure separately:
Realized cost per accepted patch = actual total project cost ÷ actual accepted usable quantity
Include setup or digitizing, samples, revisions, backing, border add-ons, packing, freight, and applicable duties or taxes in the relevant total. Record lead time and minimum order quantity separately; the lowest unit price may not be the lowest-risk order.
There is no reliable universal rule that woven or embroidered patches are always cheaper. Embroidery pricing can respond strongly to coverage, stitch count, and machine time. Woven pricing can respond to loom setup, size, quantity, color and weave requirements, border, and backing. Factory minimums and included services can reverse the result, so only same-date, same-specification quotes are meaningful.
Use Matched Side-by-Side Samples to Make the Final Choice
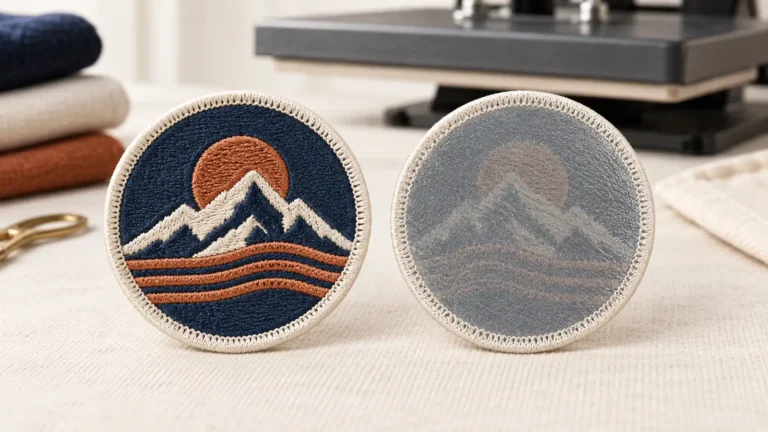
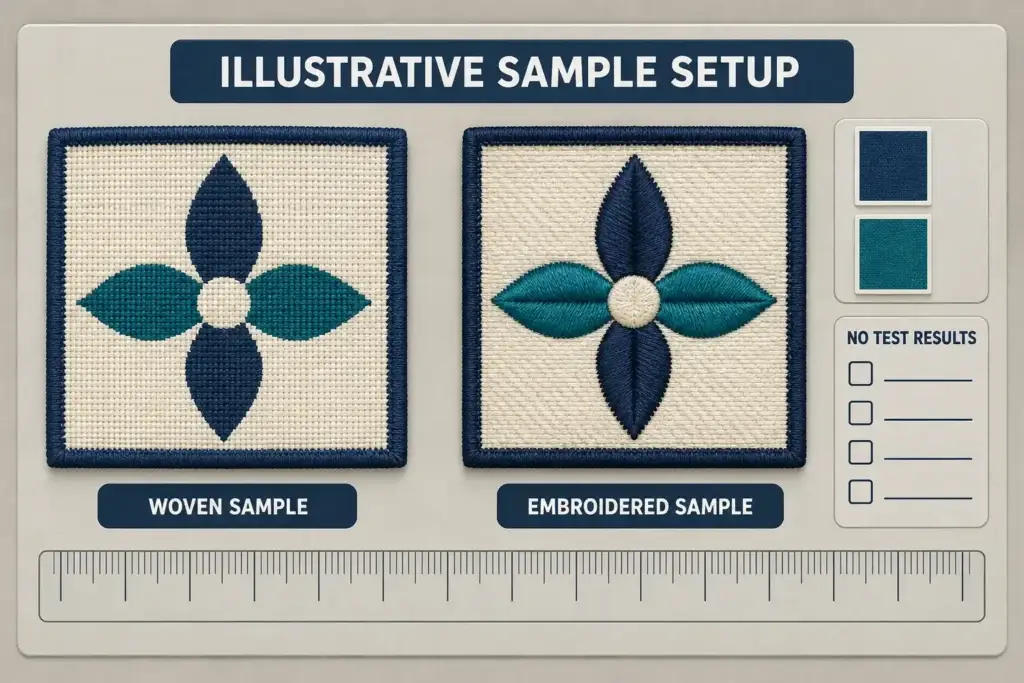
The examples shown here illustrate both processes, but they use different logos, unverified dimensions, backgrounds, and camera distances. They should not be treated as a controlled same-size test. For a decision that can support a production order, use this five-step comparison:
- Lock one master artwork file. Keep the finished dimensions, color targets or physical references, smallest text, and permitted artwork changes identical.
- Order one sample in each process. Where possible, use the same supplier, quality tier, acceptance criteria, border, and backing so the process is the main variable. If a process requires a change, record it on the sample card. If the samples come from different suppliers, treat the result as a supplier-plus-process comparison rather than attributing every difference to the patch type.
- Judge the face under real viewing conditions. Check the smallest text at the product’s normal viewing distance, then inspect fine lines, gaps, counters, edge definition, color separation, and overall silhouette under the same light.
- Test the complete patch on the intended material. Compare thickness, flexibility, edge behavior, and attachment. If the product will be washed, flexed, abraded, or exposed to heat, define a project-appropriate test and apply it equally to both samples.
- Approve the physical result and retain it. Keep the signed or dated approval sample, specification, and color references for production and reorders.
Use a simple pass/fail scorecard rather than relying on which sample looks more impressive at first glance:
| Approval criterion | Required result | Embroidered sample | Woven sample |
|---|---|---|---|
| Smallest text | Readable at intended viewing distance | Pass / Fail | Pass / Fail |
| Thinnest line and narrowest gap | Remain open and distinct | Pass / Fail | Pass / Fail |
| Logo silhouette | Matches approved artwork | Pass / Fail | Pass / Fail |
| Color appearance | Within the approved thread/yarn reference | Pass / Fail | Pass / Fail |
| Hand and thickness | Suitable for the target garment | Pass / Fail | Pass / Fail |
| Border and attachment | No unacceptable distortion, lift, or puckering in the defined test | Pass / Fail | Pass / Fail |
| Commercial terms | Meets landed-cost, MOQ, and timing requirements | Pass / Fail | Pass / Fail |
The Practical Recommendation
Choose a woven patch first when the fixed-size logo contains small lettering, thin line art, tight negative spaces, or multiple compact elements, or when the garment needs a flatter and more flexible patch. Choose an embroidered patch when raised thread, directional sheen, tactile depth, and a traditional badge character are central to the design—and the artwork has enough space for bold shapes and readable type.
If the embroidered version loses essential detail, the answer is not always to change processes. Enlarging the patch, simplifying the artwork, opening the letter spacing, thickening fine lines, or removing nonessential copy may preserve the desired embroidered look. If the design depends on gradients or photographic tone, compare a suitable printed patch as a third option.
For the most defensible choice, send one supplier brief containing the vector logo, finished size, smallest text height, intended garment, quantity, border, backing, color references, use conditions, destination, and required date. Request both process quotes and a matched physical sample pair, then approve the option that passes the detail, feel, attachment, and commercial criteria—not simply the one with the lowest headline price.