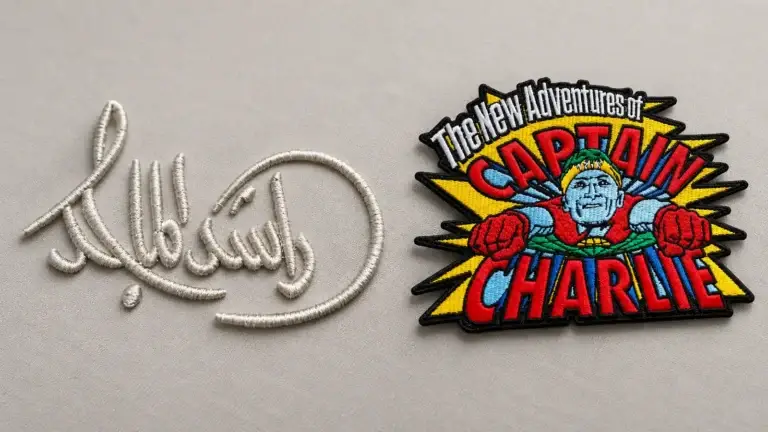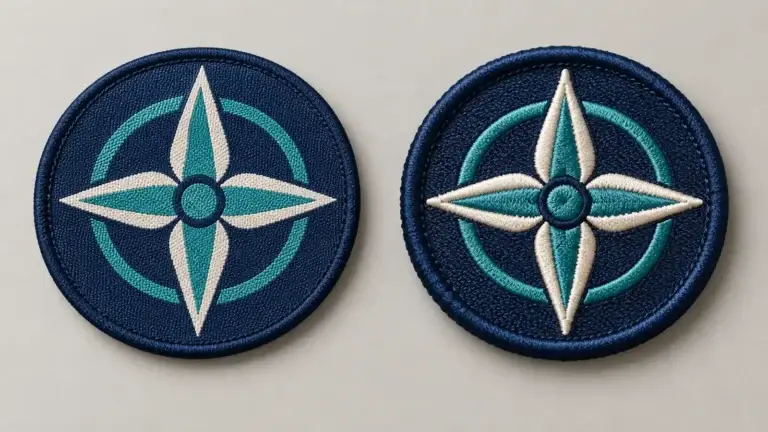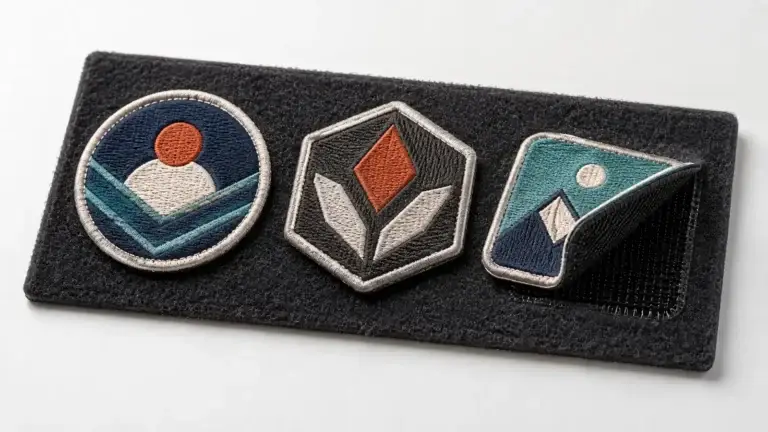
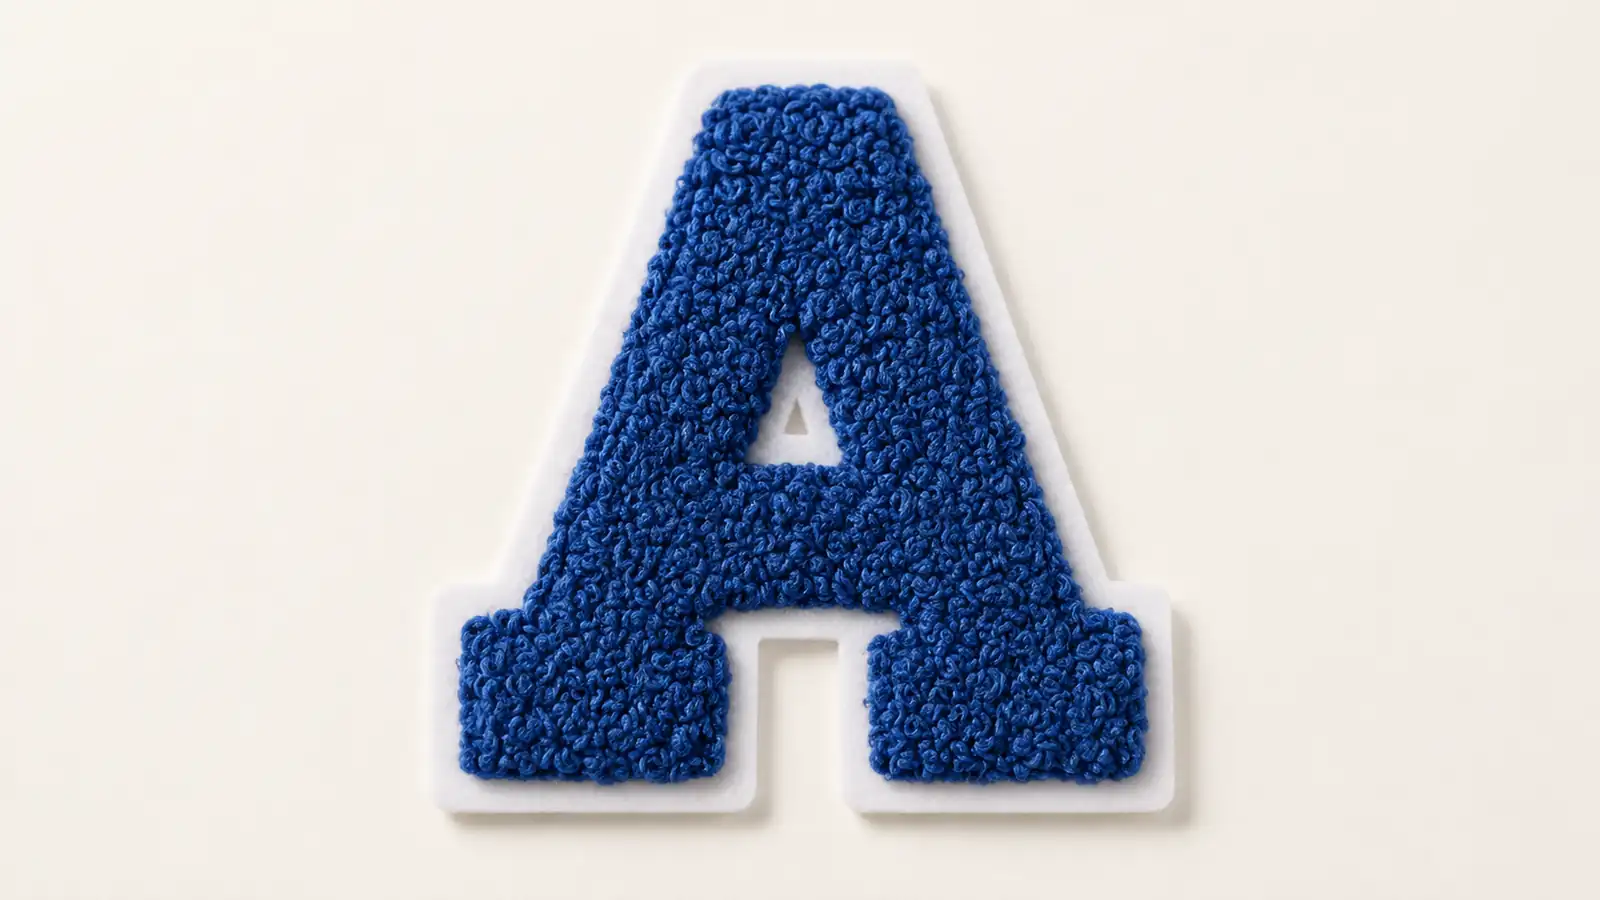
Chenille patches are textile emblems with a soft, raised surface made from dense loops of yarn or thread. They are best known as the plush letters on varsity and letterman jackets, but the same technique is now used for fashion logos, mascots, numbers, script lettering, and decorative graphics on apparel and accessories. Compared with standard flat embroidery, chenille creates more texture and visual depth, but it works best when the artwork uses bold shapes and generous spacing.
What Makes a Patch “Chenille”?
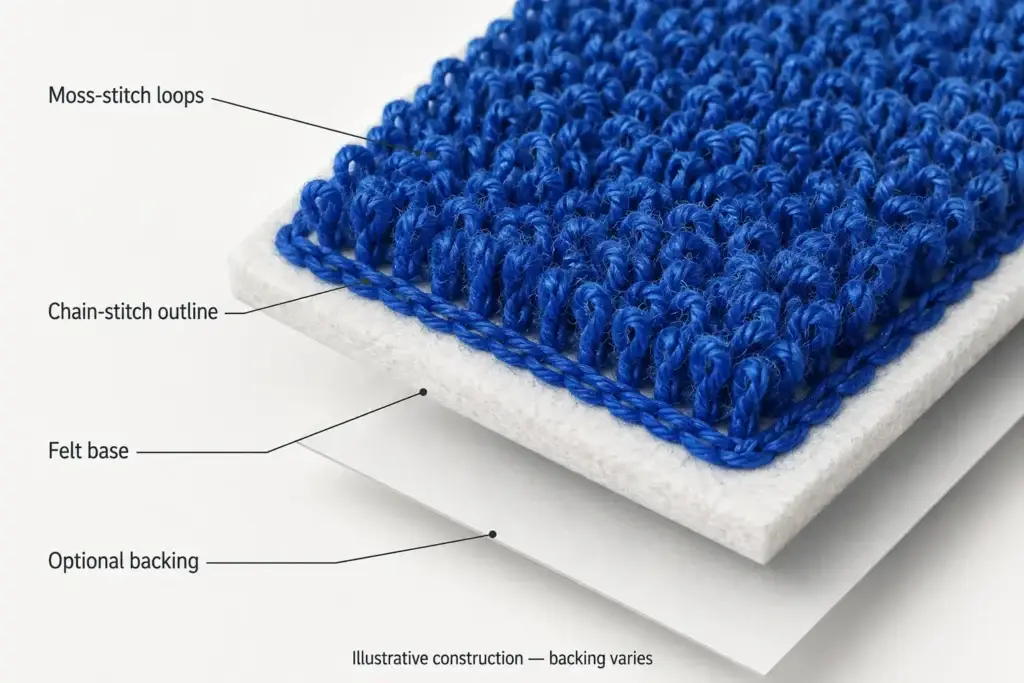
The most recognizable chenille-patch feature is its raised moss-stitch pile, although chenille embroidery can use moss stitch, chain stitch, or both. In custom patch manufacturing, “chenille” usually describes this stitched, textured construction rather than a design simply cut from chenille fabric.
A typical chenille patch may include four elements:
- Looped chenille areas: These create the soft, dimensional surface.
- A stable base: Felt is common, especially for varsity styles, although the exact base depends on the design and application.
- Borders and detail stitches: Chain stitching can outline and help secure moss-stitch areas, while standard embroidery can reproduce finer details that would be unclear in the raised pile.
- An attachment system: The patch may be sewn on, heat applied, temporarily adhered, or fitted with hook-and-loop backing.
There is no single required layer stack. A simple fashion patch may use one base layer and an embroidered outline, while a traditional varsity letter may use multiple felt layers to create a deeper, framed appearance.
How Are Chenille Patches Made?
Dedicated chenille equipment forms a different stitch structure from conventional lockstitch embroidery. Technical guidance from Wilcom and embroidery-machine manufacturer ZSK describes two core chenille stitch types:
- Moss stitch forms upright loops that build the characteristic soft, raised fill.
- Chain stitch creates linked loops that can be used for outlines, borders, lettering, or more delicate details.
Production generally follows these stages:
- Review and adapt the artwork. The manufacturer identifies which areas should use chenille, flat embroidery, exposed felt, or another finish. Very thin lines, tight gaps, and tiny text may need to be enlarged or simplified.
- Digitize the stitch plan. The artwork is converted into machine instructions that control stitch type, direction, density, loop height, sequence, and color changes.
- Stitch the design onto a stable base. Moss stitching creates the plush areas, while chain stitch or standard embroidery defines borders and smaller elements.
- Cut and finish the patch. The patch is trimmed to shape, layered if required, and completed with the selected edge and backing.
- Inspect a physical sample. Size, color, texture, outline clarity, edge quality, and attachment should be approved before bulk production because a flat digital proof cannot fully show pile height, shadow, softness, or how small spaces will look after stitching.
Chenille Patches vs. Standard Embroidered Patches
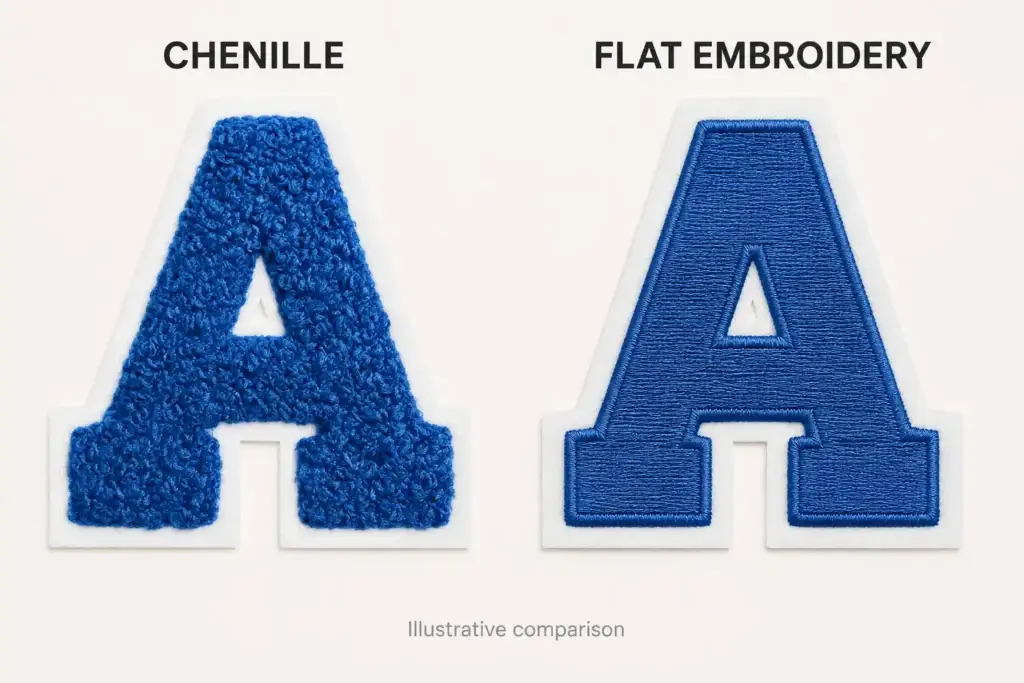
Chenille is a form of embroidery, but it does not produce the same result as a standard flat embroidered patch. The right choice depends on what the design needs to communicate.
| Comparison point | Chenille patch | Standard embroidered patch |
|---|---|---|
| Surface | Soft, looped, and visibly raised | Flatter, tighter, and stitch-defined |
| Best-suited artwork | Bold letters, numbers, mascots, icons, and broad shapes | Detailed logos, smaller lettering, linework, and compact designs |
| Visual character | Varsity-inspired, tactile, retro, and expressive | Clean, versatile, and suitable for many brand styles |
| Typical structure | Chenille fill on felt or another stable base, often with stitched details | Embroidery thread on twill, felt, or another base fabric |
| Main limitation | Fine details and narrow gaps can disappear in the pile | Less plush depth and less of the classic chenille look |
| Best reason to choose it | Texture and strong visual presence are priorities | Precision and detail are priorities |
The choice does not have to be all-or-nothing. A mixed construction can use chenille for the main letter or graphic and standard embroidery for a small name, date, facial feature, or outline. This often preserves the tactile effect without sacrificing important detail.
For a wider comparison with woven, PVC, and other constructions, see the guide to custom patch types.
When Chenille Works—and When It Doesn’t
Chenille works best when texture is part of the design’s identity and there is enough area for the stitches to form a readable shape. The raised pile catches light and adds depth, while exposed or layered felt can create color blocking and structure. Strong candidates include block letters, varsity numbers, monograms, mascots, simplified characters, wide script lettering, and bold wordmarks.
Common applications include:
- varsity and letterman jackets;
- sweatshirts, hoodies, and fashion outerwear;
- caps and other headwear with appropriately simplified artwork;
- backpacks, totes, and accessory panels;
- denim, workwear, and branded merchandise;
- school, team, club, and achievement emblems.
The same texture creates limits. Small counters inside letters can close up, hairline strokes can lose definition, and tight spacing may merge visually. Chenille patches are also generally bulkier than flat embroidered patches. If the design depends on microtext, intricate linework, or a compact scale, use standard embroidery for those elements or choose a flatter patch construction.
A patch is useful when the emblem will be made separately and attached later. If the artwork should become part of a pre-cut garment component, direct chenille embroidery on a garment panel may be the better route. Decide early because digitizing, stabilization, placement, and garment assembly all depend on that choice.
What Chenille Changes About Backing and Care
Sew-on, heat-applied, hook-and-loop, and self-adhesive constructions may all be available; none is an automatic property of chenille. Choose according to the product material, assembly method, expected wear, and whether the emblem must be removable. The custom patch backing guide provides the broader option-by-option comparison.
For chenille specifically, account for the patch’s pile and added bulk. A heat-applied construction must be tested on the actual patch and product material to confirm time, temperature, pressure, fabric response, wash performance, and whether pressing changes the raised surface. Household iron-on use is appropriate only when the supplier explicitly approves it; there is no universal heat recipe for every fabric.
Care instructions should cover the complete product—outer fabric, trims, base, yarn, backing, and attachment. Gentle washing, cool water, and air drying or supplier-approved low heat are often appropriate, but the final method should come from a finished-product test. Avoid aggressive abrasion that can crush or pull the raised loops.
What to Check on a Chenille Sample
For an initial review, send the artwork, finished size, quantity, intended product and placement, color references, preferred attachment, and destination. The artwork preparation guide and embroidery quote checklist cover the full file and enquiry requirements.
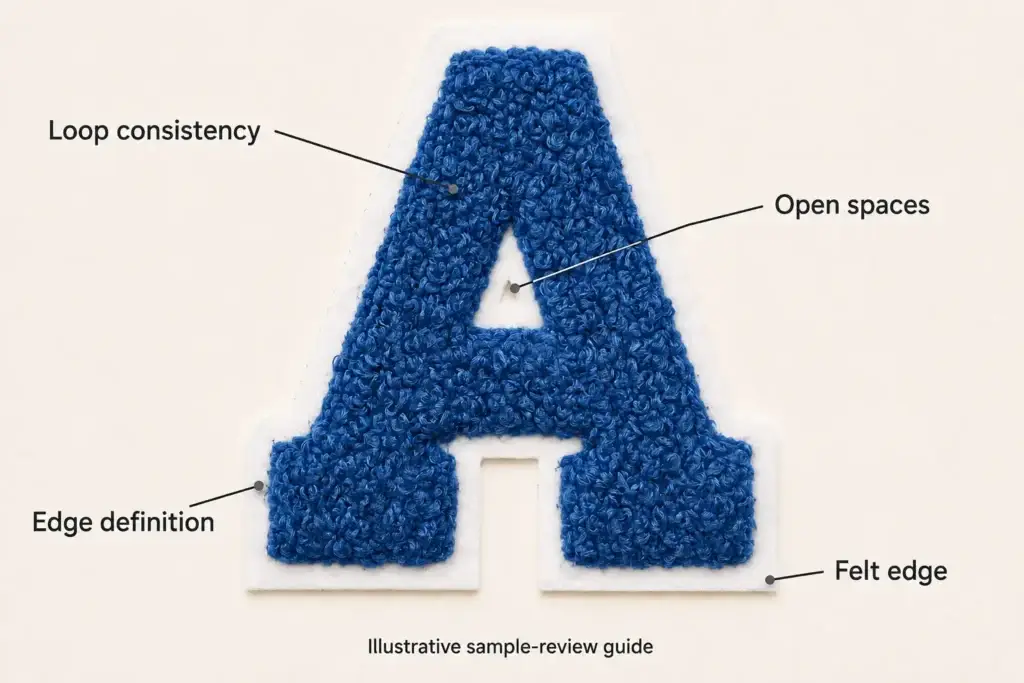
Once the physical sample arrives, inspect the characteristics that a screen proof cannot show:
- the overall silhouette and readability at normal viewing distance;
- loop height and moss-stitch consistency across filled areas;
- open counters, spaces, and narrow strokes that must remain distinct;
- chain or embroidered border definition around the raised pile;
- alignment and clean cutting of exposed or layered felt;
- transitions between chenille and standard embroidery;
- actual yarn and felt colors under the intended lighting;
- finished dimensions, back finish, and attachment construction.
Judge the sample as a complete component. A color match alone does not confirm that the design, texture, edge, and attachment will work on the final product.
Frequently Asked Questions
Does “chenille” mean the patch is made from wool?
No. The term describes the characteristic texture and construction; it does not guarantee one fiber composition. Yarn and base materials vary by specification and end use, so buyers with fiber-content, labeling, or compliance requirements should ask the manufacturer to identify the actual materials.
What affects the cost of a custom chenille patch?
The main variables usually include finished size, chenille coverage, number of colors, felt layers, embroidery details, edge finish, backing, order quantity, packaging, and sampling requirements. A reliable quotation therefore needs the artwork and application details, not only the patch diameter.
Plan the Patch Around the Final Product
The best chenille patch is not simply the softest or thickest option. It is the construction that keeps the artwork readable, suits the product material, survives the intended care process, and can be reproduced consistently after sample approval.
To evaluate a custom design, review the available custom chenille patch options, then send your artwork, target size, quantity, color references, intended application, and preferred attachment method through the YQX project enquiry form. The production team can then recommend where to use chenille, where to retain flat embroidery, and which base, border, and backing to test in the sample.