Iron-on backing is a heat-activated adhesive layer added to the reverse of an embroidered patch. It can provide fast, clean attachment on a suitable textile, but it is not a universal substitute for sewing. Most failures occur because the adhesive, patch, garment and pressing process were not approved as one system. For a dependable result, confirm that the fabric tolerates heat, use the patch supplier’s specified time, temperature and pressure, test the exact garment, allow the bond to cool correctly and inspect it after the intended care cycle.
What Is Iron-On Backing?
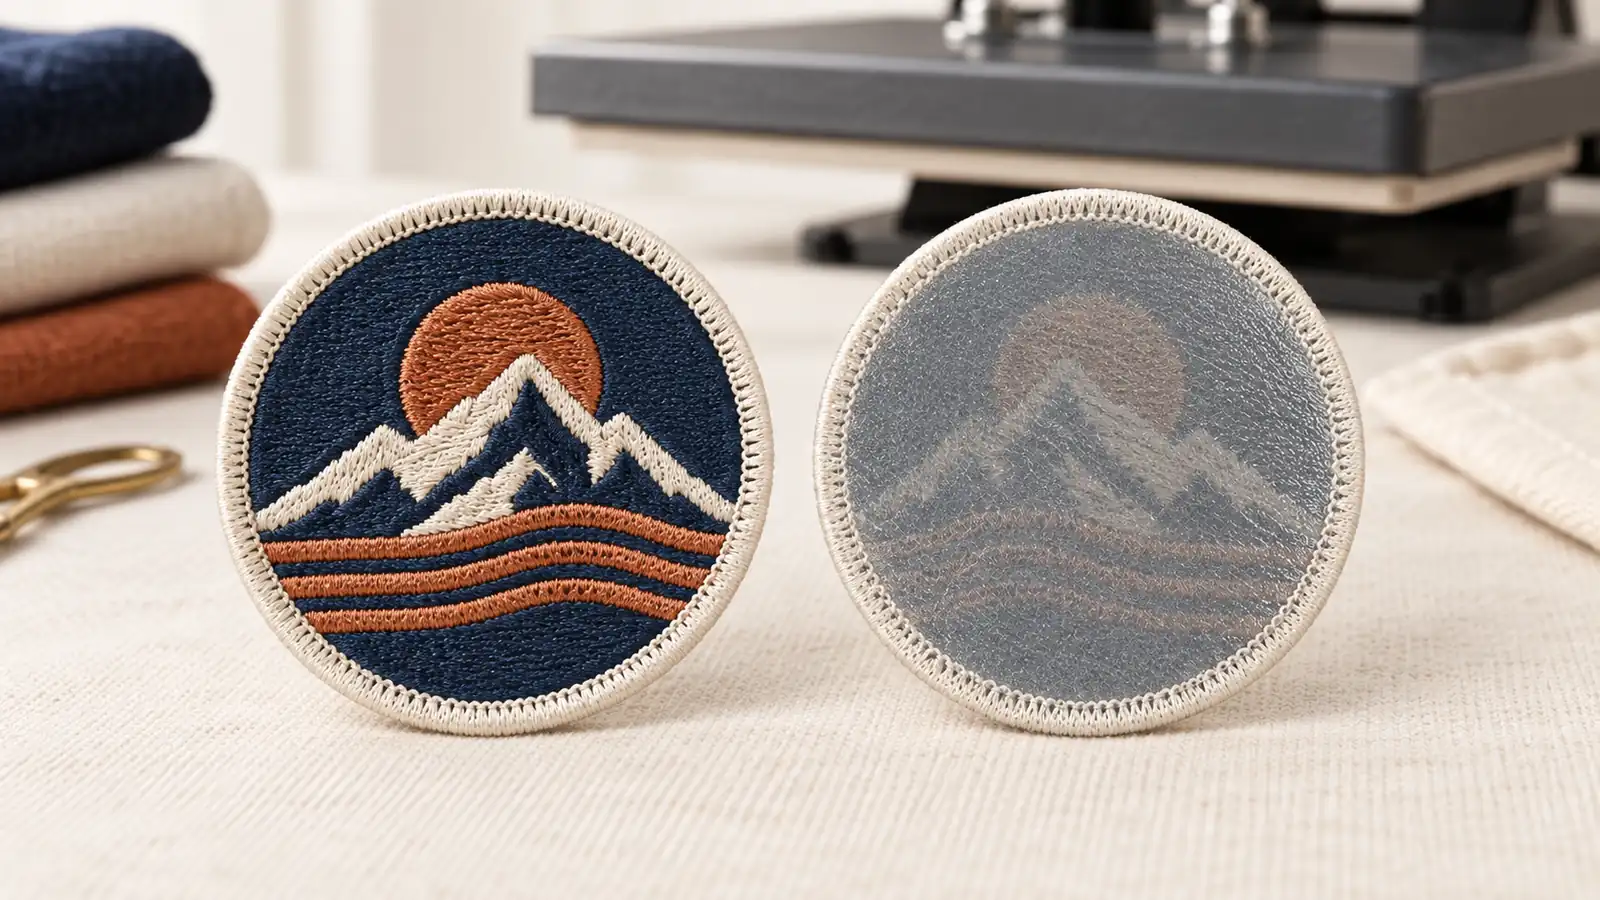
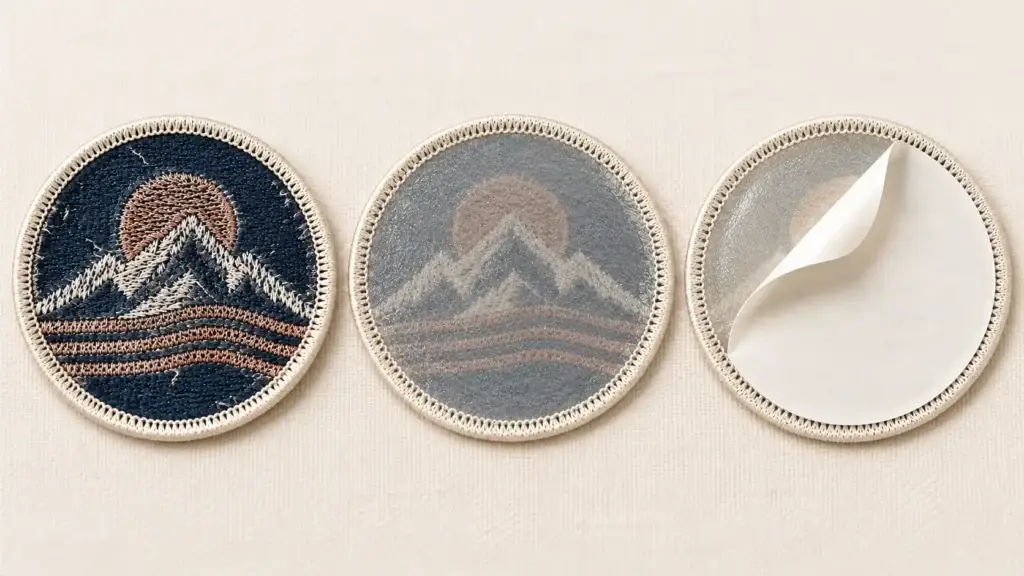
An iron-on patch remains a separate embroidered textile piece. During application, controlled heat softens the adhesive on its back, pressure brings that adhesive into contact with the garment surface, and cooling allows the bond to set.
Iron-on backing is also called heat-activated or heat-seal backing. It should not be confused with self-adhesive backing:
- Iron-on backing requires heat and pressure and is intended to create a more durable bond on a compatible fabric.
- Self-adhesive backing is normally a peel-and-stick construction for temporary placement, displays, samples or light use.
YQX’s standard iron-on option currently uses an adhesive layer of approximately 0.18 mm. That specification describes the supplied backing, but thickness alone does not predict adhesion or wash performance. The finished result still depends on the patch construction, fabric composition and finish, press contact, application settings and care routine.
When Is Iron-On Backing a Good Choice?
Iron-on backing is most practical when the application area is flat, smooth, stable and able to tolerate the required heat. It can suit apparel, uniforms and branded textile products when the complete combination has been tested.
| Application condition | Iron-on suitability | Practical recommendation |
|---|---|---|
| Smooth, stable, heat-tolerant textile | Often a good candidate | Approve the exact patch and fabric together |
| Controlled batch application | Good when a heat press is available | Record the approved settings, loading method and cooling procedure |
| Highly stretchy or very lightweight fabric | Use caution | Check for puckering, stiffness and edge stress; consider sewing or direct embroidery |
| Coated, water-repellent, heavily textured or contaminated surface | Higher bonding risk | Test the actual material; use another attachment method if adhesion is inconsistent |
| Curved area, seam, pocket or bulky construction | Uneven pressure is likely | Change the position, use suitable application equipment or choose sew-on backing |
| Frequent laundering, abrasion or high-stress use | Test beyond appearance | Consider heat application plus edge stitching, or sew-on construction |
| Heat-sensitive material or uncertain care limit | Poor candidate until verified | Do not press blindly; choose a lower-risk attachment method if compatibility is unknown |
The fiber name alone is not enough to approve a garment. Two fabrics described as polyester, cotton or a blend may use different dyes, coatings, stretch levels and constructions. Test every material, color and product style that will enter production.
Advantages and Disadvantages of Iron-On Patch Backing
| Factor | Advantage | Limitation |
|---|---|---|
| Application speed | Faster than sewing each patch when the process is already validated | Setup and testing are still required before production |
| Appearance | No visible attachment stitches are required | A large or thick adhesive-backed patch may feel stiffer than direct embroidery |
| Positioning | The patch can be aligned and fixed in one pressing operation | It may shift if the operator slides the iron or the patch is not held consistently |
| Production repeatability | A heat press can control time, temperature and pressure across a batch | Inconsistent loading, platen contact or operator technique can still change the result |
| Garment compatibility | Works well on some common heat-tolerant textiles | Heat-sensitive, coated, rough, curved and highly elastic materials may bond poorly or be damaged |
| Durability | Can provide a clean long-term bond after proper application and testing | The backing alone does not guarantee washability or performance under demanding use |
| Removal | Useful when a permanent-looking attachment is wanted | Removal can leave residue, discoloration or fabric damage, so it is not a reversible system |
The main benefit is process convenience. The main disadvantage is dependence on the complete material-and-application system. A good patch can still fail on an unsuitable garment, and a heat-tolerant garment can still be damaged by the wrong press setup.
Common Iron-On Patch Problems and How to Prevent Them
| Problem | Likely causes | Prevention or corrective action |
|---|---|---|
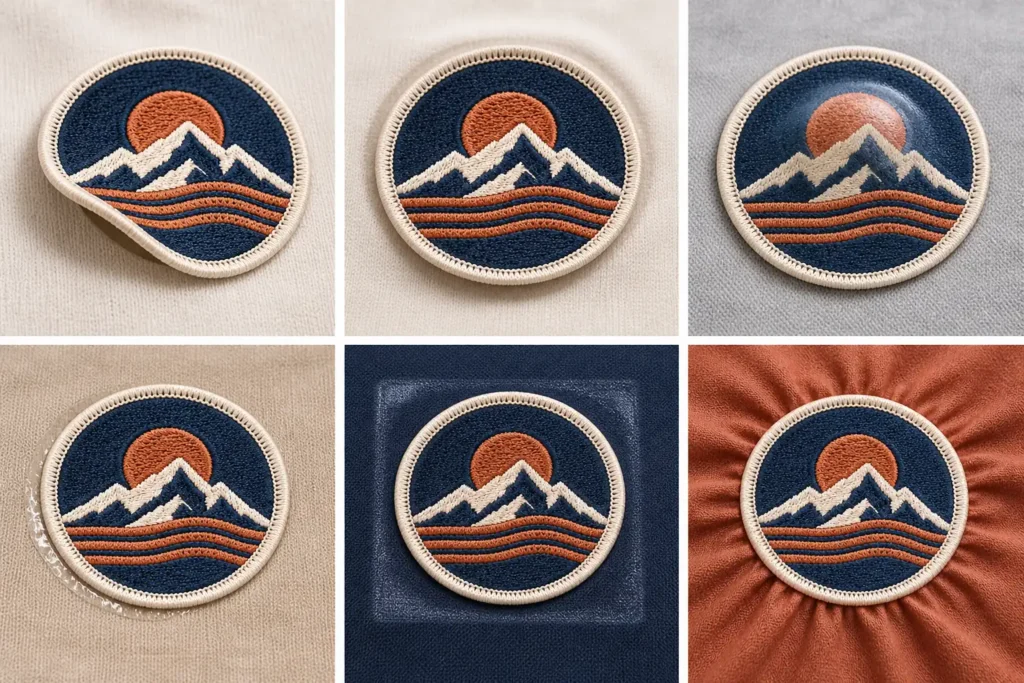
| Edges lift immediately | Too little heat, time or pressure; poor edge contact; garment handled before the bond sets | Use the supplier’s approved parameters, keep the application area flat, follow the cooling method and inspect the full edge after cooling |
| Patch bonds in the center but not around the edge | Seams, borders or uneven platen contact prevent uniform pressure | Move bulky construction off the platen, use a suitable support pad or change the patch position; do not approve a partly bonded sample |
| Bubbles or isolated loose areas appear | Moisture, trapped air, uneven pressure, a textured surface or incompatible finish | Start with a clean, dry, flat textile; pre-press when permitted; test the actual surface finish and application setup |
| Adhesive bleeds beyond the patch or leaves a hard halo | Excessive heat, dwell time or pressure; misaligned adhesive film; unsuitable construction | Stop increasing heat blindly, verify the backing coverage and repeat the sample with a controlled approved setting |
| Garment becomes shiny, scorched, discolored or shows a platen mark | The material is heat-sensitive or the top heat, dwell or pressure is too aggressive | Test a hidden or spare sample, use the specified protective setup, consider applying heat from the adhesive side, or change to sew-on attachment |
| Embroidery looks flattened or distorted | Excessive direct heat or pressure on the patch face; inadequate cushioning | Protect the embroidered surface and use the approved press configuration; lower heat from below may help on compatible systems |
| Fabric puckers or ripples around the patch | Patch is too large, heavy or rigid; garment stretches or shrinks; heat or pressure is uneven | Match patch size and stiffness to the fabric, avoid stretching during placement and approve the finished garment after cooling |
| Patch moves or is crooked | No placement guide; patch shifts while loading; a household iron is slid across the surface | Use a positioning jig or marks and press straight down; approve any temporary positioning aid before production |
| Patch looks secure but fails after washing | Incomplete bond, incompatible fabric finish, untested care conditions or use beyond the system’s capability | Test the finished item using the intended wash and dry routine; add edge stitching or choose sew-on backing when the application demands it |
Why More Heat Is Not Always the Answer
When a patch lifts, increasing temperature or pressing time may seem like the simplest fix. It can instead create adhesive bleed, flatten the embroidery, mark the garment or damage heat-sensitive fibers without correcting poor contact or material incompatibility.
Diagnose the failure first. Check whether the loose area aligns with a seam, whether pressure was uniform, whether the garment was damp or coated, whether the correct cooling method was followed and whether the approved parameters were actually used. Re-press only when the supplier’s process permits it and the garment can safely accept another heat cycle.
How to Apply an Iron-On Embroidered Patch
There is no universal temperature, time or pressure for every iron-on patch. Published settings for different heat-seal systems vary because adhesive formulations, patch thicknesses, fabrics and equipment vary. Obtain the application specification for the patch you actually purchased and use the following workflow around those confirmed parameters.
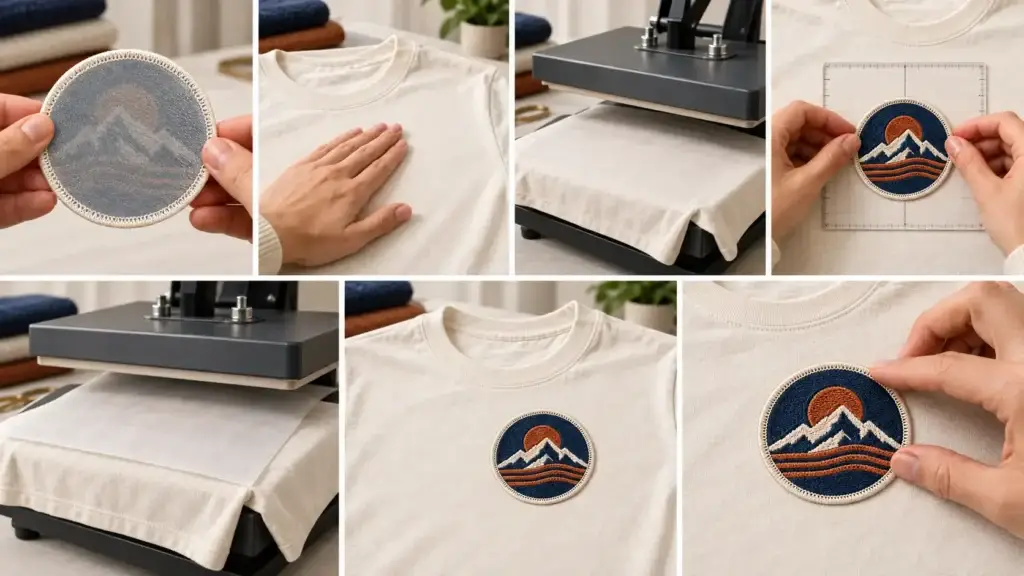
1. Confirm the Backing Construction
Make sure the patch was supplied with iron-on backing. A glossy or smooth heat-activated layer is not the same as peel-and-stick adhesive. Some products include a carrier or release liner and others do not, so remove a liner only when the product instructions identify one.
2. Check the Garment and Application Area
Review the garment supplier’s heat limitations and care information. Inspect the proposed position for coatings, texture, stretch, seams, pockets, zippers, buttons or multiple fabric layers that could interfere with flat pressure.
3. Test the Exact Combination
Use a spare garment or production-representative fabric from the same material and color. Test the actual patch construction, press, platen, protective sheet, operator method and cooling procedure. A successful test on a different garment is not approval for the new one.
4. Prepare a Clean, Dry, Flat Surface
Remove lint, dust and surface contamination. Smooth the garment without stretching it. If the supplier’s process calls for pre-pressing, use that step to remove wrinkles and moisture, then allow the material to return to the specified application condition.
5. Position the Patch
Place the adhesive side against the garment and the embroidered face upward unless the approved process specifies another loading method. Use measurements or a placement jig for consistent production. Keep the bond area on a flat part of the platen.
6. Protect the Materials
Use the approved cover sheet, pressing cloth, pad or lower-platen setup. Protection must not prevent the required heat and pressure from reaching the adhesive. Test it as part of the full process rather than adding an unapproved layer during production.
7. Apply the Confirmed Heat, Time and Pressure
For a heat press, verify all three settings and close the press without disturbing the patch. For a household iron, proceed only if the patch supplier allows it: turn off steam, use a firm heat-resistant surface, press straight down without sliding and cover the complete patch evenly. A household iron is harder to standardize because its temperature and pressure are not controlled as precisely.
8. Follow the Required Cooling Procedure
Do not pull at the edge while the adhesive is still setting. Some systems require a particular cooling or release method. Follow the supplied instruction, then inspect only after the bond has reached the correct condition.
9. Inspect and Validate
Check the entire perimeter and center for lifting, bubbles, bleed, distortion, shine or color change. For goods intended to be washed, test the finished garment under the care routine that will be communicated to the customer. Record the approved combination before beginning a saleable batch.
Heat Press or Household Iron?
A controlled heat press is usually the better choice for production because it makes time, temperature and pressure easier to repeat. It also allows an operator to document the platen, loading position, protective materials and cycle used for the approved sample.
A household iron can be practical for a personal application or early prototype when the supplier specifically supports it. Its limitations are uneven soleplate temperature, uncertain pressure and incomplete coverage on a large patch. Do not use steam, do not slide the iron across the embroidery and do not assume that a fabric setting on one iron equals the same surface temperature on another.
For curved caps, bulky garments or locations near seams, neither a flat household iron nor a standard flat press may provide even contact. Use suitable equipment or choose a sew-on method rather than forcing an unreliable application.
A Simple Quality-Control Plan for Bulk Application
For saleable production, approve more than the first patch that appears to stick.
| Control point | What to record or inspect |
|---|---|
| Incoming materials | Patch version, garment supplier and style, fabric composition, color, finish and batch when relevant |
| Process setup | Equipment, platen or pad, loading method, protective layer, temperature, time, pressure and cooling procedure |
| First-piece inspection | Position, alignment, edge contact, surface appearance, puckering, bleed and distortion |
| In-process checks | Regular visual and edge checks using a defined frequency appropriate to the batch |
| Finished-item validation | Care-cycle test, appearance after drying and any project-specific abrasion, flex or use test |
| Reference standard | Retained approved sample and written application record for repeat orders |
If a fabric supplier changes the material, finish or color formulation, treat the new version as unapproved until it has been checked. A process record is useful only when the input materials remain equivalent to the tested sample.
When Should You Choose Another Backing?
Choose sew-on or no backing when long-term mechanical attachment is the priority, the garment cannot tolerate heat, the surface is difficult to bond, or the patch will face demanding laundering and wear. Heat application followed by edge stitching can combine fast positioning with added mechanical security when the patch construction allows it.
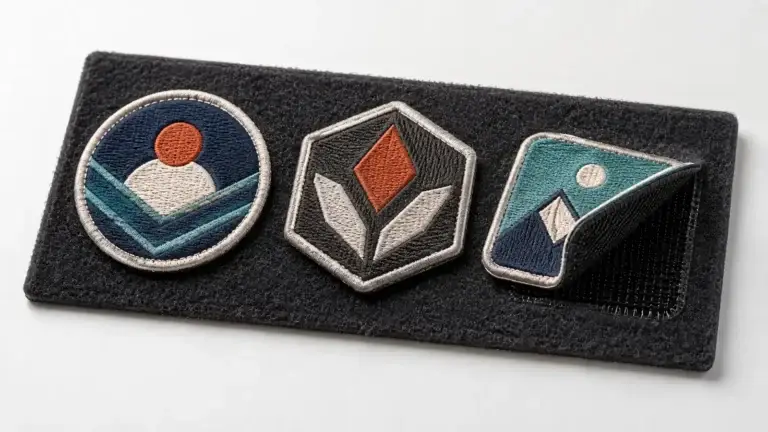
Choose hook-and-loop backing when patches must be removed, changed or repositioned repeatedly. Choose self-adhesive backing for temporary placement, sampling or display rather than as a washable garment solution. Pin or magnetic attachments may suit other removable applications.
For a wider comparison, see YQX’s guide to choosing the right backing for custom embroidered patches.
Frequently Asked Questions
Can Iron-On Patches Be Washed?
They can be washable when the specific adhesive, patch, garment, application process and care routine have been validated together. Iron-on backing by itself is not proof of wash durability. Test the finished item before publishing a care claim or starting bulk production.
Can I Apply an Iron-On Patch to Polyester?
Sometimes, but “polyester” is not a complete compatibility specification. Dye behavior, coatings, stretch, fabric construction and permitted heat exposure can differ. Test the exact polyester garment and color, and use sewing if the required heat causes marking, color change or distortion.
Can a Lifting Patch Be Re-Pressed?
Sometimes it can, provided the supplier permits re-pressing and the garment can accept another heat cycle. First identify why it lifted. Repeated heat will not correct an incompatible coating, contaminated surface, inaccessible seam or damaged adhesive, and it may make the garment worse.
Should an Iron-On Patch Also Be Sewn?
Additional edge stitching can be useful for heavy patches, high-stress placements, frequent care cycles or applications that need extra security. Confirm that the border and garment allow clean sewing after pressing. If sewing is already required for every piece, a no-backing or sew-on construction may be simpler.
Does a Thicker Adhesive Layer Always Bond Better?
No. Adhesive chemistry, flow, contact, fabric surface, heat, time, pressure and cooling all influence the bond. Backing thickness is one specification, not a durability guarantee.
Get the Patch and Garment Reviewed Together
The safest time to solve an iron-on problem is before bulk application. Send YQX your artwork, patch size and quantity together with the garment or product material, a photo of the application area, intended care conditions and available application equipment. The team can review a practical custom embroidered patch construction for sampling and quotation.