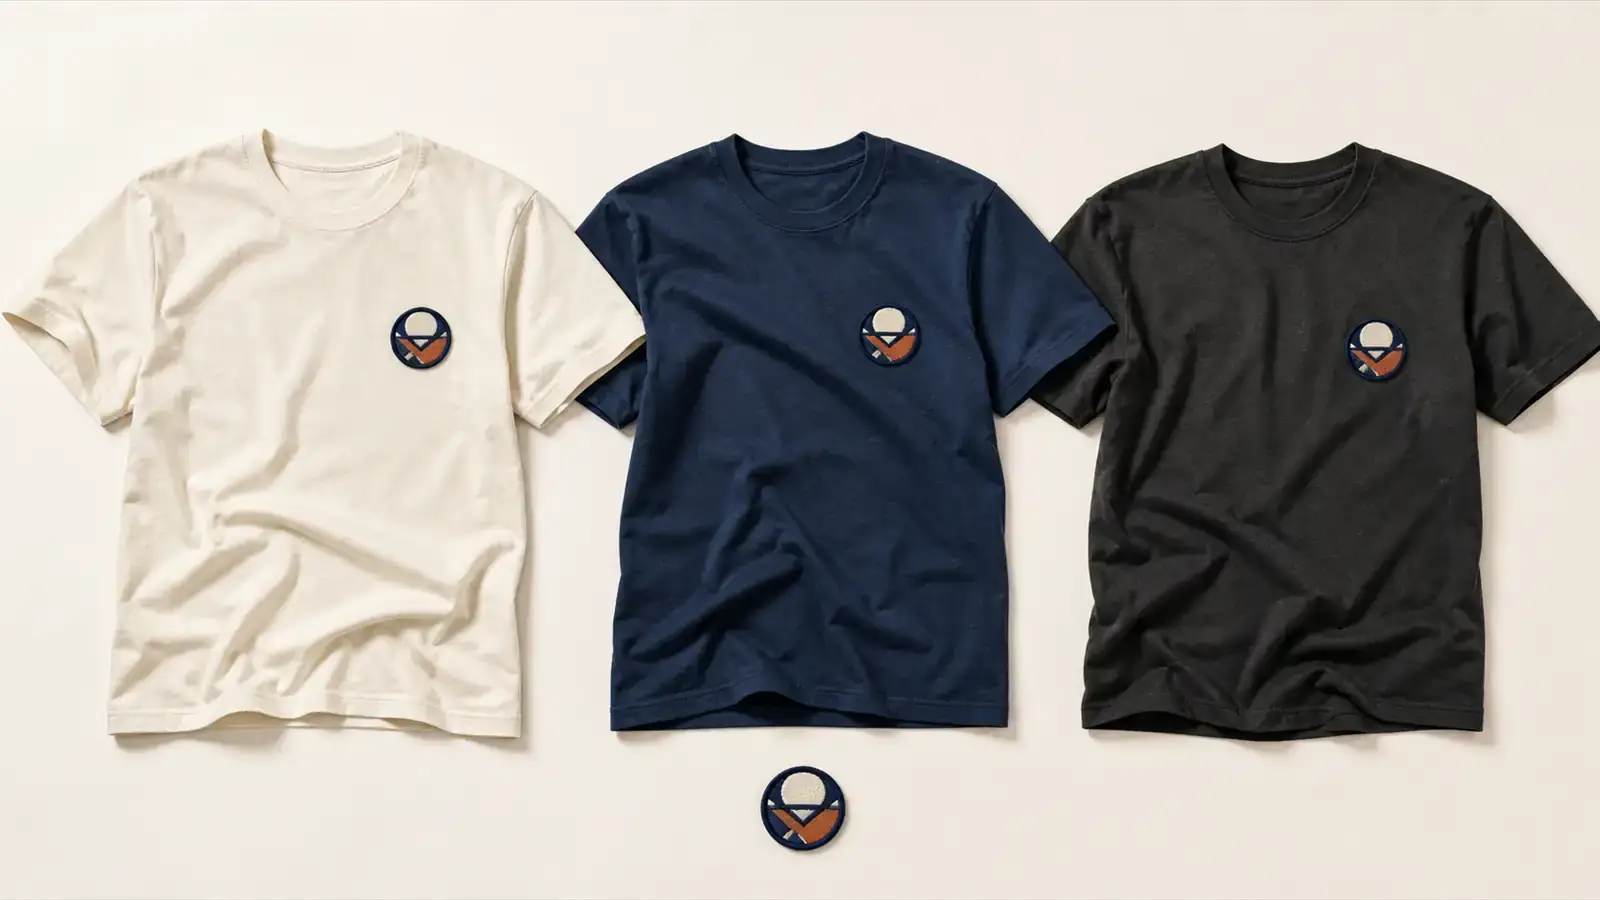
You do not need to develop a fully custom garment to test a new clothing concept. A practical alternative is to source stock blank T-shirts, create one or more custom embroidered patches, and apply the patches only after the shirt, placement, and attachment method have been approved together. This separates garment inventory from brand decoration, reduces the number of custom components in the first launch, and makes small product variations easier to manage. The shortcut is useful, but it still requires a real garment sample, controlled heat application, and wash testing before sale.
Why Stock T-Shirts and Separate Patches Can Speed Up a First Launch
This model divides the product into two parts: a ready-made garment and a custom brand element. Instead of developing fabric, fit, construction, grading, and decoration at the same time, the brand can choose an existing T-shirt and concentrate custom development on the patch.
The same approved patch may also be used across several shirt colors or sizes, provided the contrast, weight, placement, and attachment are tested on every garment type. Unbranded shirts and unapplied patches can be stored separately, then combined in planned batches or after demand becomes clearer. This can reduce the risk of committing every decorated unit to one color-and-size combination too early.
It is not automatically the fastest or lowest-cost method for every project. Direct embroidery may be efficient for a stable, high-volume T-shirt program with one fixed placement. A separate patch is especially useful when the brand wants a dimensional badge look, plans to reuse one emblem across multiple products, or wants more flexibility in how the final inventory is decorated.
| Product route | Best suited to | Main advantage | Main limitation |
|---|---|---|---|
| Stock T-shirt + separate patch | Small launches, multiple blank colors, repeatable badge designs | Garment and patch inventory can be planned separately | Final application and full-garment testing are still required |
| Direct embroidery on a stock T-shirt | One stable garment and placement | No separate patch edge or adhesive layer | Finished size-color units must be decorated in advance |
| Custom cut-and-sew garment | Brands needing a proprietary fit, fabric, and construction | Maximum product control | More development decisions and a longer supply chain |
1. Choose the Blank T-Shirt Before Finalizing the Patch
The shirt is not just a background color. Its fabric construction, surface finish, stretch, thickness, and heat tolerance affect how the patch sits and whether the adhesive can bond consistently.
Start with an actual sample of the exact blank style you plan to sell. Record the supplier, style number, color, size, fiber composition, and care instructions. If the supplier changes the fabric or finish between colorways, treat the new version as a separate material until it has been tested.
A smooth, stable application area is generally easier to work with than a highly textured, heavily coated, very stretchy, or heat-sensitive surface. Lightweight T-shirt fabric may also show puckering or feel unbalanced under an oversized, rigid, or stitch-dense patch. These are design-and-material interactions, not problems that backing alone can solve.
Before approving the blank, check:
- whether the garment supplier permits the required heat exposure;
- whether pressing creates shine, discoloration, distortion, or a visible platen mark;
- whether seams, pockets, or neck ribbing prevent even pressure at the chosen position;
- whether the patch weight and stiffness are appropriate for the shirt;
- whether all planned shirt colors provide enough contrast with the patch.
2. Design the Patch for Embroidery and for the Garment
A logo that looks clean on a screen may need adjustment before it can be embroidered clearly. Fine lines, small lettering, gradients, narrow gaps, and complicated shadows can lose definition when converted into stitches. The finished patch size, thread direction, stitch density, base fabric, and border all affect the result.
Begin with the real placement. Print the logo at actual size, cut it out, and position it on each blank shirt sample. Check the shirt both flat and worn. A patch that looks balanced on a product mockup may appear too large, too heavy, or too close to a seam on the finished garment.
For the first sample, provide the patch manufacturer with:
- vector artwork when available, or the clearest reference image you have;
- the intended finished width and height;
- the T-shirt composition and a photo of the application area;
- brand color references, such as Pantone numbers or an approved physical sample;
- the preferred border or edge style;
- expected use and washing conditions;
- the planned attachment method.
YQX can review common artwork formats and recommend practical adjustments before sampling. See the artwork preparation guide for more detail.
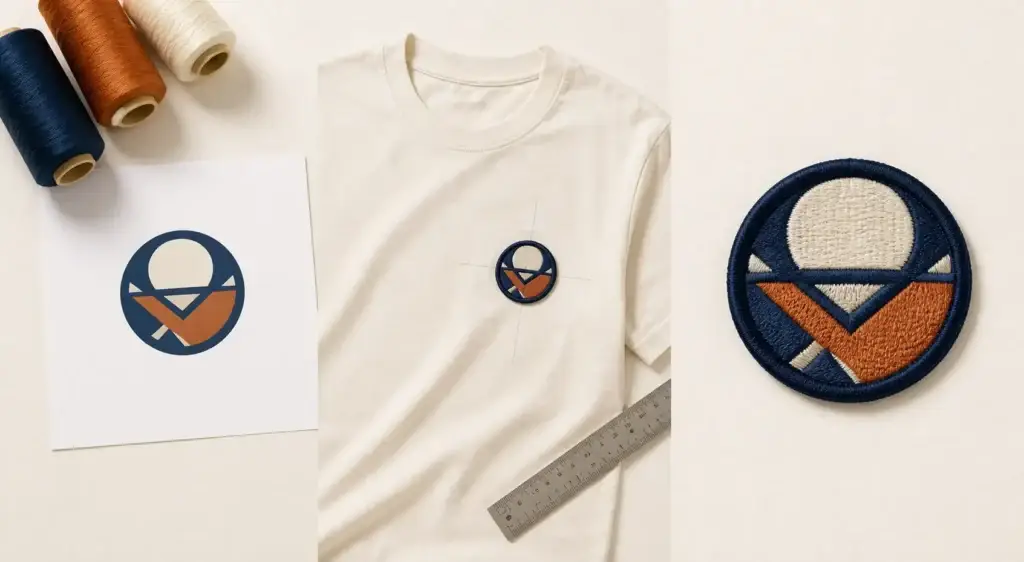
3. Choose Iron-On, Sew-On, or a Hybrid Attachment
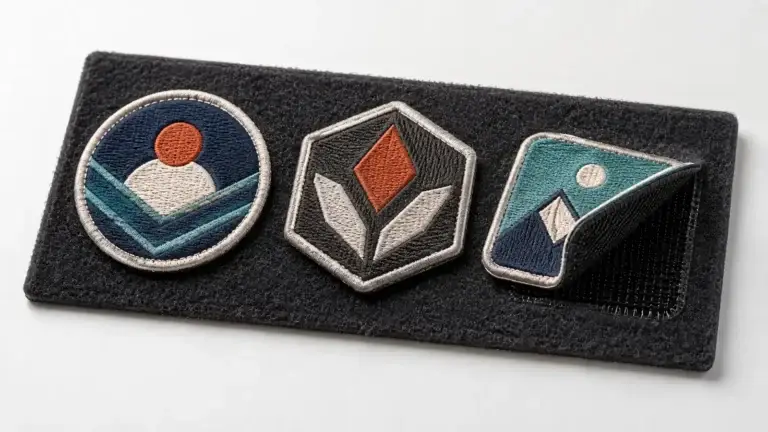
“Iron-on backing” is the clearest English product term for an embroidered patch with a heat-activated adhesive layer. It is sometimes described as heat-transfer backing, but it should not be confused with a printed heat-transfer graphic. The embroidery remains a separate textile patch; heat and pressure activate the adhesive that joins it to the garment.
| Attachment method | When it is a practical choice | What to confirm before production |
|---|---|---|
| Iron-on backing | Suitable fabric, controlled heat press, faster application | Fabric heat tolerance, adhesive compatibility, pressure, time, temperature, cooling or peeling method, and wash result |
| Sew-on / no backing | Heat-sensitive fabric, frequent laundering, demanding wear, or long-term attachment | Stitch placement, thread color, edge access, and garment distortion |
| Heat apply, then edge-stitch | Easier positioning plus added mechanical security | Whether the design and border allow clean stitching after pressing |
| Self-adhesive backing | Temporary positioning, display, or short-term sampling | It should not be treated as a permanent, washable garment attachment |
Iron-on backing can simplify application, but there is no universal pressing setting for every patch and T-shirt. Adhesive formulation, patch thickness, fabric composition, surface treatment, press equipment, and garment construction all matter. Use the patch supplier’s confirmed parameters and test them on the exact blank rather than copying a temperature and time from an unrelated product.
For frequent washing, heavy patches, high-stress placements, or garments whose surface is difficult to bond, sewing may be the more dependable solution. A hybrid method can use heat to hold the patch in position before edge stitching. YQX’s patch backing guide provides a broader comparison of backing options.
4. Approve the Complete Shirt, Not Only the Patch
A well-made patch can still fail on the wrong garment. Approval should therefore cover the complete system: patch, shirt, position, press settings, operator method, cooling process, and intended care routine.
Use a repeatable sample procedure:
- Mark the approved position with a placement guide or jig.
- Test the process on a spare shirt of the exact same style and color.
- Follow the confirmed time, temperature, and pressure for that patch-and-garment combination.
- Protect the garment surface when required and keep seams away from the pressure area.
- Follow the specified cooling and release procedure before handling the patch.
- Inspect the full edge for lifting, gaps, adhesive bleed, shine, scorching, distortion, and puckering.
- Wash and dry the shirt according to its intended consumer care instructions, then inspect it again.
- Keep the approved shirt and written process as the control sample for production.
A household iron may be useful for an early personal prototype, but a controlled heat press is easier to standardize for saleable batches. Even with a heat press, operator technique and platen contact can change the result. Record the approved setup instead of relying on memory.
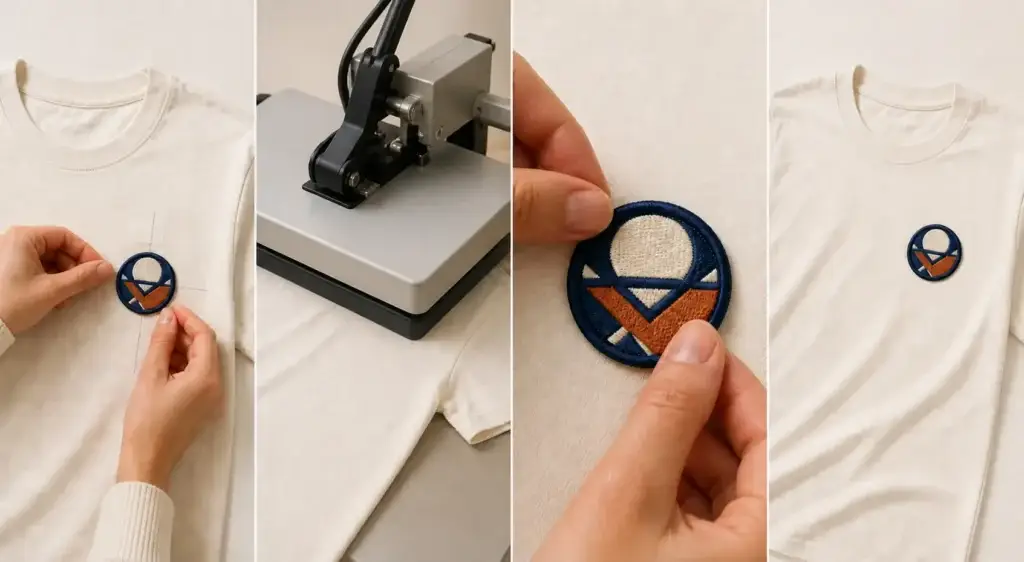
5. Build a Small, Coherent First Collection
The modular model works best when the first launch is deliberately narrow. A practical test collection might combine one approved T-shirt fit, a limited group of compatible colors, and one core patch design. A second patch or placement can be introduced only if it serves a clear product idea rather than multiplying stock without evidence of demand.
Create a simple SKU matrix before ordering. For every sellable item, list the blank style, garment color, size, patch design, patch position, and attachment procedure. This prevents a product photo, order page, and production team from using different versions of the same specification.
One patch can create a consistent visual identity across T-shirts, sweatshirts, caps, or bags, but approval does not automatically transfer between products. A patch that bonds well to one cotton T-shirt may require a different backing or attachment method on a coated bag, stretch fabric, curved cap, or thick sweatshirt. Test every new base product as a new combination.
To make the product feel intentional rather than improvised, coordinate the patch with the garment and customer experience:
- repeat a controlled thread color or border treatment across the collection;
- keep placement consistent with a documented measurement method;
- photograph the real finished product rather than only a digital mockup;
- provide care instructions that match the tested garment-and-patch combination;
- use packaging, hangtags, and product descriptions that identify the same brand and product name.
An embroidered patch provides visible branding, but it does not determine whether the finished item qualifies for a particular private-label or labeling program. Before removing, covering, or replacing any original garment label, verify the requirements for the sales market and the product.
6. Prepare a Clear Patch Request for Quotation
The fastest useful quotation is based on a defined application, not only a logo file. Send the patch manufacturer enough information to review both appearance and attachment:
- logo artwork or a clear reference image;
- finished patch size and shape;
- quantity for sampling and the expected first order;
- thread or brand color references;
- border and backing preference, if known;
- blank T-shirt supplier, style, composition, color, and fabric details;
- a photo or diagram of the patch position;
- expected washing and use conditions;
- target sample, production, and delivery dates;
- packaging, testing, or compliance requirements.
If some specifications are not final, explain the intended result and send the actual blank shirt or a fabric sample when practical. The manufacturer can then evaluate the construction during sampling instead of making assumptions from a generic material name. The B2B embroidery quotation checklist can help organize the request.
7.Common Mistakes That Slow Down the Launch
1.Ordering the patch before selecting the shirt
Without the actual garment, the patch may be too stiff, too large, poorly contrasted, or incompatible with the required heat.
2.Treating one press setting as universal
A setting that works on one blank can mark or under-bond another. Approve settings for each material and garment construction.
3.Confusing iron-on and self-adhesive backing
Iron-on backing uses heat-activated adhesive. Self-adhesive backing is a peel-and-stick option normally intended for temporary placement or light use.
4.Approving appearance without testing care
The finished product must be evaluated after the care routine you intend to give the customer. Do not make a washable or durability claim based only on the unused sample.
5.Launching too many combinations
Every additional shirt, color, patch, and placement creates another specification and possible test. A smaller first drop produces clearer feedback and simpler quality control.
8.A Practical Route From Idea to Branded T-Shirt
Start with the product combination, not the patch alone. Select the exact stock T-shirt, place the logo at real size, choose an attachment method based on the fabric and expected use, and approve a fully applied and care-tested sample. Then lock the garment SKU, patch specification, placement, and application procedure before producing saleable units.
To develop the custom component, send YQX your artwork, desired patch size, quantity, blank T-shirt details, placement, backing preference, and intended care conditions. The team can review the design and recommend a practical custom embroidered patch construction for sampling and quotation.
9.Frequently Asked Questions
1.Can I keep blank T-shirts and apply patches only after receiving orders?
Yes, this can be a practical low-inventory workflow when the blank, patch, placement, application settings, and quality checks have already been approved. Plan enough processing time and use a documented procedure so made-to-order units match the control sample.
2.Does iron-on backing make an embroidered patch washable?
Not by itself. Wash performance depends on the adhesive, patch construction, garment material, application conditions, and care method. Test the finished shirt under the care conditions you plan to communicate. Use sewing or additional edge stitching when the tested product or intended use requires more security.
3.Can the same iron-on patch be used on every garment?
No. The visual design may be reusable, but fabric heat tolerance, surface finish, stretch, shape, and washing needs can change the required backing or attachment method. Sample each new garment type before production.