Preparing artwork for embroidery sampling does not need to be complicated.
Many buyers already have a logo, sketch, product idea, or reference image, but they are not sure what details can be embroidered clearly and what may need adjustment. That is normal.
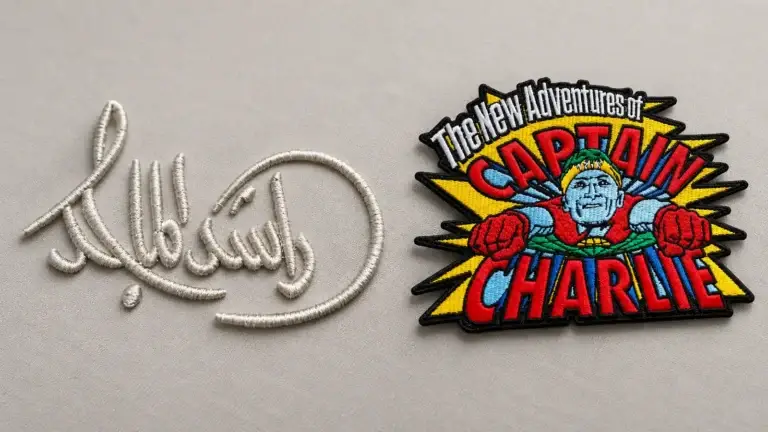
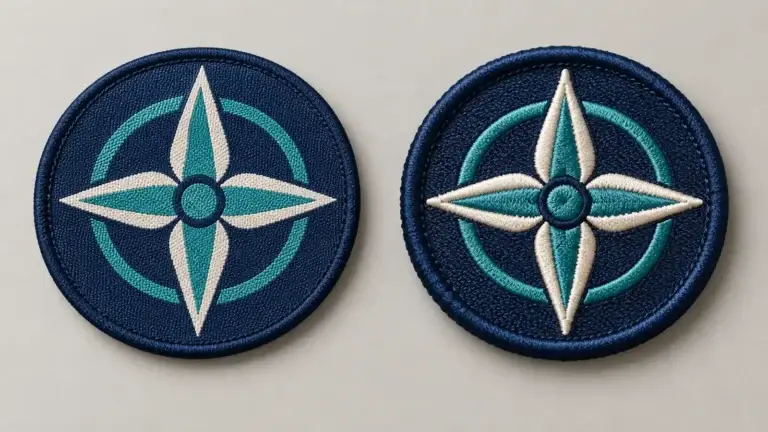
Embroidery is different from printing. Threads have thickness, stitches need space, and some small details may not look the same once they are converted into embroidery.
This guide explains what to prepare before sampling, so your embroidery supplier can review your design faster and help you create a sample that is closer to your final production needs.
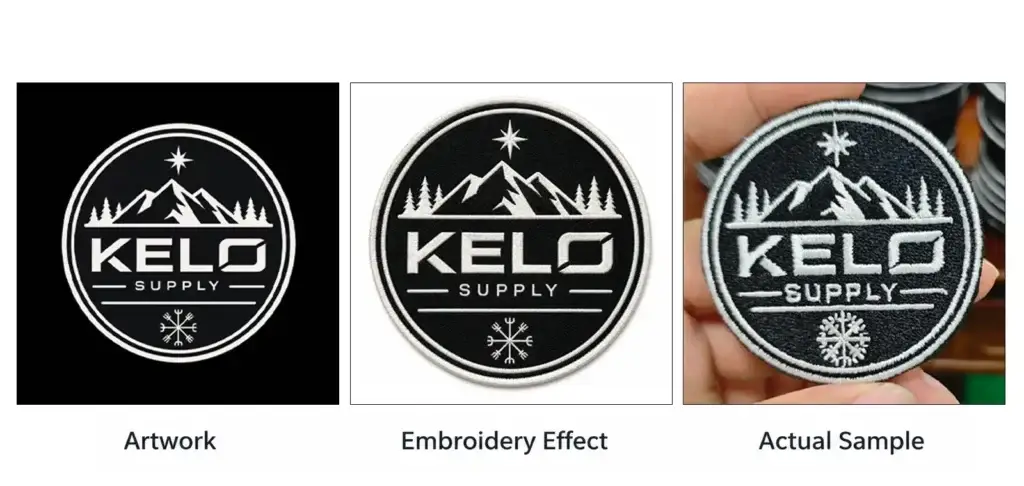
Why Artwork Preparation Matters Before Sampling
A good embroidery sample starts with clear artwork and clear project details.
Before making a sample, the factory needs to understand:
| Detail | Why It Matters |
|---|---|
| Artwork quality | Helps the team see the logo shape, text, and color areas clearly |
| Final size | Decides how much detail can be kept |
| Application area | Affects backing, border, stitch density, and placement |
| Material or product use | Helps check whether the embroidery method is suitable |
| Quantity and deadline | Helps plan sampling and bulk production properly |
If these details are missing, sampling may take longer because the factory needs to ask for more information before starting.
Clear artwork preparation can help reduce back-and-forth communication, avoid unnecessary revisions, and make the approved sample easier to repeat in bulk production.
Best File Types to Send
If you have original design files, please send them.
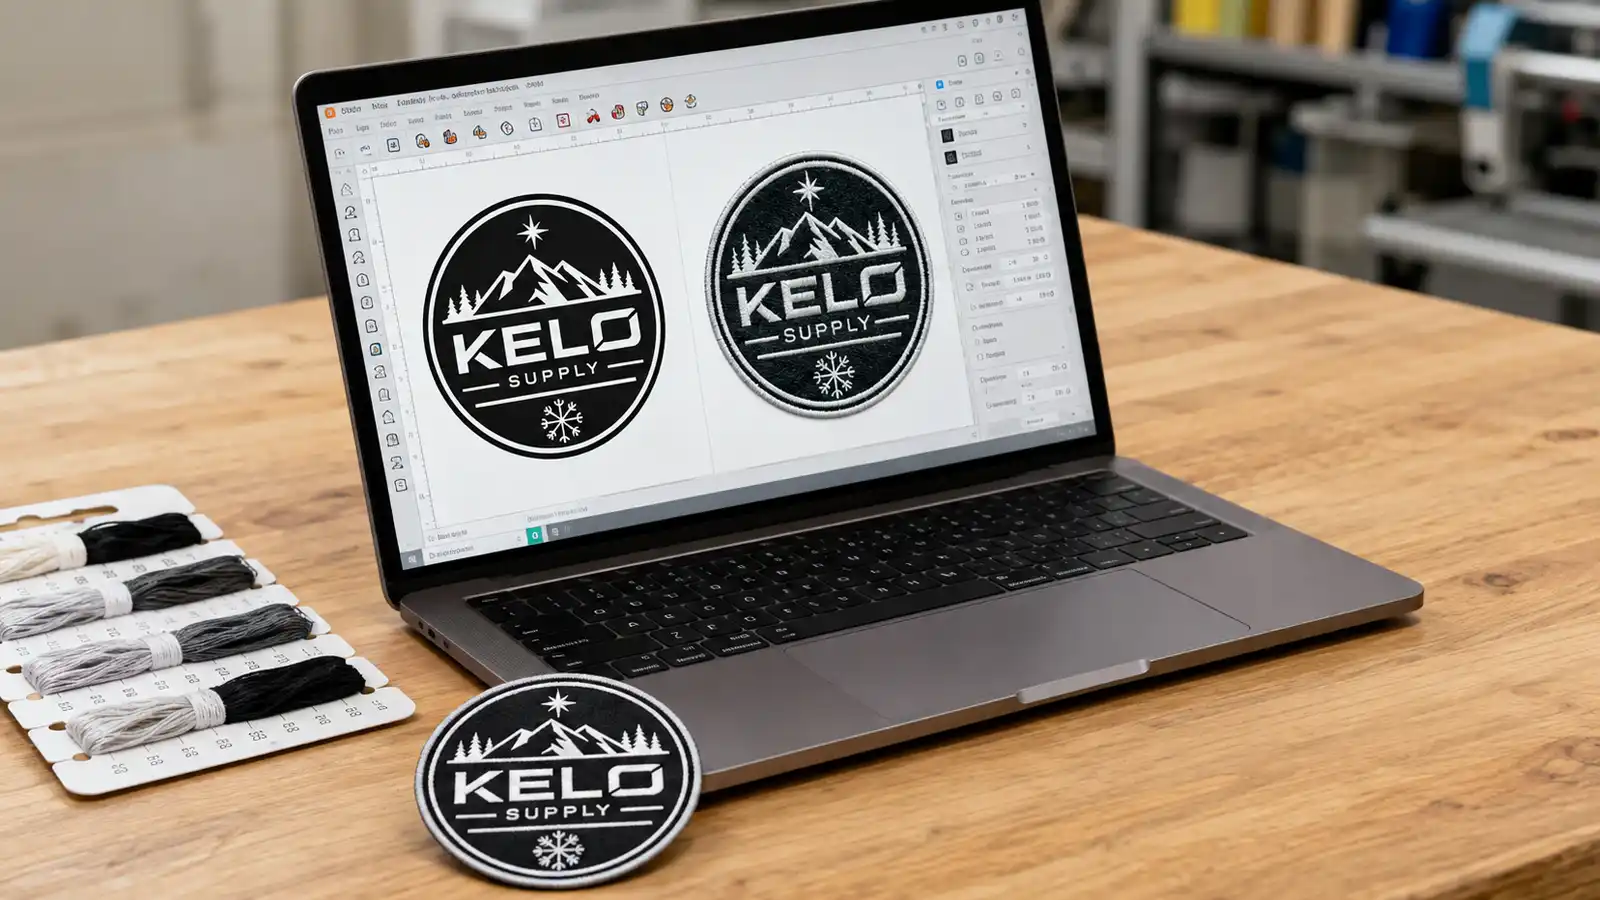
Vector files are usually the best choice because they keep the logo shape clear when the size changes.
Recommended file types include:
| File Type | Suitable For |
| AI | Best for logo artwork and editable vector designs |
| Good for clear artwork review, especially if exported from design software | |
| PSD | Helpful when the design has layers or editable elements |
| PNG | Good for clear images, especially with transparent background |
| JPG | Acceptable if the image is high-resolution and not blurry |
If you have EPS or SVG files, those can also be helpful.
What if I only have a picture or screenshot?
You can still send it for review.
A clear image, photo, sketch, or screenshot is better than no artwork at all. The factory can first check whether the design is suitable for embroidery and tell you if the artwork needs cleanup before sampling.
However, if the image is too small, blurry, or compressed, some details may be difficult to judge. In that case, the artwork may need to be redrawn or simplified before making the sample.
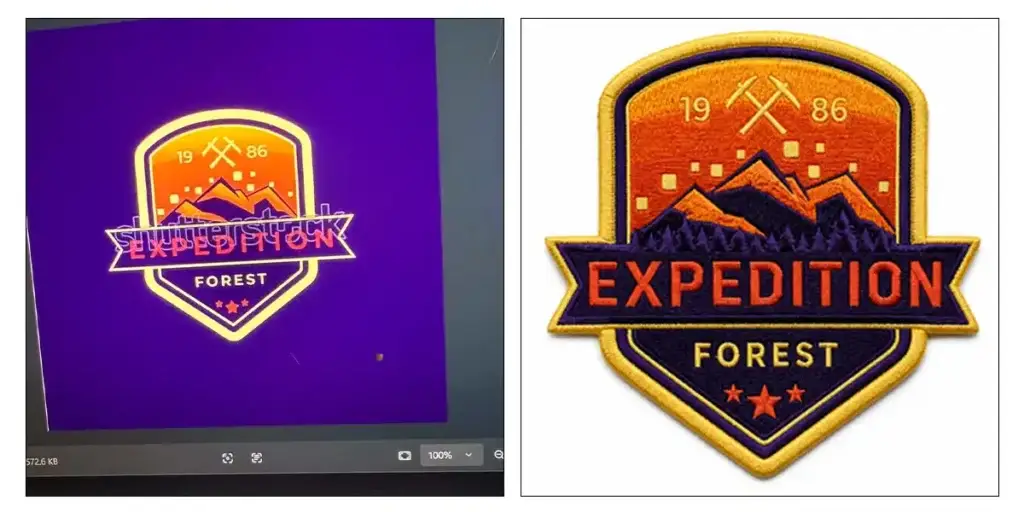
Confirm the Final Embroidery Size
Size is one of the most important details in embroidery sampling.
The same logo may look good at 10 cm wide, but lose details at 4 cm wide. Small text, thin lines, and detailed patterns need enough space to be stitched clearly.
Before sampling, try to confirm:
| Question | Example |
| What is the final width and height? | 8 cm wide × 5 cm high |
| Is the size fixed or flexible? | Fixed size for chest patch, flexible for bag label |
| Will the design be used in more than one size? | Small cap patch and larger jacket patch |
| Is the patch shape already confirmed? | Round, rectangle, custom shape, logo shape |
If you are not sure about the best size, send your artwork and target application area. The factory can help check whether the details are suitable for that size.
Check Small Text and Thin Lines
Small text is one of the most common issues in embroidered artwork.
Embroidery uses thread, not ink. Very small letters may become unclear after stitching, especially if the font is thin, narrow, or highly detailed.
Thin lines can also be difficult to keep clean if the final size is too small.
Artwork details that may need adjustment include:
| Artwork Detail | Possible Embroidery Issue |
| Very small text | May become hard to read |
| Thin lines | May disappear or look unstable |
| Gradient colors | Cannot be copied exactly with normal embroidery thread |
| Shadows | May need to be simplified into solid color areas |
| Photo-like details | Usually need simplification |
| Complex outlines | May need cleaner shapes before stitching |
This does not mean your design cannot be made. It means the embroidery version may need small adjustments to make the final result cleaner.
Simple rule for buyers
If a detail is already hard to see on screen at the final size, it will probably be hard to embroider clearly.
Simplify Color Areas When Needed
Embroidery is not the same as printing.
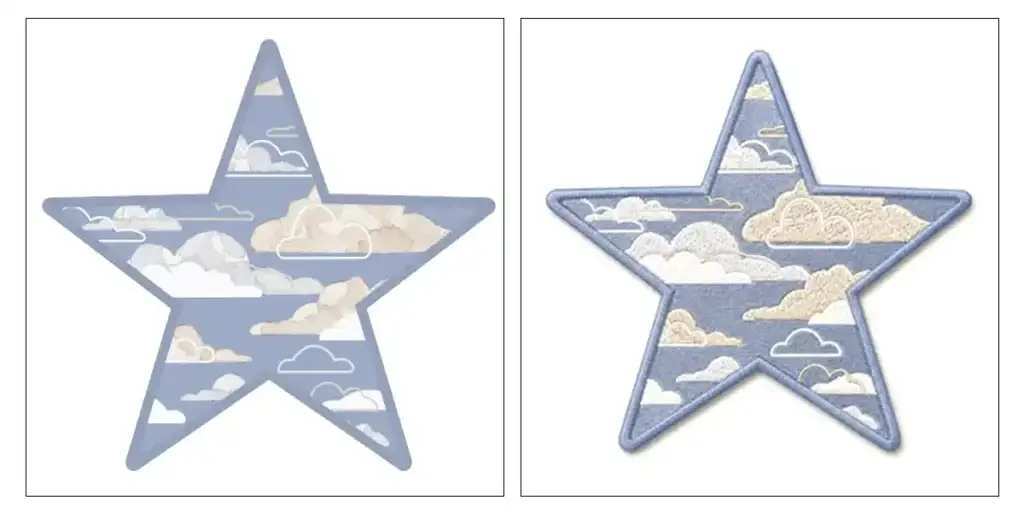
Printed artwork can show gradients, tiny color changes, shadows, and very soft edges. Embroidery works better with clearer color blocks and defined shapes.
For better sampling results, try to prepare artwork with:
- Clear main colors
- Simple color areas
- Strong contrast between text and background
- Clean outlines
- Fewer unnecessary tiny details
If your logo has many colors or gradient effects, the factory may suggest converting them into thread-friendly color areas.
For example:
| Original Artwork Style | Embroidery-Friendly Adjustment |
| Blue gradient | Use one or two blue thread colors |
| Soft shadow | Remove it or convert it into a clear outline |
| Very detailed texture | Simplify into larger stitch areas |
| Photo-style image | Convert into a cleaner graphic version |
The goal is not to change your brand design. The goal is to make the embroidery sample cleaner and easier to repeat in bulk production.
Mark the Application Position
The factory also needs to know where the embroidery will be used.
A patch for a jacket chest, a cap, a handbag panel, and a garment label may need different production suggestions.
Please tell the factory the application position, such as:
- Left chest
- Sleeve
- Back of jacket
- Cap front
- Bag front panel
- Pocket area
- Label area
- Uniform badge position
- Garment panel before sewing
- Handbag component before assembly
This helps the team review the correct backing, border, stitch density, size, and placement requirements.
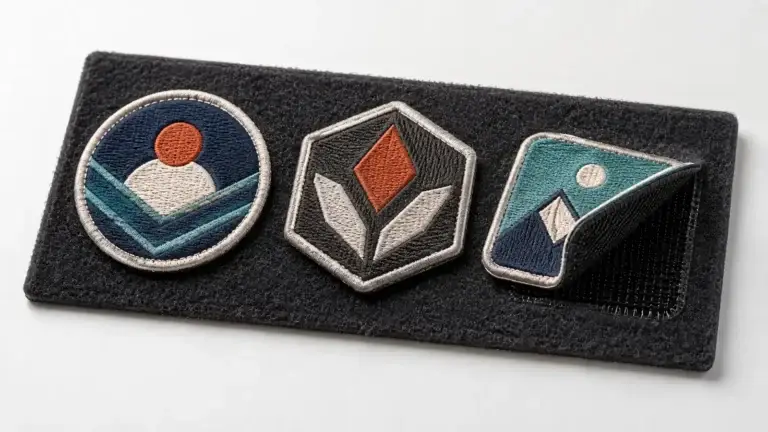
For example, a removable uniform patch may need hook and loop backing. A fashion garment panel may need direct embroidery or supplied panel embroidery. A standard patch for sewing may not need extra backing.
Send Reference Photos If Available
Reference photos are very helpful, especially for B2B production projects.
You can send:
| Reference Material | Why It Helps |
| Old sample photo | Shows the effect you want to match or improve |
| Target effect photo | Helps explain the style, texture, or stitch feeling |
| Garment position photo | Shows where the embroidery will be placed |
| Bag component photo | Helps check size, position, and material surface |
| Similar product photo | Helps explain the final use |
| Color reference photo | Helps with thread color direction |
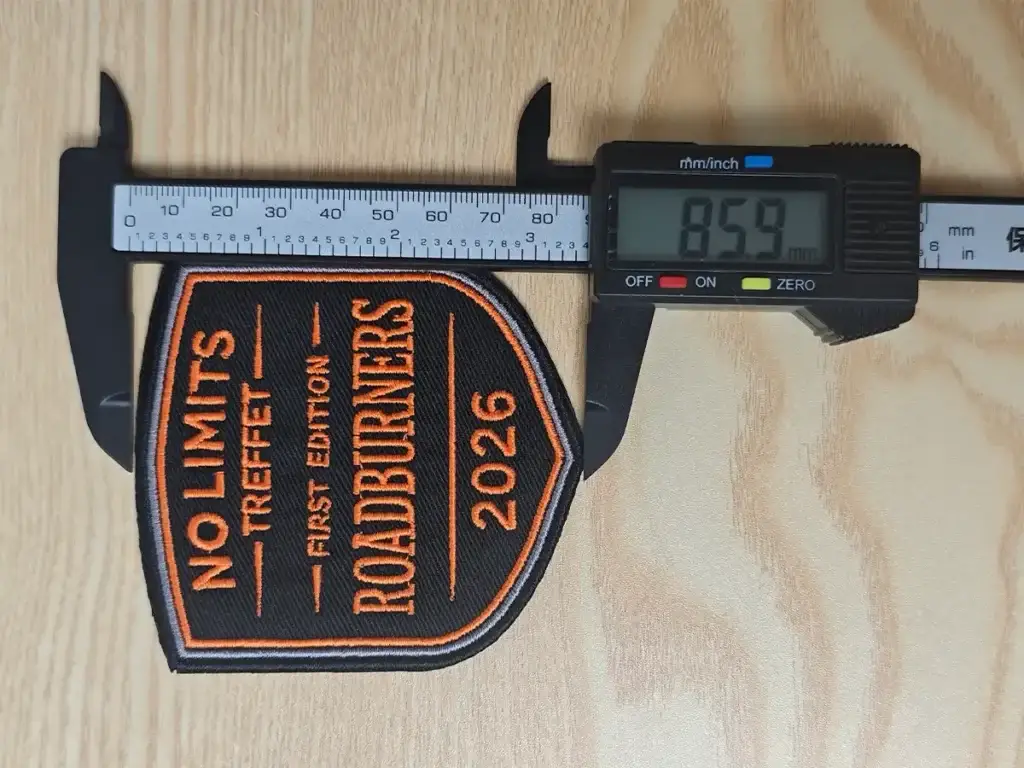
If you already have a physical sample, take clear photos from the front, back, and side. If possible, include a ruler in the photo so the factory can understand the real size.
Common Artwork Problems That Delay Sampling
Most sampling delays come from missing or unclear information.
Here are common problems that can slow down the process:
| Problem | Why It Delays Sampling | What to Send Instead |
| No final size | The factory cannot judge detail clearly | Width and height in cm or inches |
| Low-resolution image | Text and edges may be unclear | Original file or high-resolution image |
| Unclear colors | Thread color direction cannot be confirmed | Pantone, thread color reference, or clear photo |
| No application information | Backing and structure may be wrong | Garment, cap, bag, uniform, or panel use |
| No backing requirement | The sample may not match final use | Sew-on, iron-on, hook and loop, adhesive, plastic, or no backing |
| No border requirement | Edge finishing may be unclear | Merrow border, heat-cut edge, satin edge, or custom edge |
| Too much small detail | Some details may not stitch clearly | Simplified artwork or flexible approval for adjustment |
| No deadline | Sampling and bulk timing cannot be planned well | Required sample date or final delivery schedule |
You do not need to prepare everything perfectly before contacting us. But the more information you provide, the easier it is to review your project and suggest the right next step.
Artwork Checklist Before Sending to YQX
Before sending your artwork for embroidery sampling, you can use this simple checklist.
Basic Artwork Information
| Checklist Item | Your Details |
| Logo or design file | AI / PDF / PSD / PNG / JPG / other |
| Final embroidery size | Width × height |
| Quantity | Sample quantity and estimated bulk quantity |
| Main colors | Pantone, thread reference, or image reference |
| Text details | Confirm if small text must stay readable |
| Special effect | Flat embroidery, chenille, appliqué, sequin, lace-style, or mixed technique |
Product and Application Information
| Checklist Item | Your Details |
| Product type | Patch, garment panel, handbag panel, cap, uniform badge, label, etc. |
| Application position | Left chest, sleeve, bag front, pocket, cap front, etc. |
| Base material | Fabric, garment, bag material, panel fabric, or unknown |
| Backing requirement | Sew-on, iron-on, hook and loop, adhesive, plastic, no backing, or custom |
| Border requirement | Merrow, heat-cut, satin edge, no border, or unsure |
| Reference photos | Old sample, target effect, garment position, or product photo |
| Deadline | Sample deadline or bulk delivery schedule |
Simple Message Example
You can send a message like this:
“Hi, we would like to make a custom embroidered sample. Please review the attached artwork. The target size is 8 cm wide, quantity is 500 pcs, and it will be used on the left chest of a jacket. We prefer sew-on backing, but we are open to suggestions. Please let us know if any small details need adjustment before sampling.”
This type of message gives the factory enough information to start a practical review.
Final Thoughts
Preparing artwork for custom embroidery sampling is mainly about making the design and project details clear.
You do not need to understand every technical embroidery detail before contacting a factory. A good production team should help review your artwork and explain what may need adjustment.
The most important things to prepare are:
- Clear artwork file or image
- Final embroidery size
- Quantity
- Color direction
- Product application area
- Backing requirement
- Material or reference photos
- Sample or delivery deadline
If some details are not confirmed yet, that is okay. Send what you have first.
Send Your Artwork for Review
If you are preparing a custom embroidered patch, garment panel embroidery, handbag component, or other embroidery project, you can send us your artwork, target size, quantity, material, application area, backing requirement, and deadline.
Our team can review whether the design is suitable for embroidery sampling, suggest possible adjustments, and help confirm the next steps before sampling and bulk production.
Ready to discuss your project?
Send Your Artwork & Request a Quote →